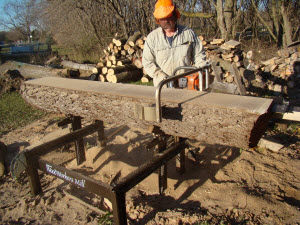
 Portable sawmills open up a whole new world to woodworkers. What may be one man’s firewood is a woodworker’s treasure. I remember the first time I hired a sawyer with a portable mill. I had been a professional woodworker for over ten years and I knew where boards came from. But nothing prepared me for what I saw as the 36″ diameter walnut log was sliced open. I felt like a kid at Christmas. I could read the tree’s life story as it was revealed with each cut. There were the buried scars from a fire it had survived; old branches that had broken off and were eventually sealed up under layers of trunk growth. It gave me a personal connection to the wood I never had buying stock from a local lumber supplier.I was lost in amazement when I heard the sawyer ask, “How do you want this part cut?” It felt like a waiter asking how I’d like my steak done at a restaurant. I had discovered another plus to sawing your own; you get to cut it the way you like it. After going over the options, we decided on a cutting strategy that left bark edges on most of the pieces and big 4″ thick slice right at the middle of the tree. That put the pith in the center of a very wide, thick slab, but yielded beautiful quarter and rift sawn stock on either side. I knew then and there that I had to get my own portable mill.
Of course after the fun of cutting there’s a lot of work stacking and stickering the lumber for drying. I couldn’t wait to use the wood.

Using my own custom sawn wood has provided me with some new design inspirations. Unlike rough stock from a lumberyard, I cut my wood so it still has the bark edge; sometimes referred to as a “free-edge” or “natural edge”. I like to incorporate this free edge in some of my designs.
I was recently commissioned to build a set of three, free-edge walnut nesting tables. The following story will give you a peak over my shoulder as I turn rough slabs into finished tables. Along the way you may pick-up some useful tips and techniques for your own free-edge project. Also, in my article on Working with Big Wood I provide you information on how to prepare the wood used in this article.
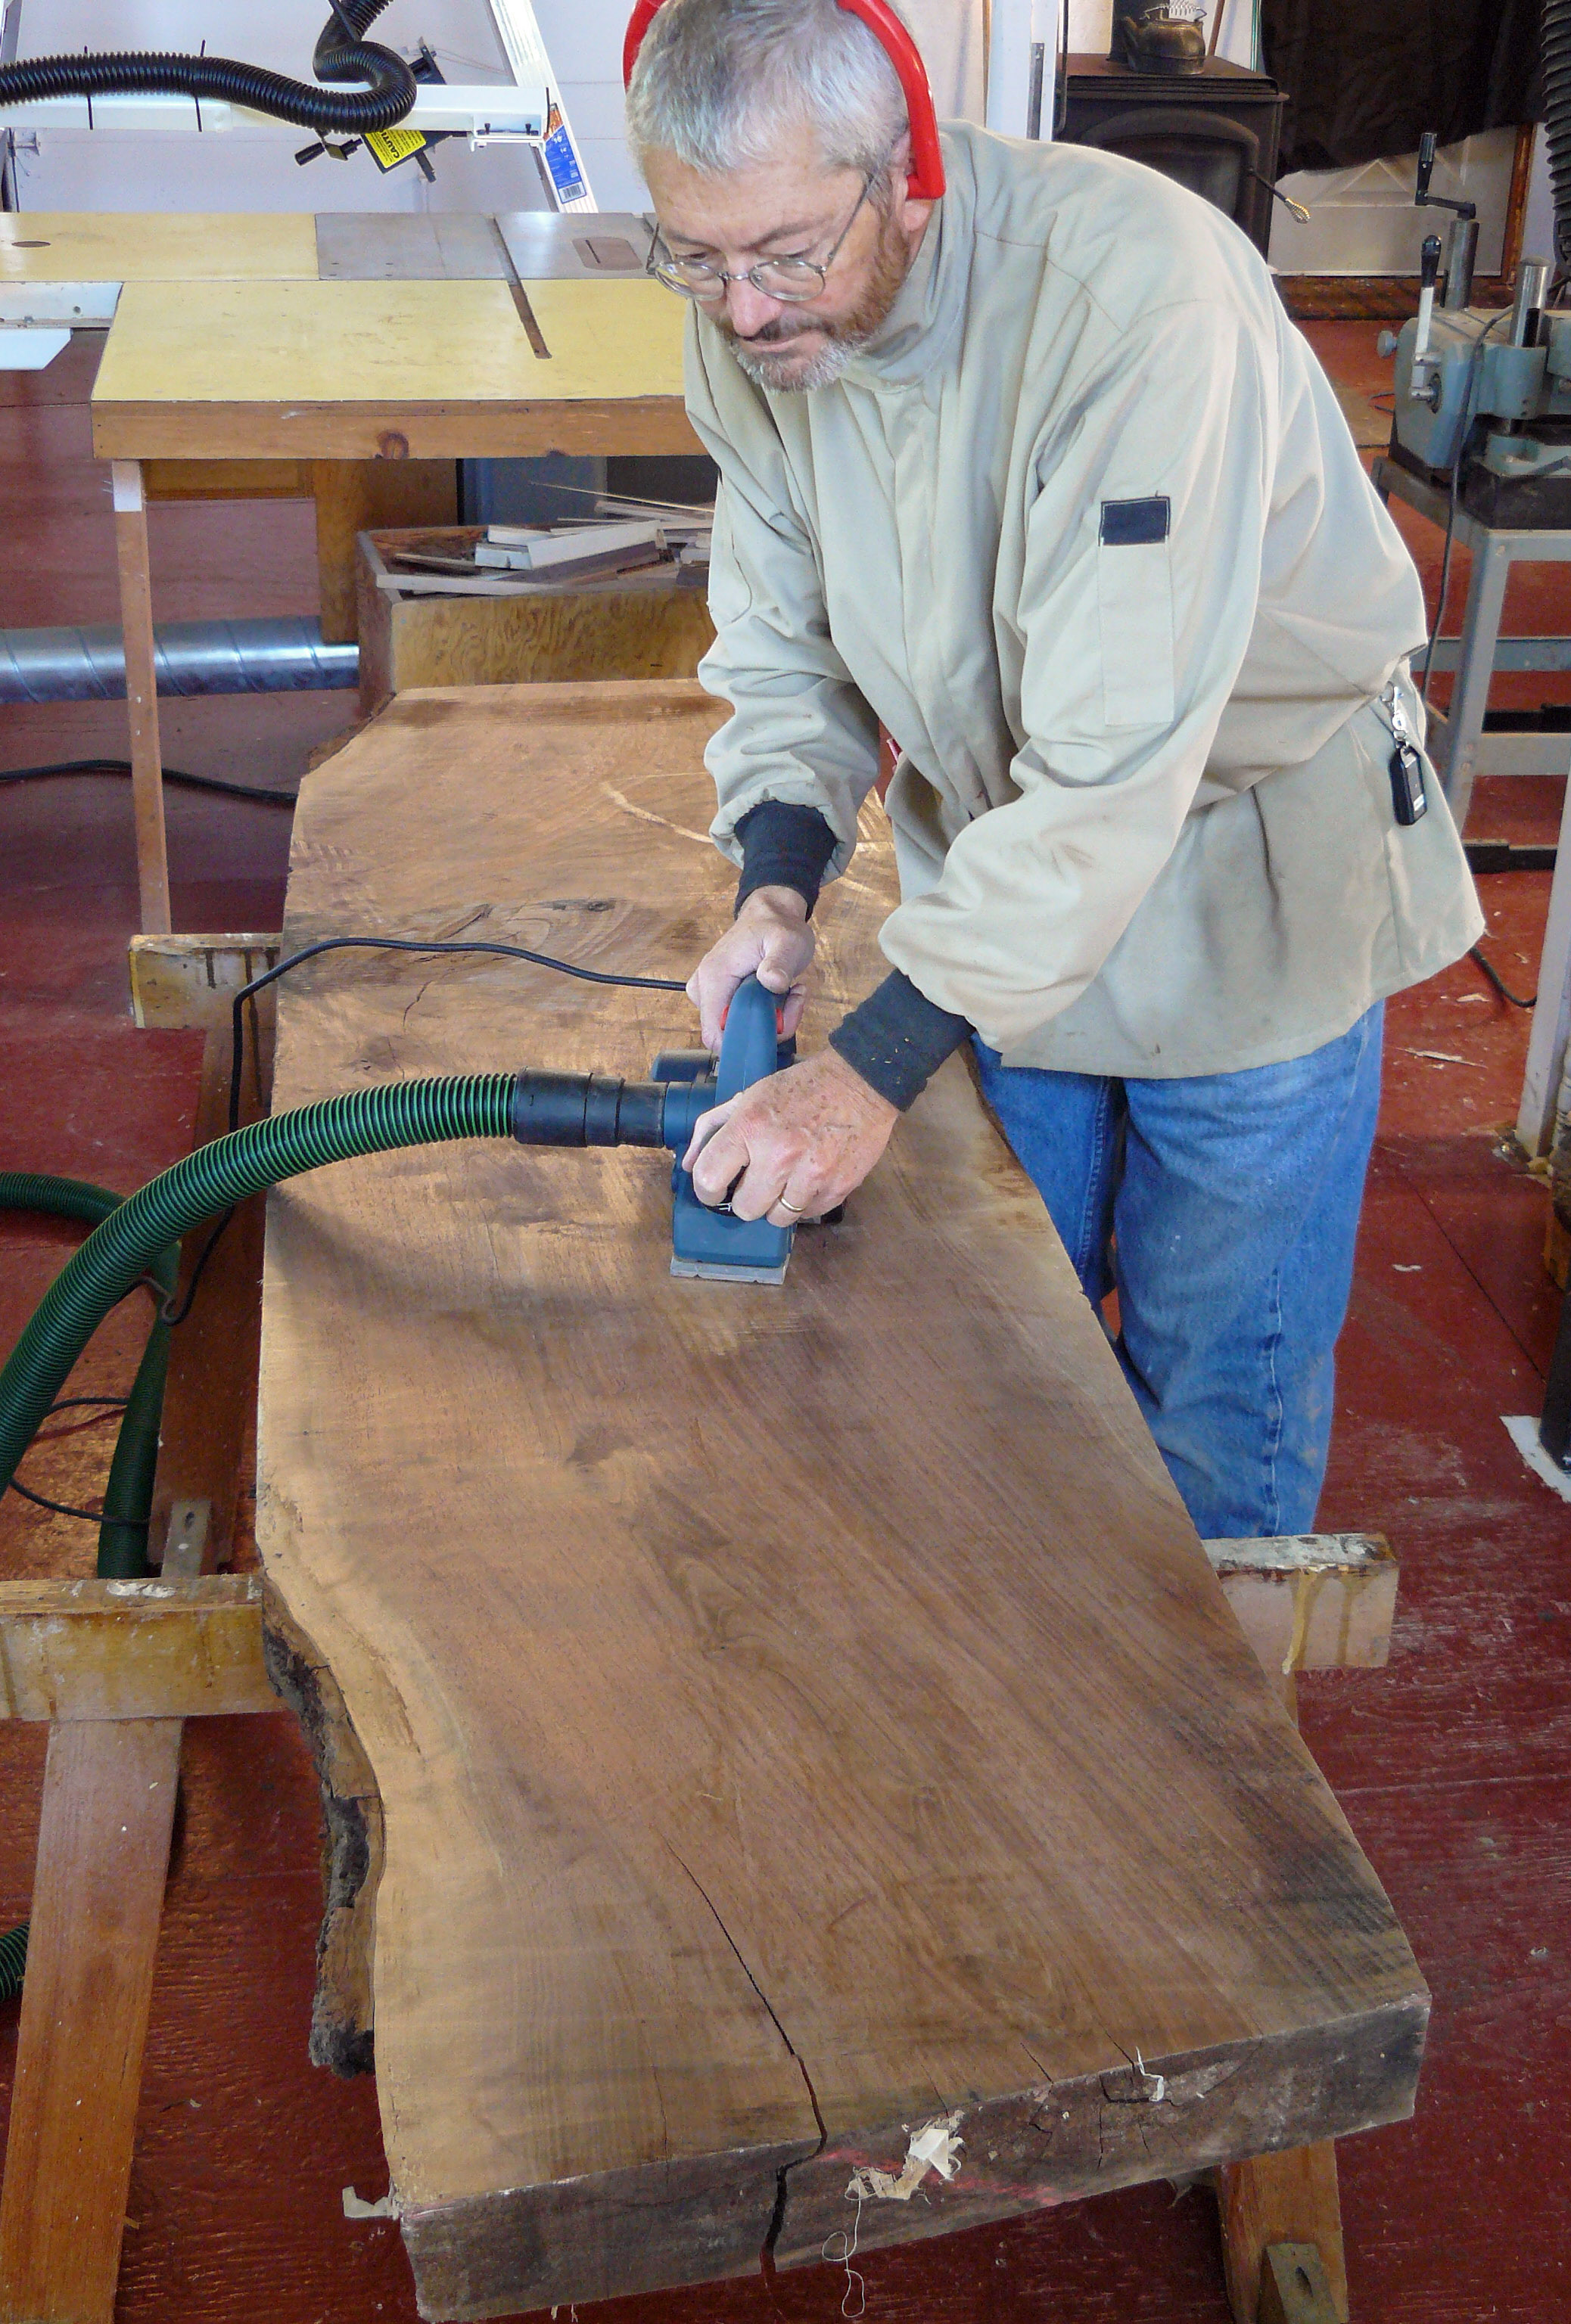 The first order of business when working with slabwood is to get a good look at the plank. The rough surface is hard to read. Dirt and oxidation only make matters worse. I like to use a portable electric planer to cut through the opaque rough skin and get a glimpse of the wood below. I clean enough off to get a good read on grain direction, color and defects in the wood like knots or pitch pockets.With the wood cleaned up I pick the best slabs for the project. In this case, each table would be made from a single slab. The ends of the slab would be cut for the legs and the piece left in the middle would serve as the top. The idea was to join the legs to the top with a miter so the grain would flow continuously from the bottom of one leg, across the top and down the other leg. Think of the slab as a strip of paper folded in two places to form a table and legs.
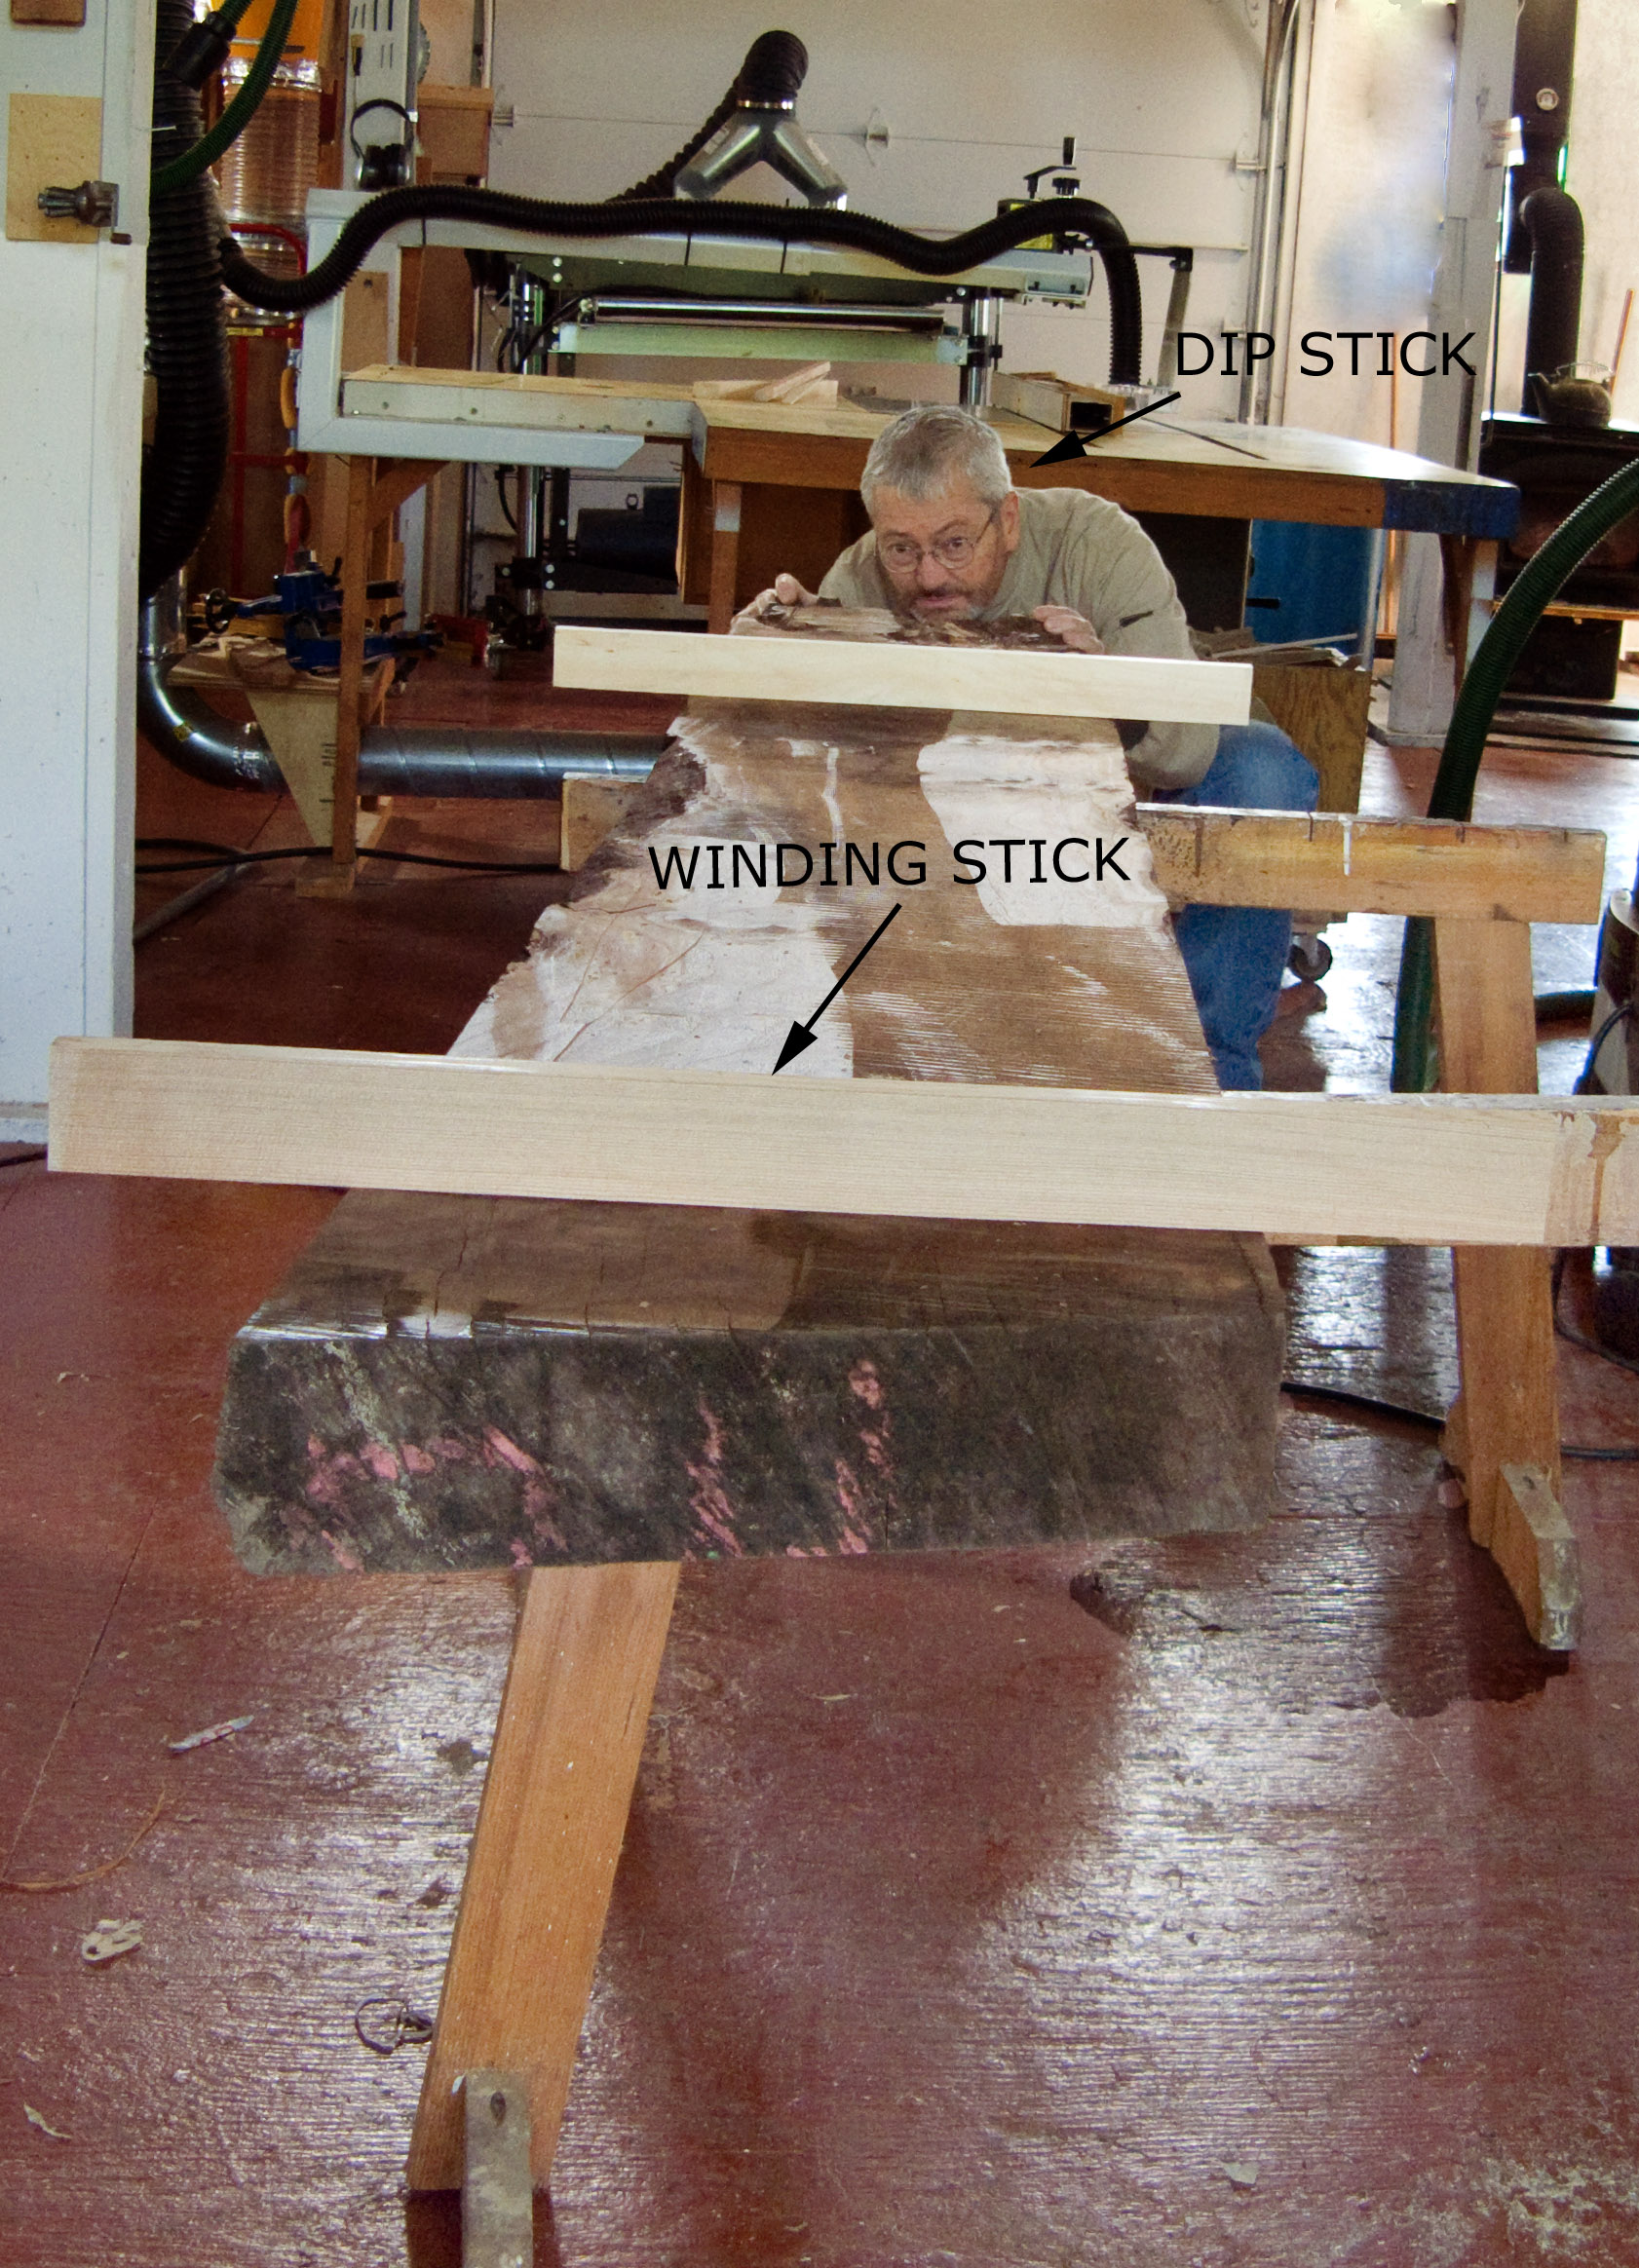 The next step is to get the slabs flat. There aren’t too many jointers out there that can handle wide slabs. My 8″ jointer was certainly out of the question. Instead, I used an age-old technique with a modern twist: winding sticks and an electric hand plane. The winding sticks reveal the high spots on the slab and the planer shaves them off. Use the stick closest to you as a reference. Sight across the tops of the two sticks to see how they align. Mark the high areas with chalk as you slide the far stick closer to you. Use the electric handplane to remove the high spots. Check again with the winding sticks, working toward the point where the top edges of the sticks are parallel to each other. Repeat the procedure until the slab is flat enough to register on your stationary planer or sander table.
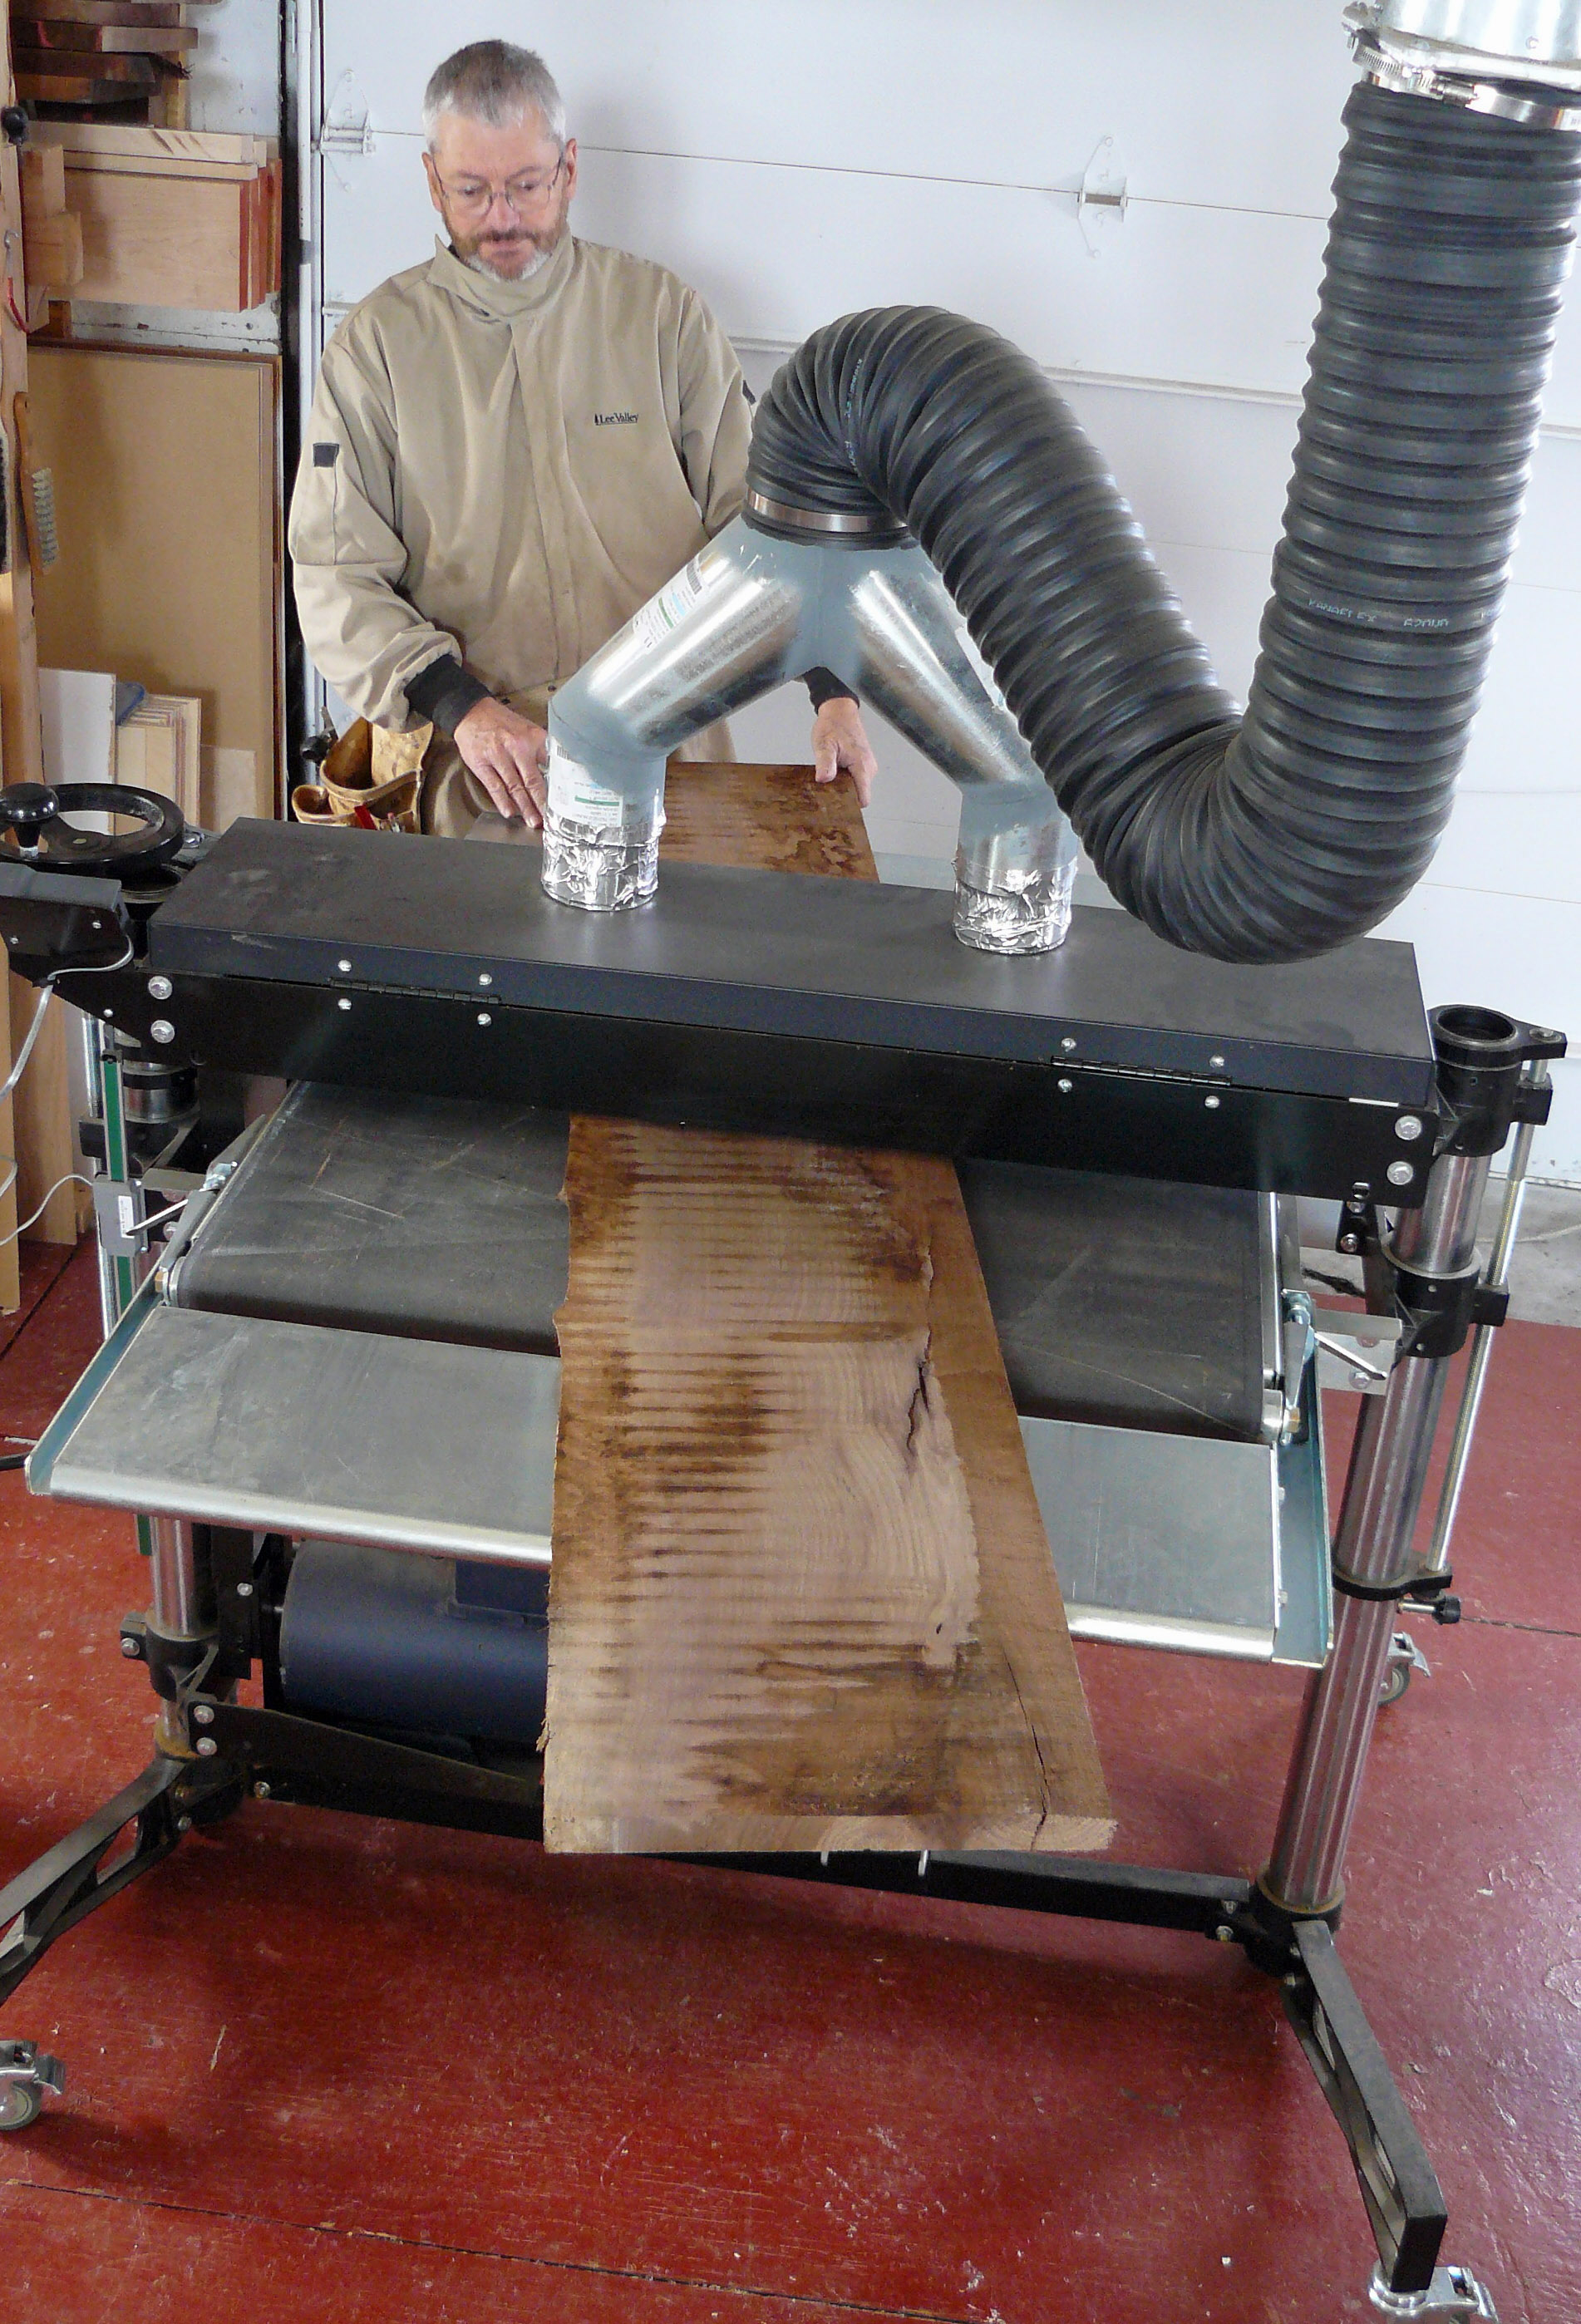 Surface the slab with a drum sander or planer after one surface has been made reasonably flat. Start with the flat face down on your surfacing machine.
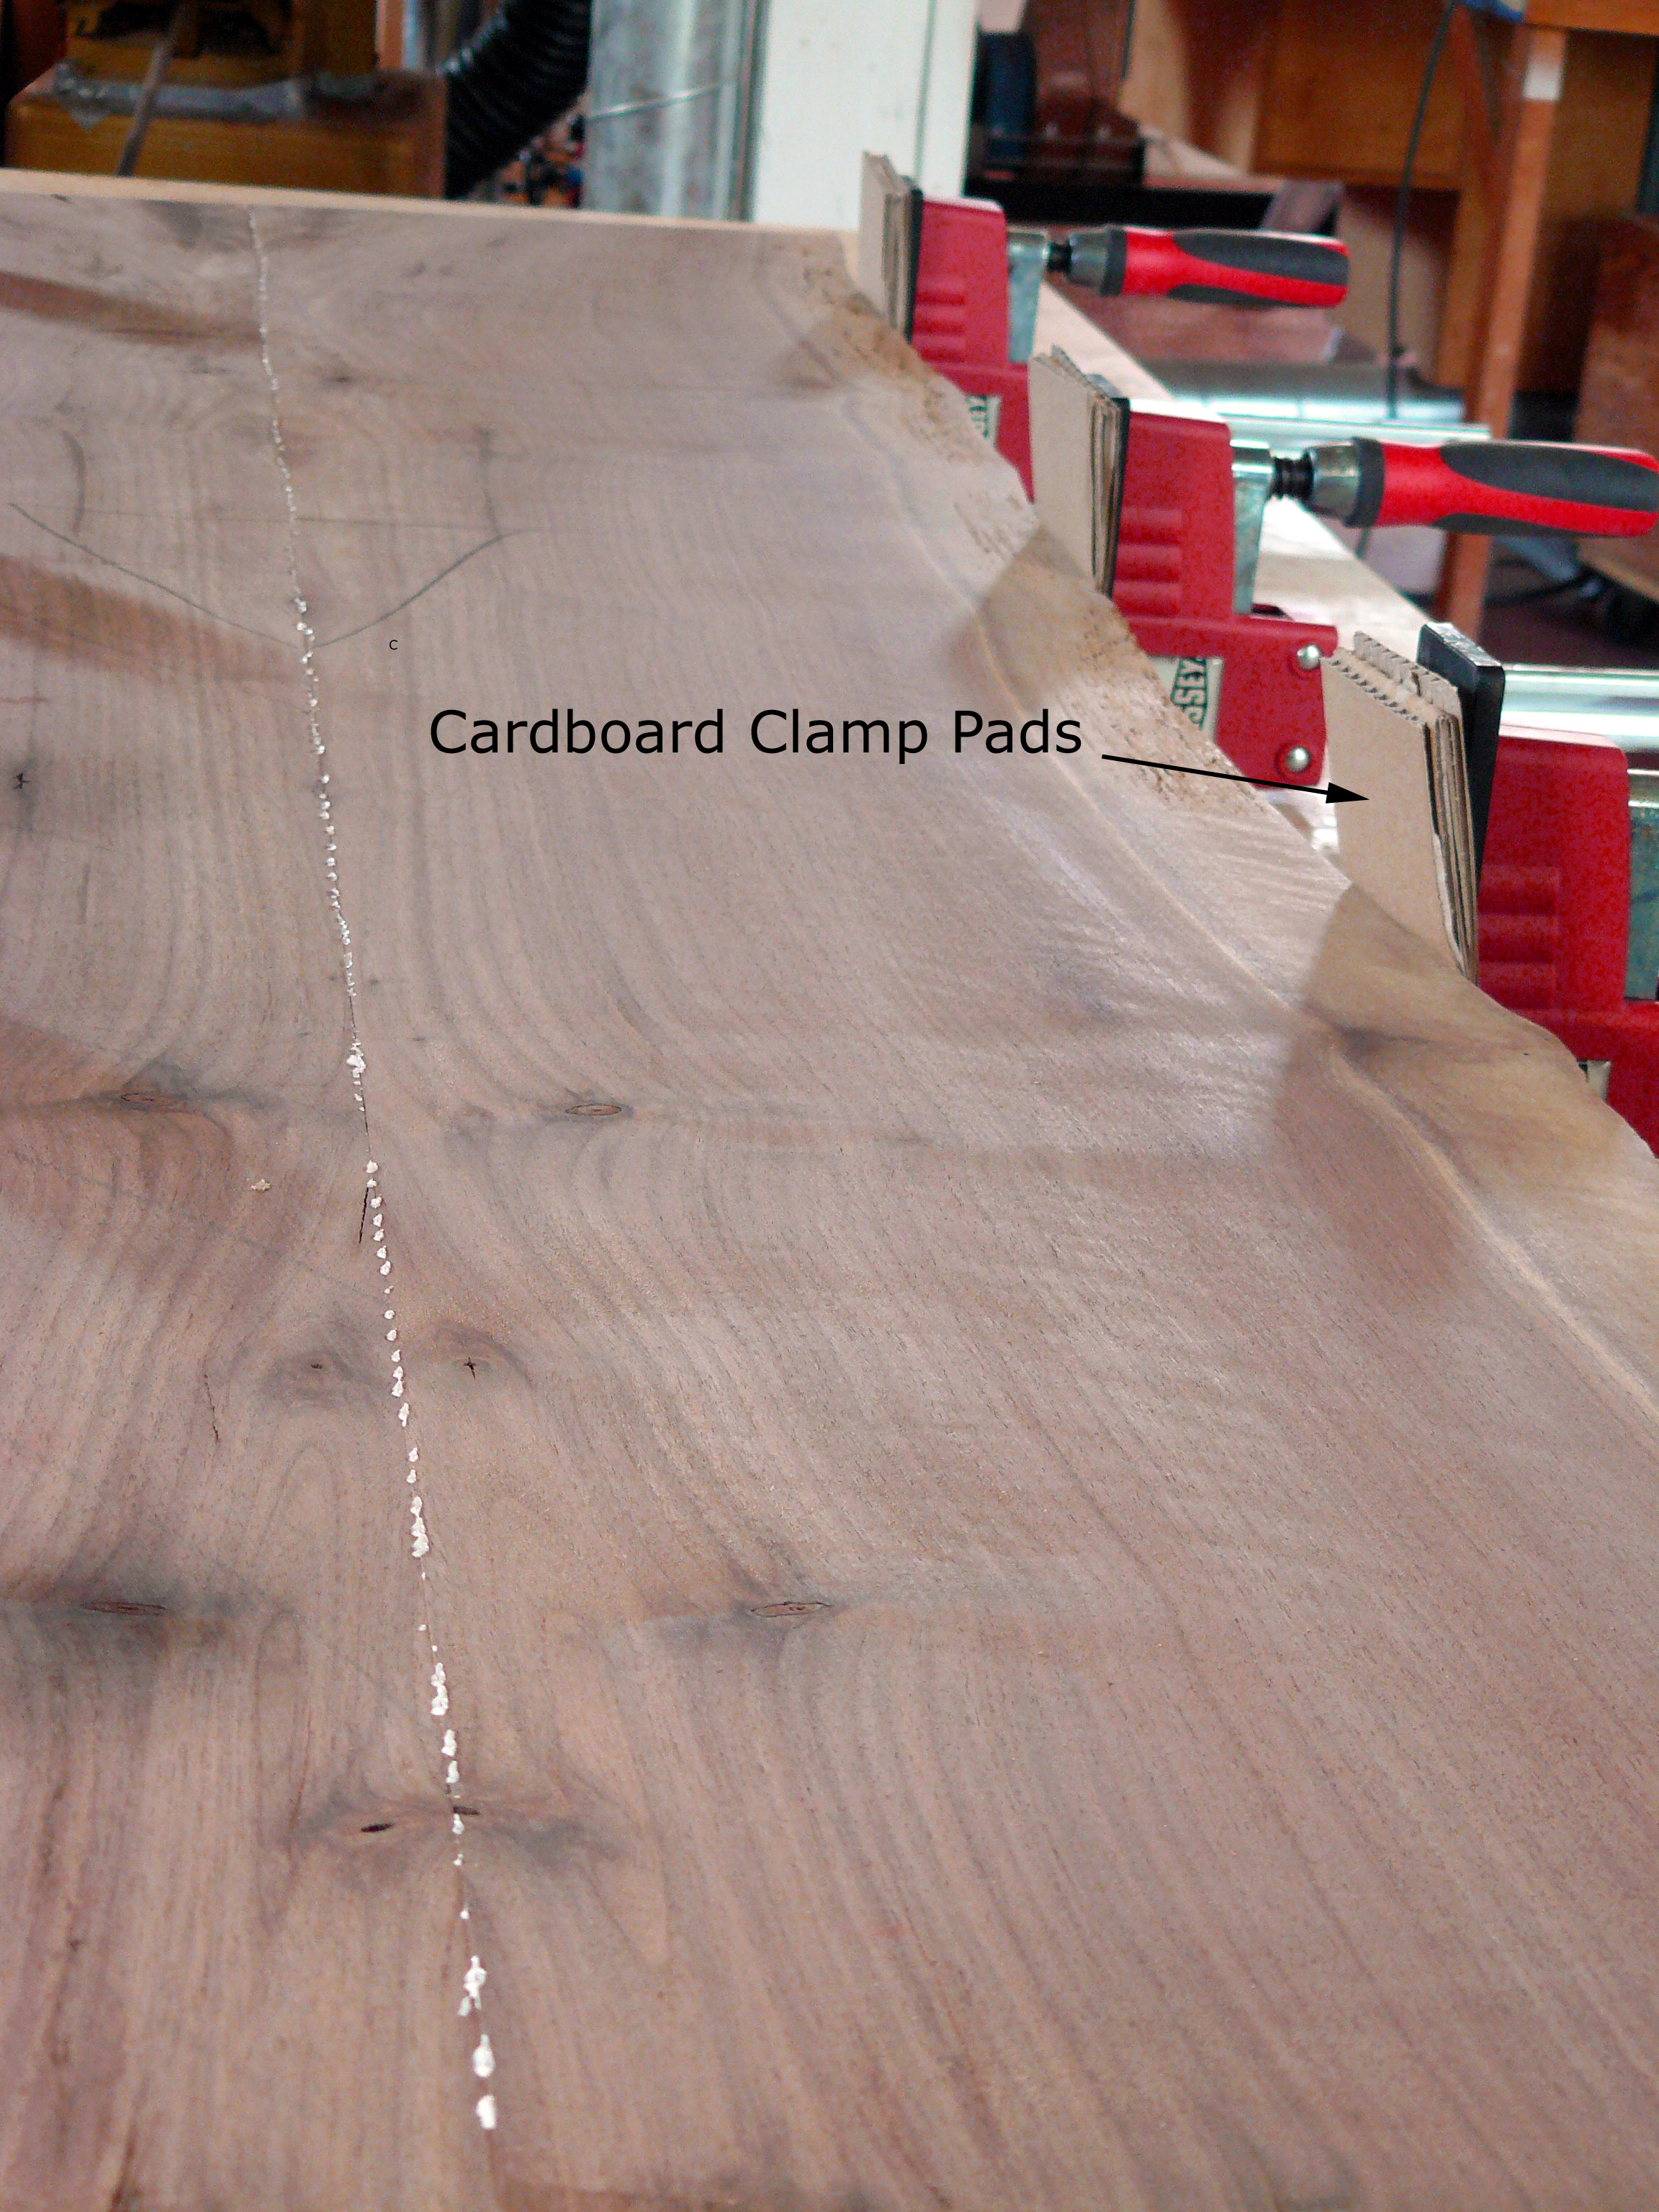 The largest table I need is too wide for any single slab. Adding a strip of wood to the slab could spoil the look of the piece, unless it blends in perfectly. This is another reason I love to work with my own wood. Because the slabs are taken sequentially from the same tree, it’s easy to find an almost identical match for grain and color in an adjacent slab. The tricky part is getting clamps to hold on the natural bark edge without damage. Strategic clamp placement and generous clamp pads do the trick.
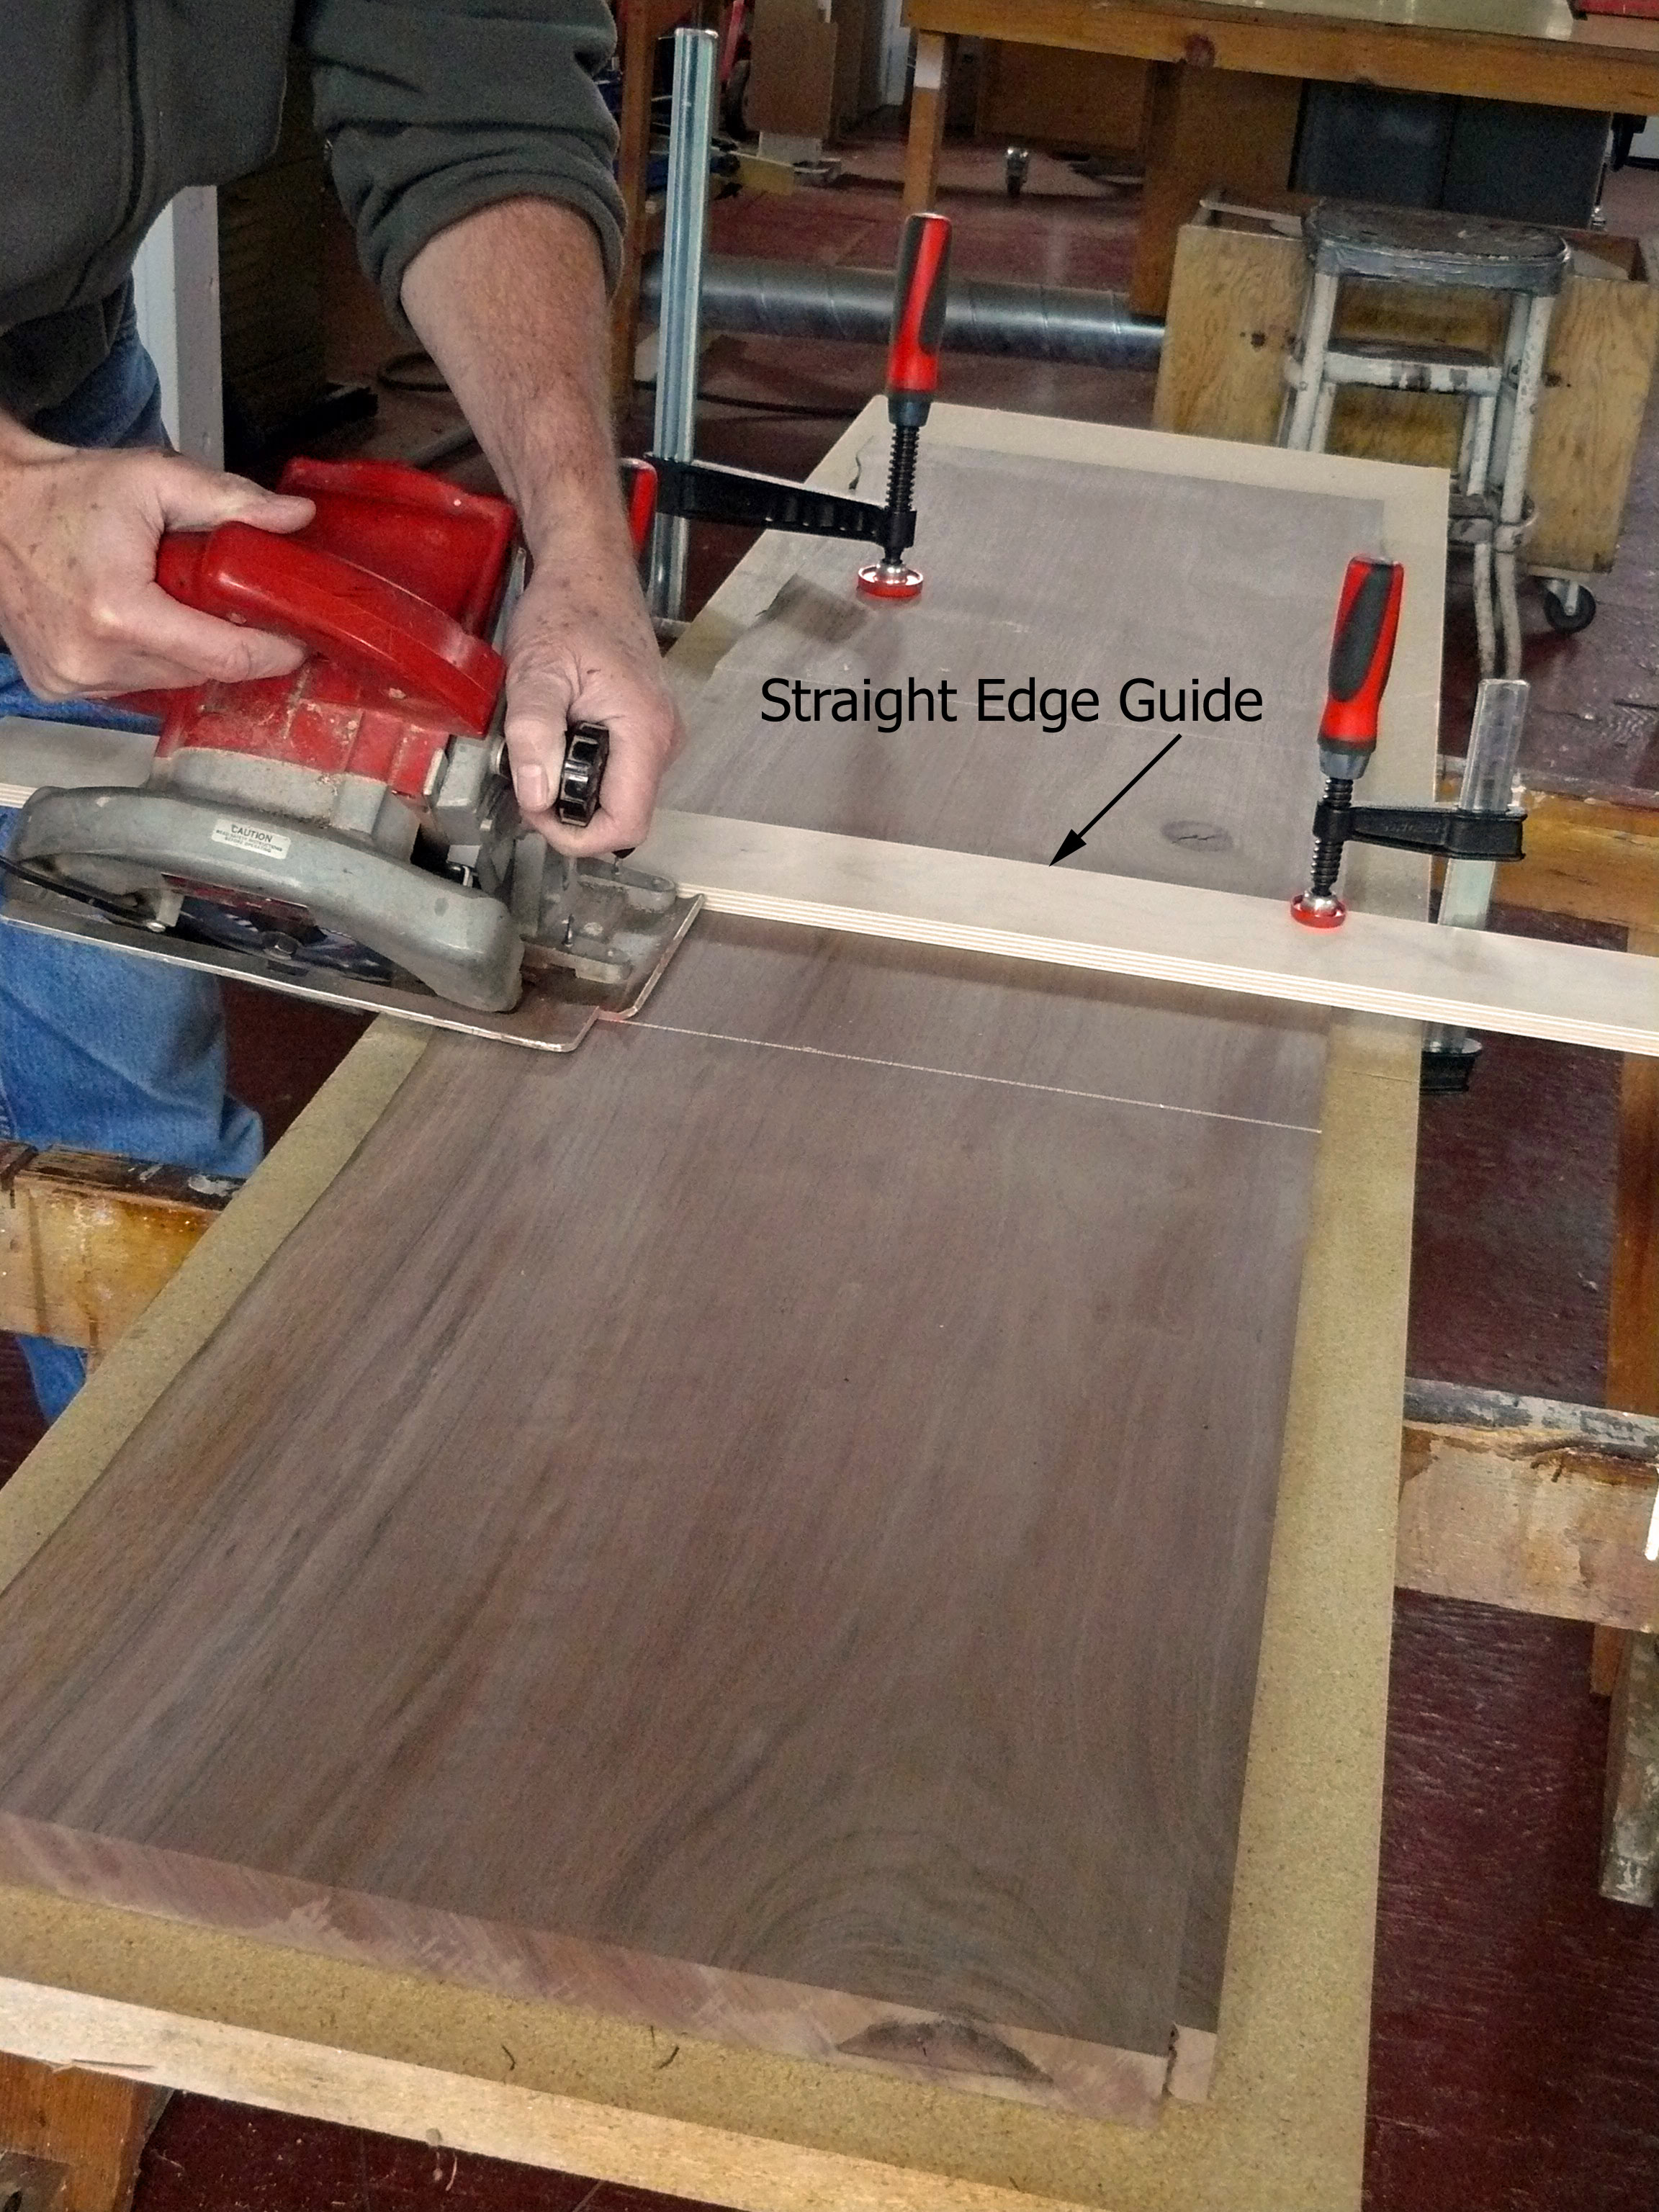 Cut the miters with a circular saw and a straight edge. The slab is cut face down with a finish blade for a smoother cut. Here the leg is being cut from the top.
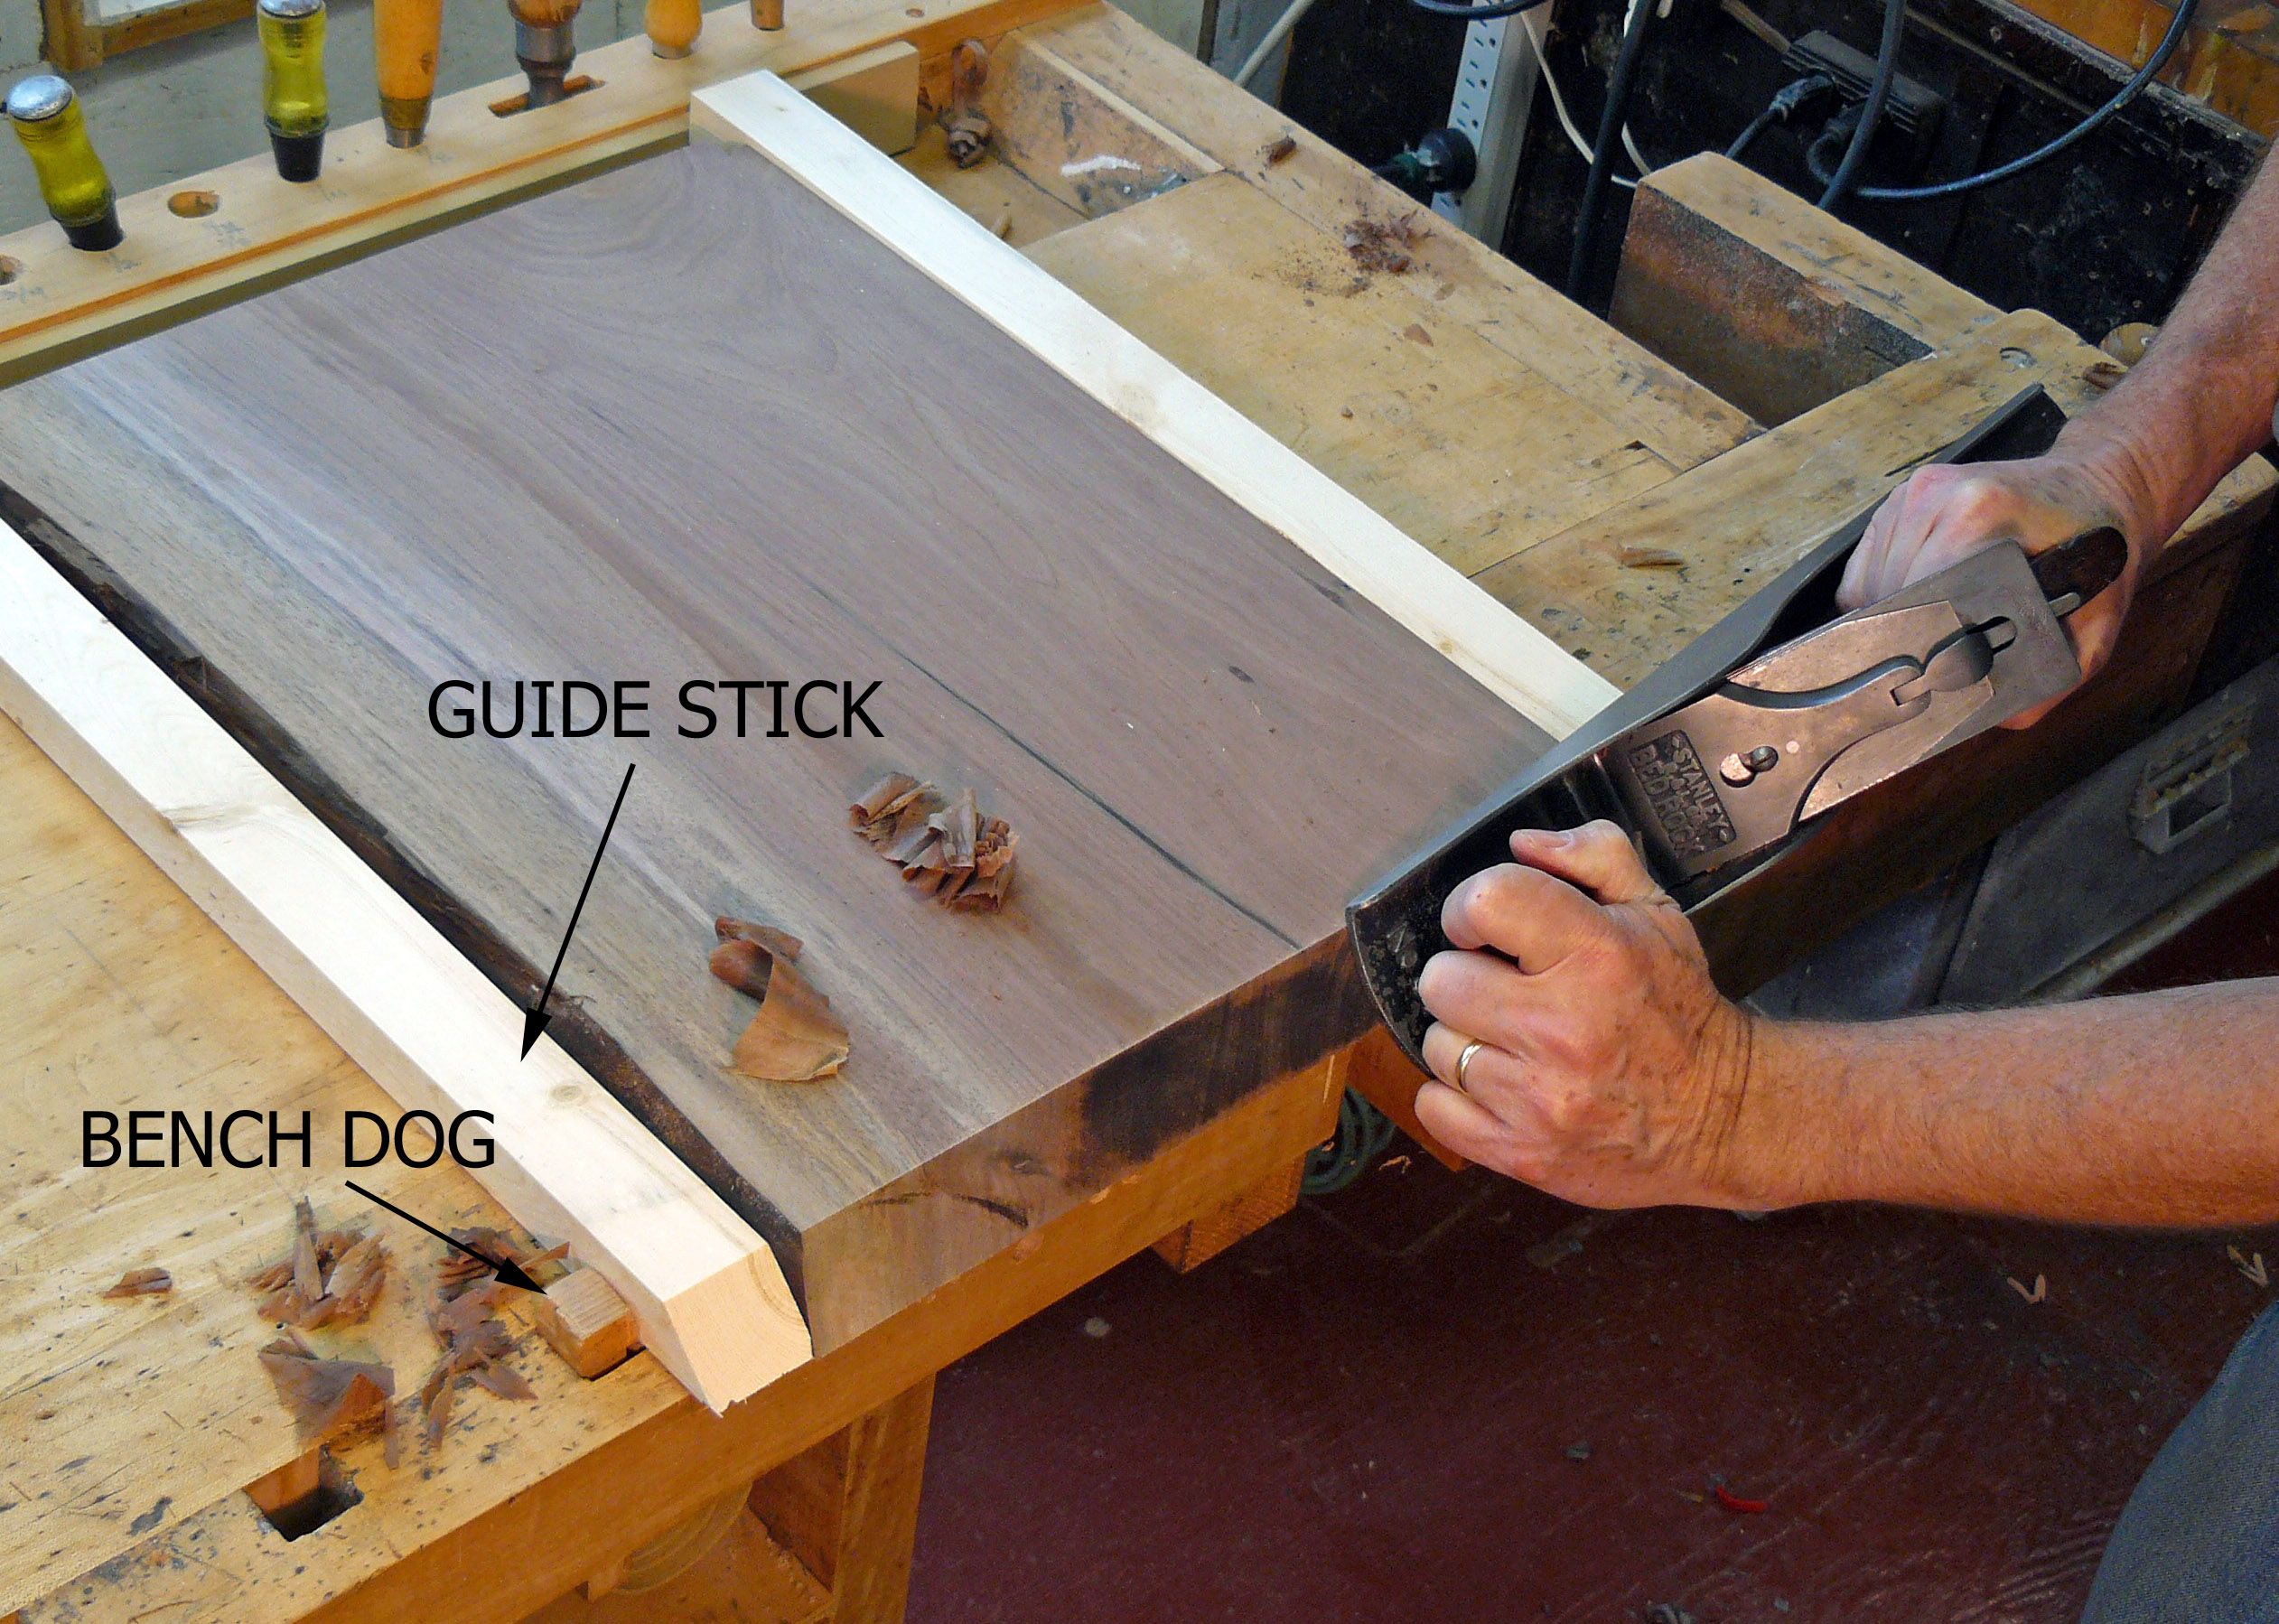 The cut left by the circular saw is usually too rough to produce a clean, tight joint. Clean up saw marks and perfect the fit of the miter with a jointer plane. The guide sticks have mitered ends that help guide the plane, prevent chip out and protect the natural edge from the bench dogs. Make sure the plane is well tuned, razor sharp and set for a very light cut. An alternative to a hand plane for this task is sandpaper wrapped around a perfectly straight board. Be sure to use the miters on the ends of the guide sticks to steer your work.
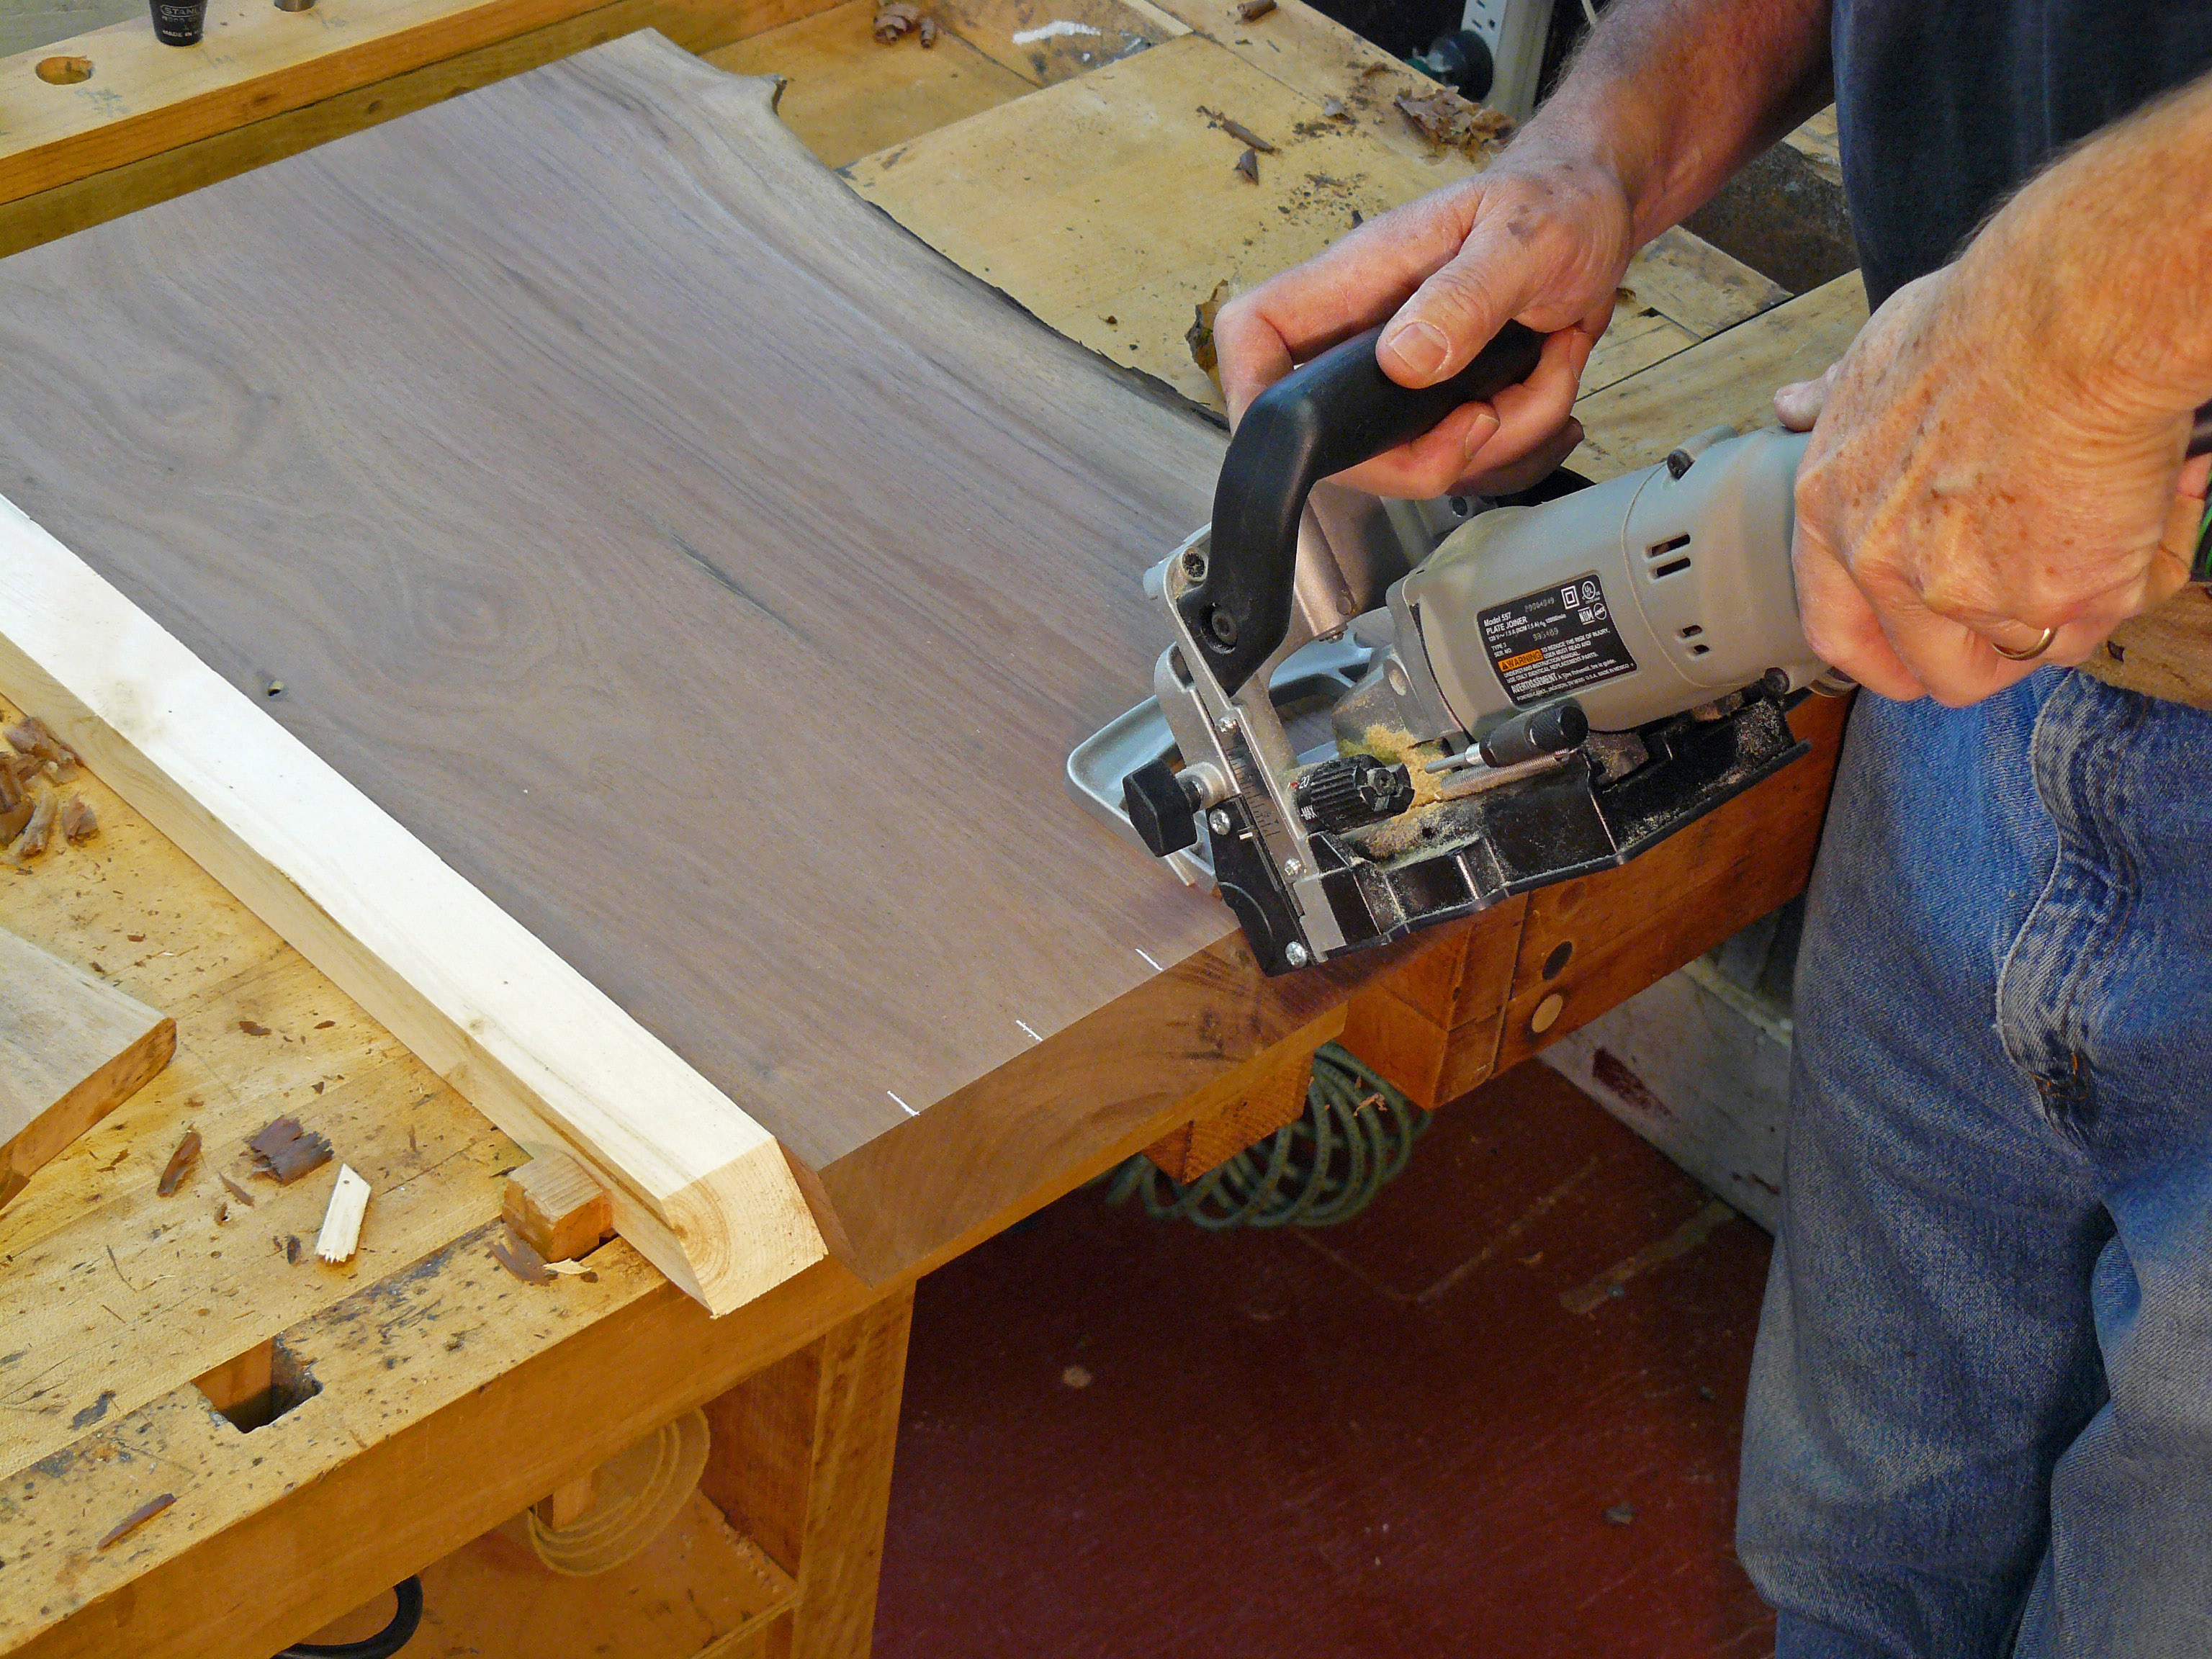 It’s best to reinforce the miters for strength. Biscuits work great. If the thickness of the slab allows, double stack the biscuits for added strength.Assembly is pretty straightforward because all the clamp edges are square and don’t involve the delicate free-edge. The biscuits align the joint as you apply clamping pressure. This is a good place to use an extended open time wood glue for a less hectic glue-up.
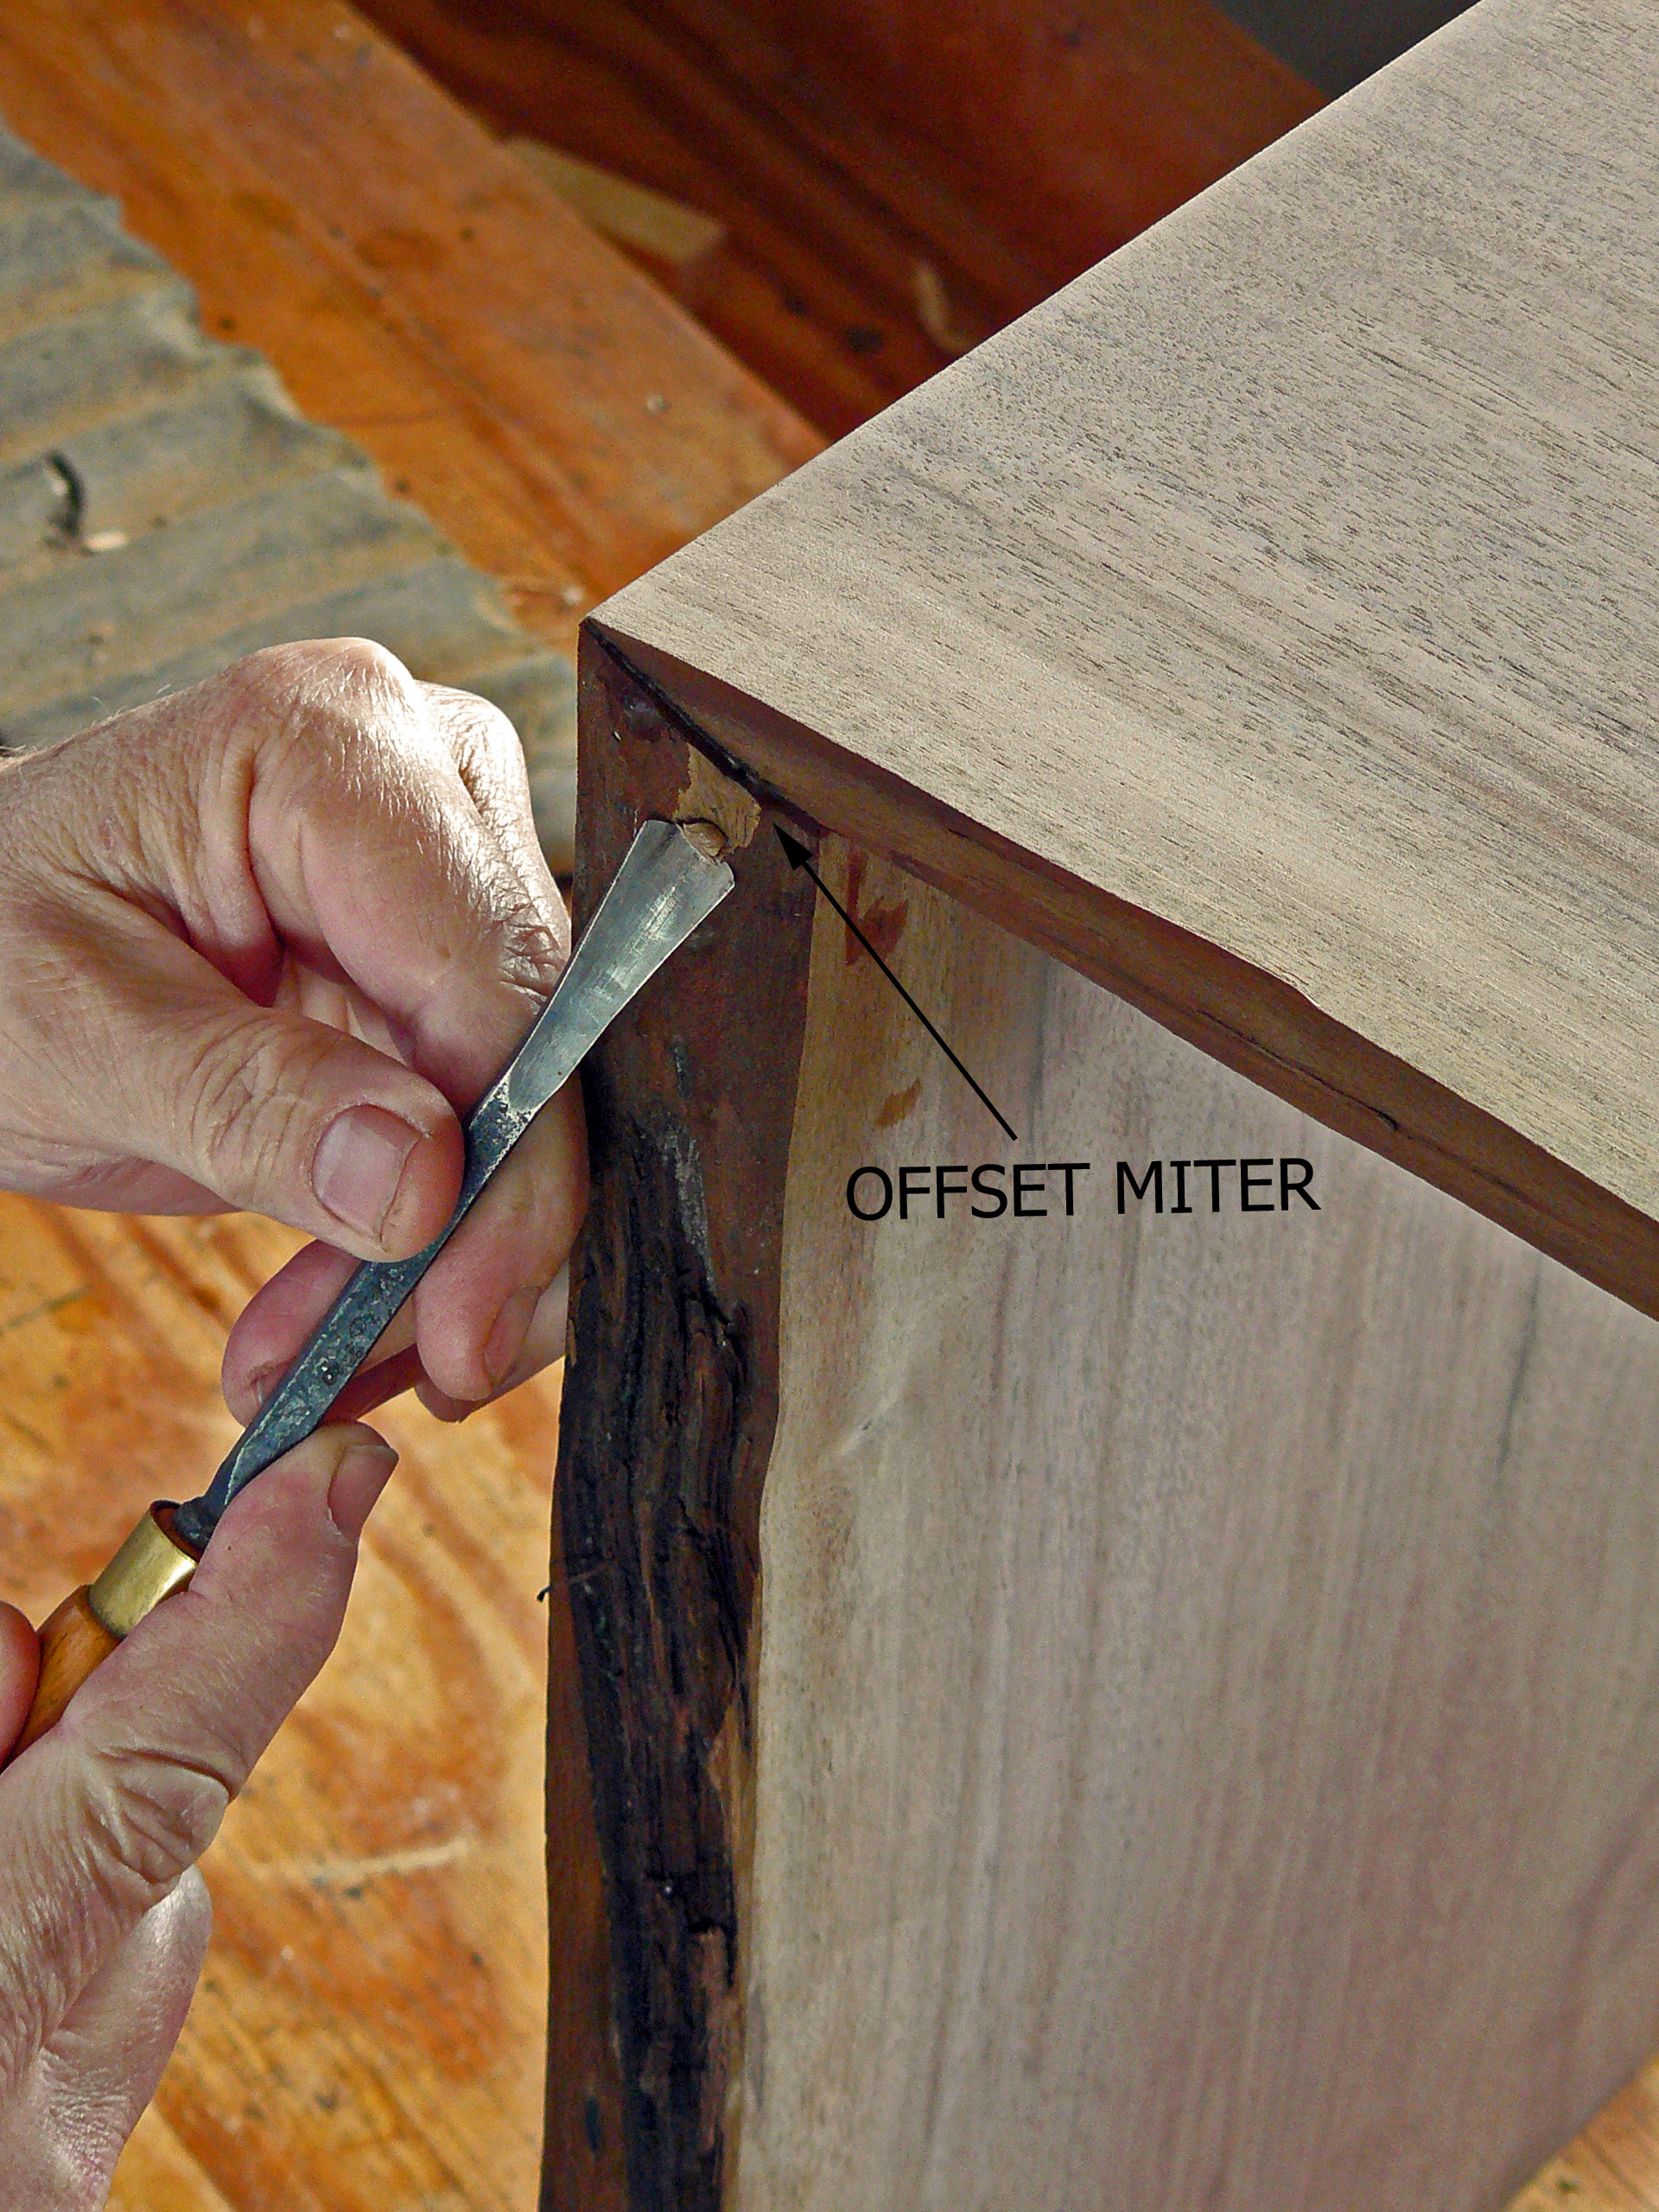 The free-edge will almost always result in an offset at the miter joint. Because the free-edge undulates naturally, you will almost never get the mitered edge to line-up perfectly. Use a shallow gouge to cut away the overhang. Shape the area around the joint to follow the contours of the free-edge.
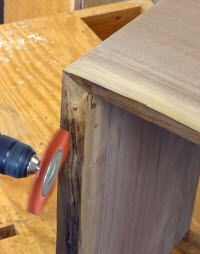 Finally, I clean up the free edge with an abrasive impregnated nylon brush. Use a light touch with the brush. The nylon brush does a great job without being too aggressive. For really tough spots where there’s a lot of material to remove, I might switch to a wire brush, but these are very aggressive and can ruin an edge in a hurry.TIP: The season the tree is harvested will directly impact how well the bark is attached to the slab. Trees harvested when the sap is flowing (spring and fall) will have bark that sloughs off easily. For bark that’s locked onto the wood, cut the tree down in summer or best of all, winter.
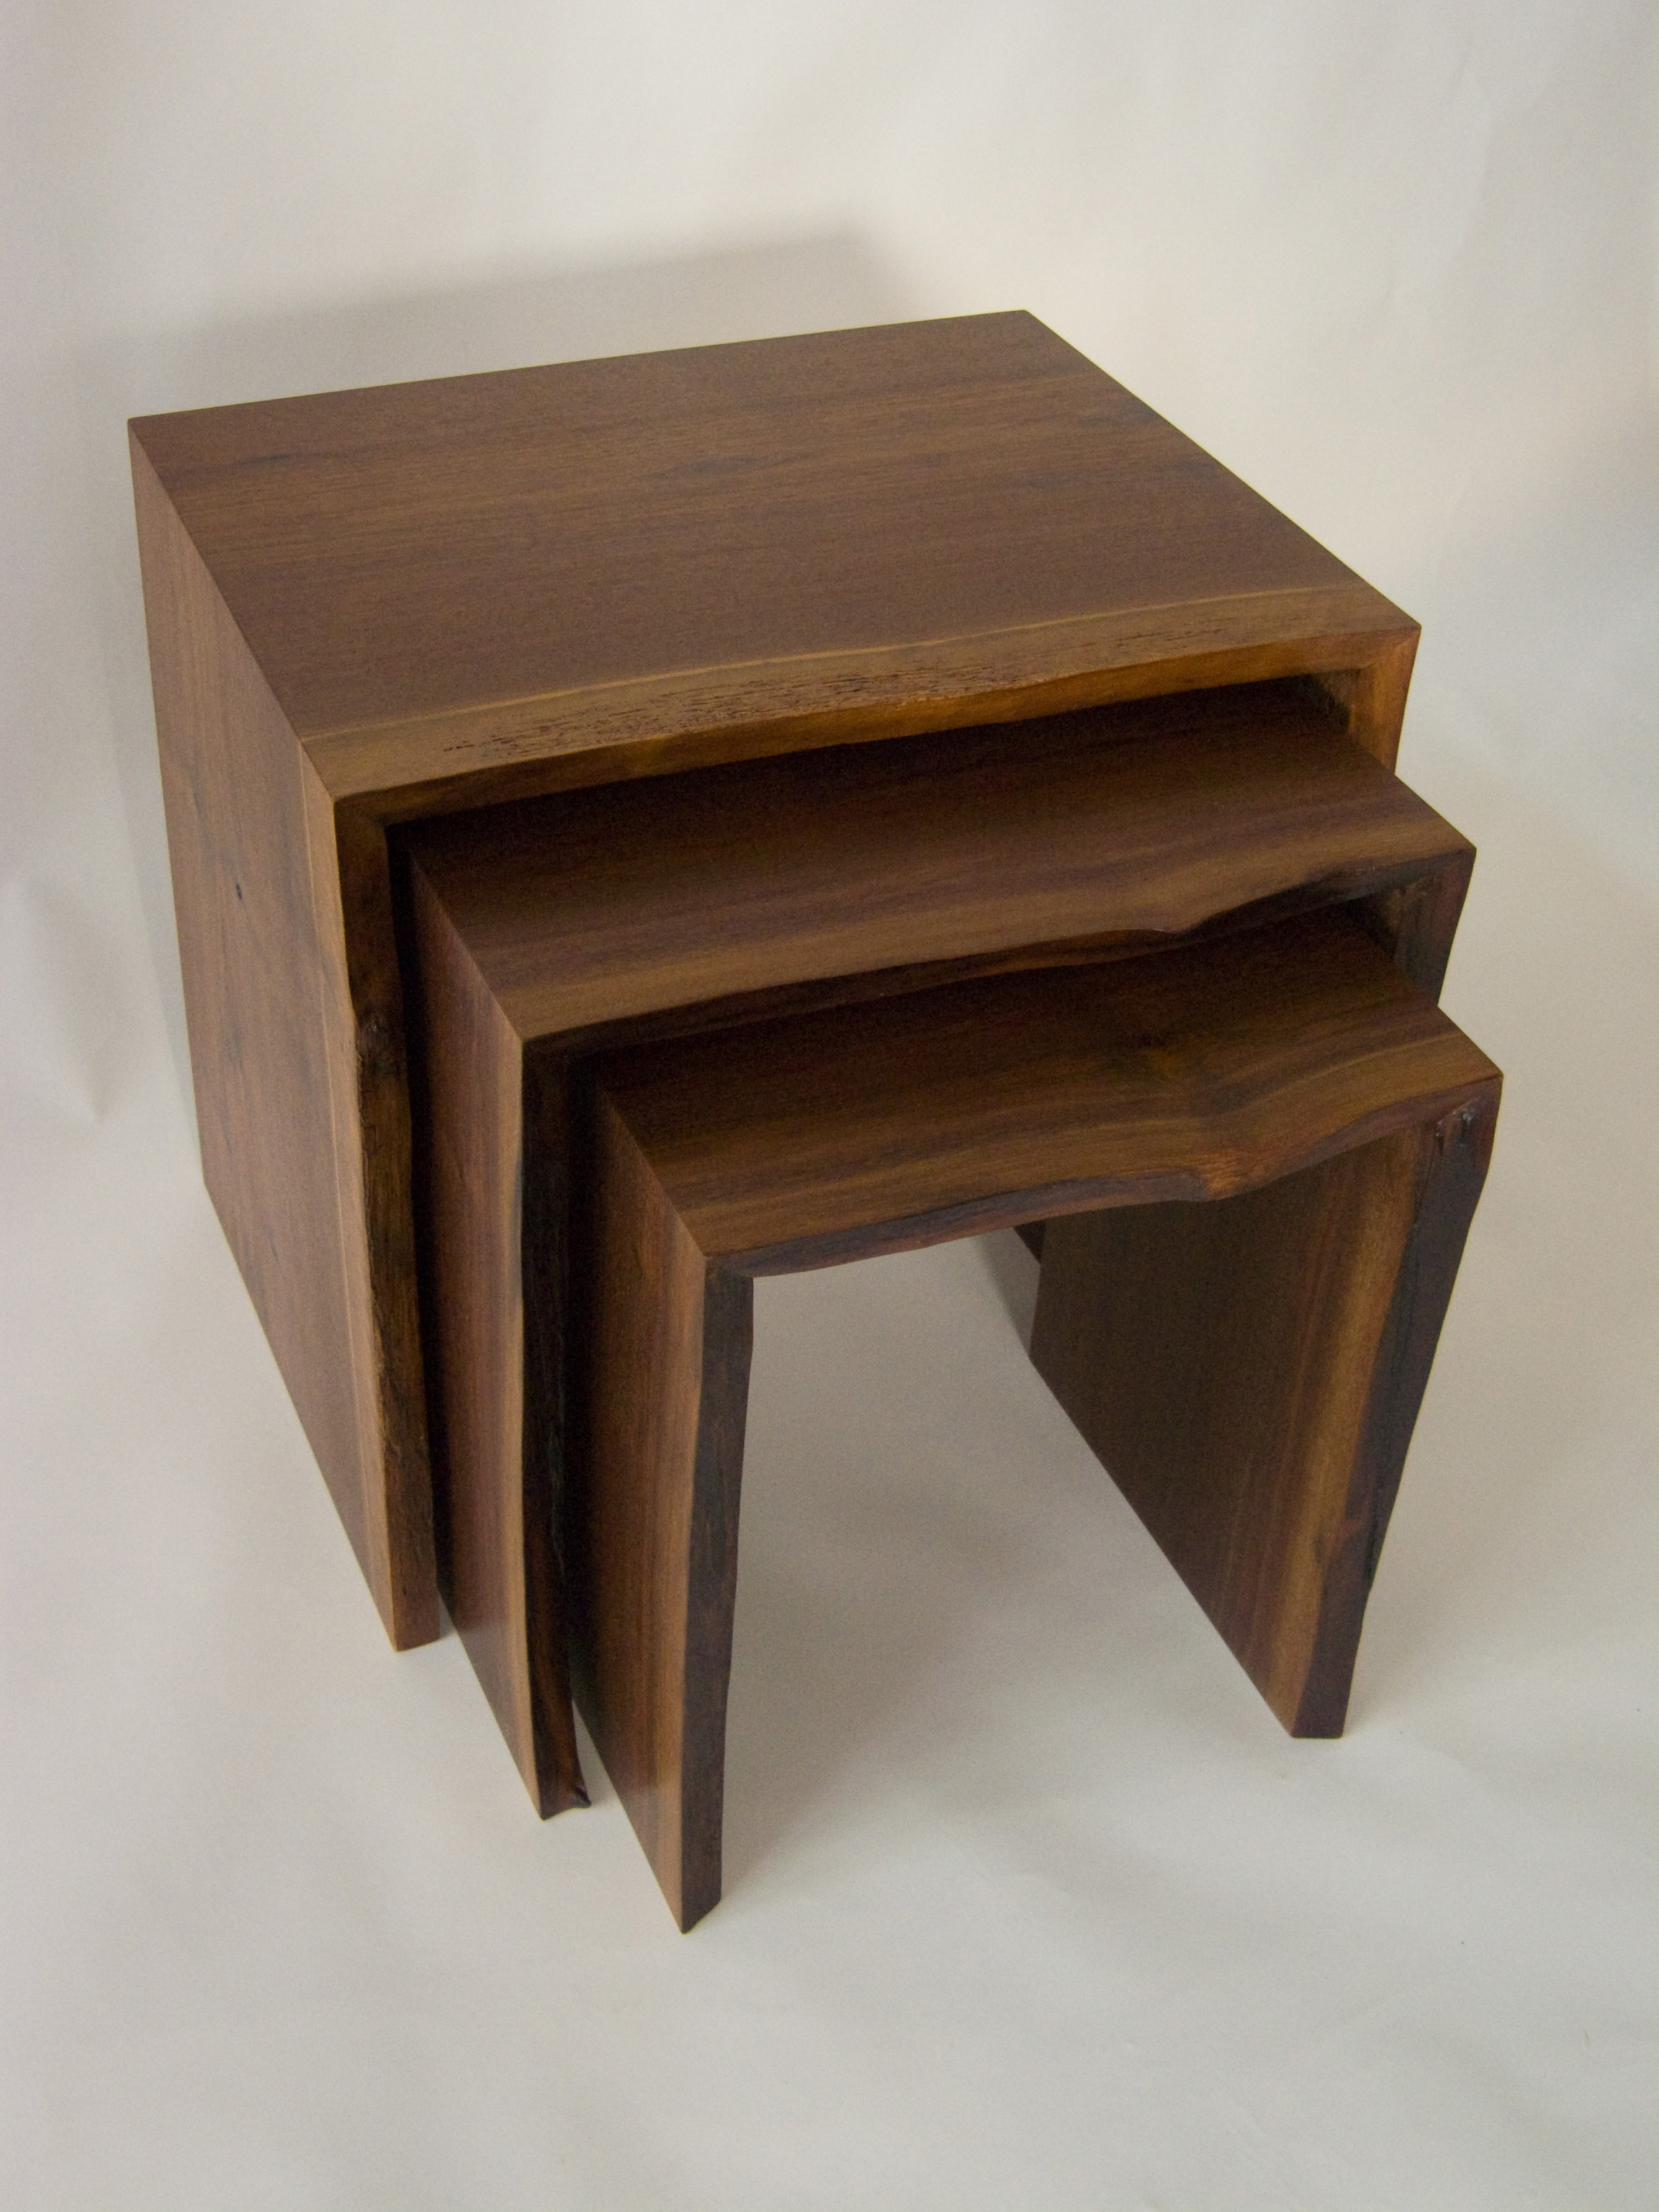 The finished product is a unique set of free edge nesting tables that could not have been made with typical store bought lumber.
Photos By Author
Related Videos:How to Plain Saw Logs in to Lumber

Share tips, start a discussion or ask one of our experts or other students a question.
Already a member? Sign in
19 Responses to “Slabwood Nesting Tables”
Premium Membership
Unlock exclusive member content from our industry experts.
- 24/7 Access to Premium Woodworking Videos, Projects, and Tips
- Step-by-Step Instructional Demos, Plans, and Tutorials
- 50% Off Video Downloads Purchased in the Woodworkers Guild of America Shop
- 2 Printable Woodworking Plans
Unlock exclusive member content from our industry experts.
- 24/7 Access to Premium Woodworking Videos, Projects, and Tips
- Step-by-Step Instructional Demos, Plans, and Tutorials
- 50% Off Video Downloads Purchased in the Woodworkers Guild of America Shop
- 2 Full-Length Video Downloads to Watch Offline
- 2 Printable Woodworking Plans
Gold Membership
$370 Value
Get everything included in Premium plus exclusive Gold Membership benefits.
- 24/7 Access to Premium Woodworking Videos, Projects, and Tips
- Step-by-Step Instructional Demos, Plans, and Tutorials
- 8 Full-Length Video Downloads to Watch Offline
- 3 Full-Length Woodworking Classes to Keep for Life
- 7 Printable Woodworking Plans
- Discounts on Purchase-to-Own Content in the Woodworkers Guild of America Shop
- Access to Ask the Expert Program
- Exclusive GOLD LIVE Streaming Events
I am looking for someone to plain my raw slab of wood 5 x 24 503 927 5217
That was a awesome article and gave me a boat load of ideas ! Absolutely beautiful project !!
A very interesting article. I am interested in the type of saw being used to cut this slab in the photo. Can you give me any information on it please. I have made a number of items thanks to your articles. Cheers
I can remember when I was in high school.I worked in a sawmill.We had a trimmer that cut the edges so they didn't have any ruff edges on the boards and then we would use the edges for our spacers for the boards.You couldn't give ruff cut boards away now that's what every one wants now.At the sawmill they didn't have any waste.They had a big chipper that would chip up any think that they couldn't use.But how time has changed in the last 50 years.
Good stuff, great info, good ideas.
YOUR JOB LOOK GOOD WORK TO CUT LOG TREE AND I HAVE SAW MACHINE AND JIG STAND TO CUT LOG TOO ?
enjoyed your article and would like to learn more about portable sawing and your insight of products. Thanks Gary
This article falls right into what I'm working on. Appreciate the tips. Thx
Good job. I loved it.
Glad I've finally found soetimhng I agree with!