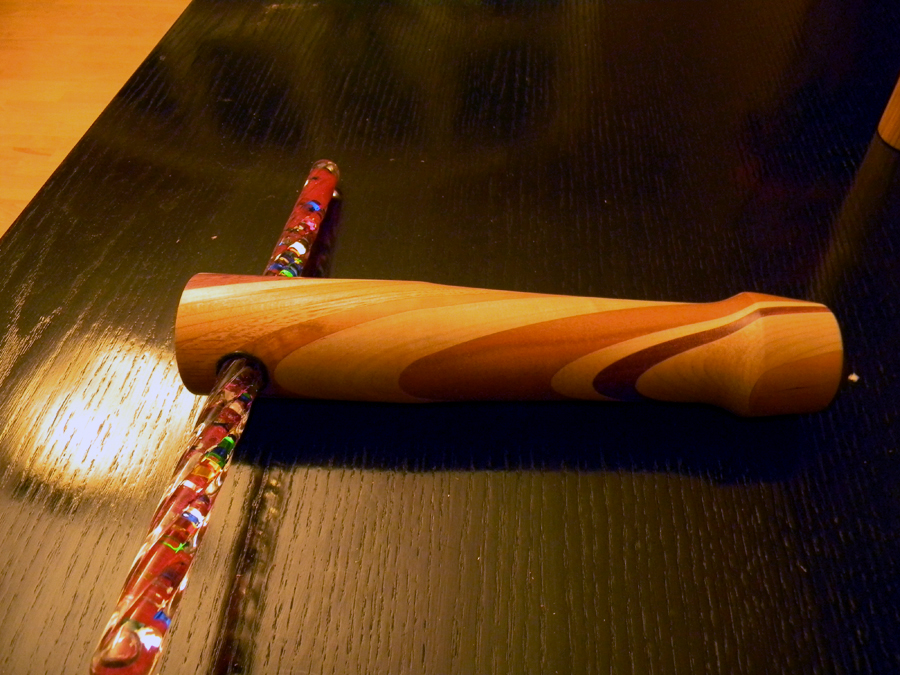
 As I’ve stated in earlier articles, my shop (like many others) generates a lot of small pieces of wood, each one precious. My wife just shakes her head and often accuses me of buying scraps! I’ve turned those piles of scrap into lots of fun projects like cribbage boards, serving trays and napkin holders. This project, a kaleidoscope, has been the most fun use of scraps of all!
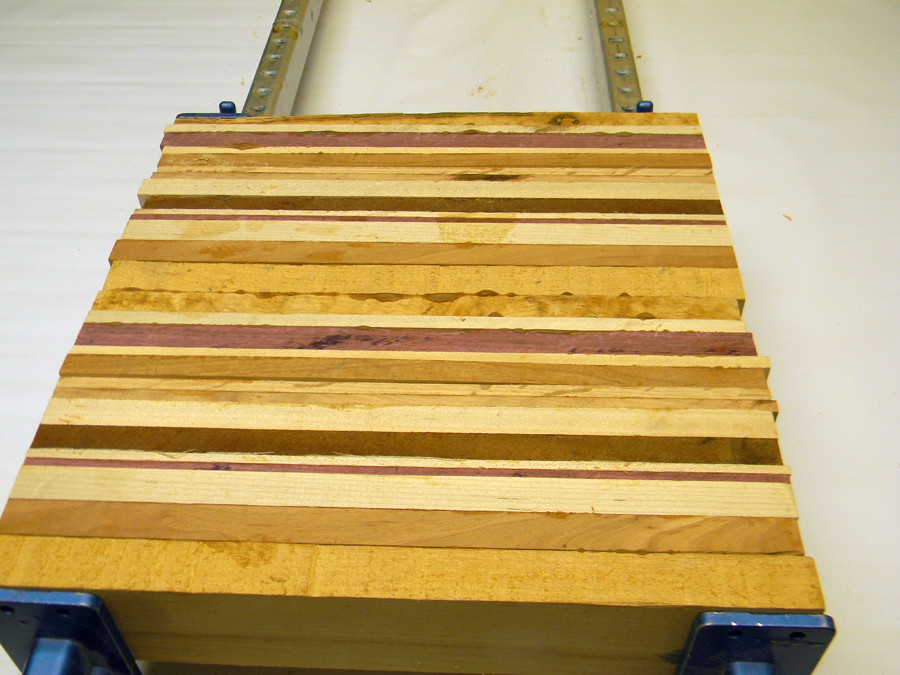
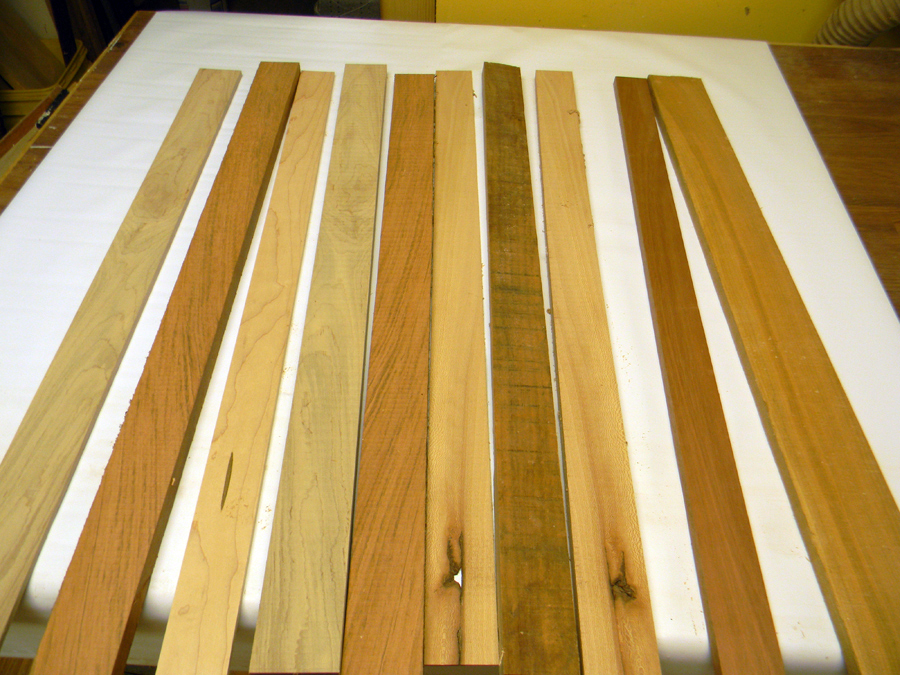 I started with a pile of thin hardwood pieces in contrasting colors. The pieces need to be 2″ or more wide and at least 12″ long.
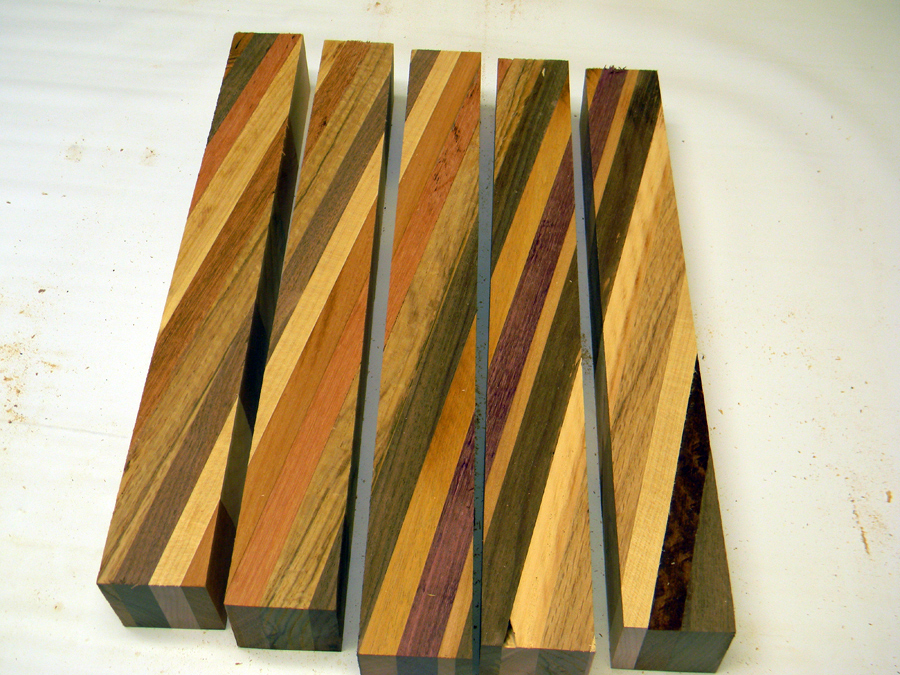
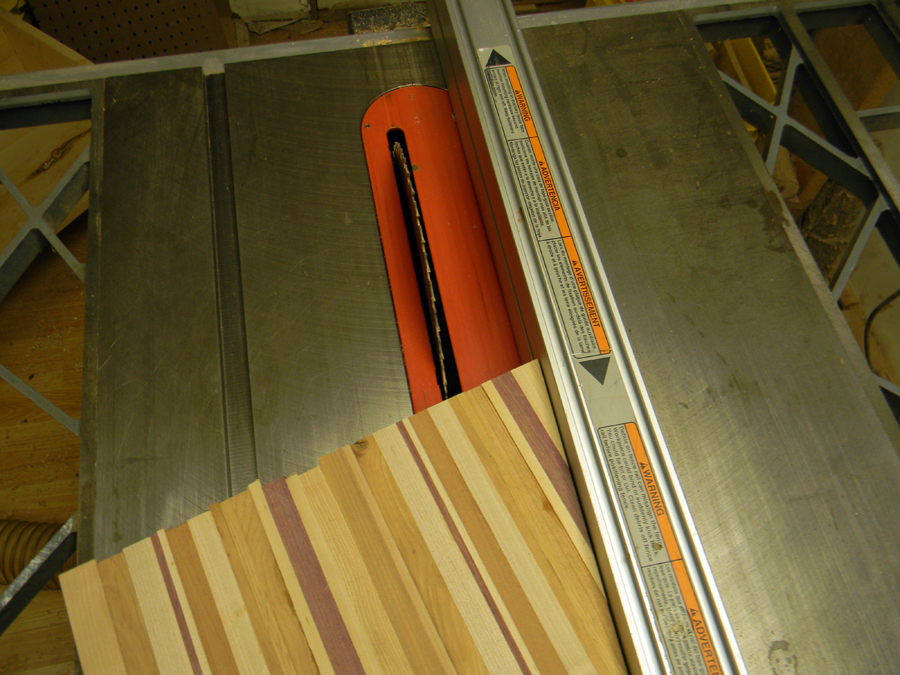 Once the glue has time to cure (I always let things sit overnight), clean up any rough spots so you get a good, flat surface against your saw table. Set your miter gauge to 15-degrees and rip strips from the block that are equal in thickness and width.
Square the ends of the cut strips and cut them to length, (about 10-1/2″). The key to the length is the source of the kaleidoscope kit (we’re using kits from Craft Supplies USA).
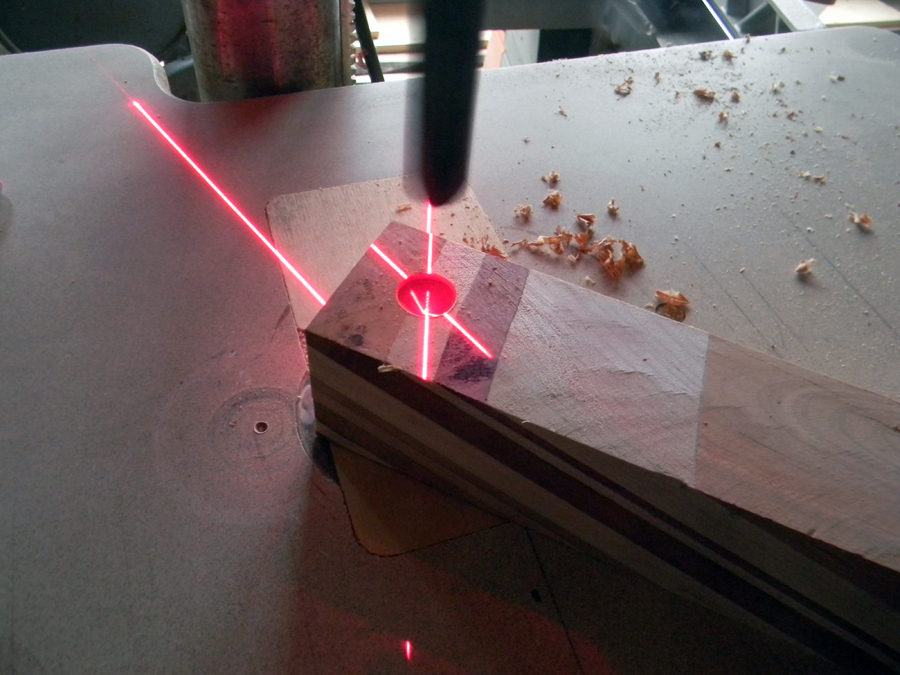 Mark the center of each blank 1-1/4″ from the end and drill a 5/8″ hole through the blank where you’ll later mount the oil wand. On the other end, bore a 3/16″ hole about 1″ deep (this will be the eye-piece). Be sure to drill these holes now (not after turning). It’s important to note that drilling the oil wand hole later in the process could result in some ugly tear-out!
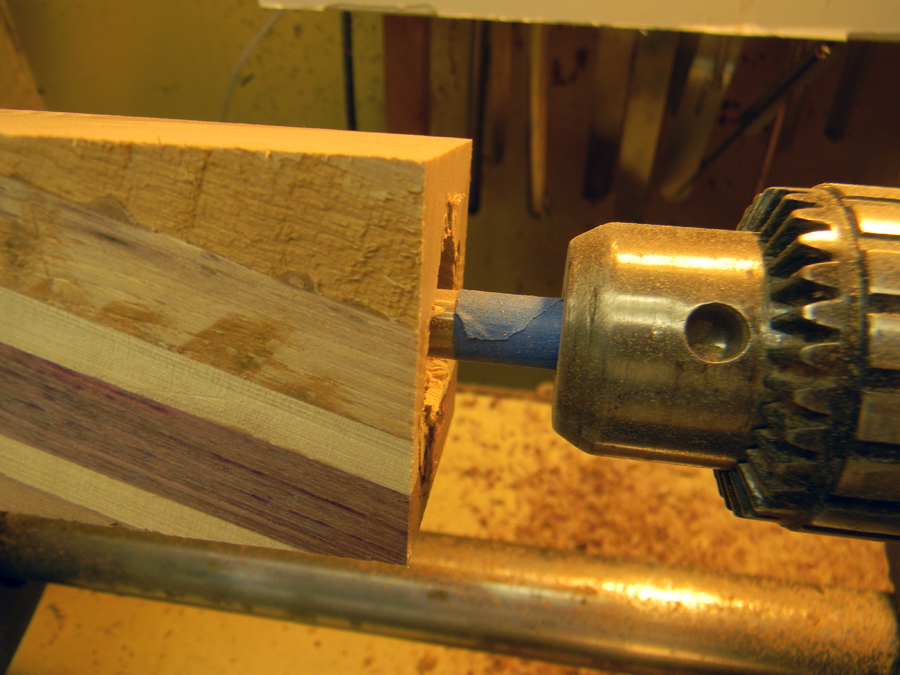 Mark the centers on the wand end (where you just drilled the 5/8″ hole), and mount the blank to the lathe. I use a 4-jaw chuck on the headstock. Using the appropriate diameter drill bit (again, dependent on the kit you purchase) bore a hole the length of the kaleidoscope to a depth of 9-1/2″ (I mark the depth limit on the drill bit shaft using masking tape. This becomes the “barrel.)
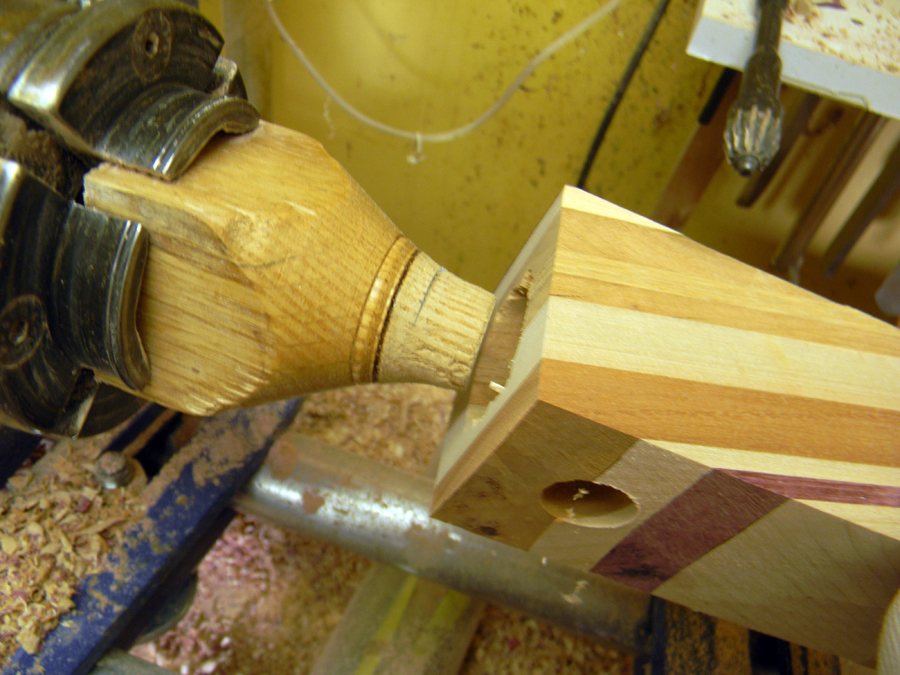 Next, turn a tapered hardwood jam chuck that will fit inside the barrel and mount in your lathe chuck. Mount the kaleidoscope blank to the headstock (use a live center in the eye piece hole for the tailstock end).
Use a roughing gouge to round out your blank, then turn the profile your imagination suggests. Sand as necessary and apply finish. Once removed from the lathe, hand-sand the large bored hole to remove loose material and permit a nice finish for the first inch or so. Finally, bore the eye-piece hole out to 1/4″.
I used compressed air to remove all dust and chips from the bored hole, too. You don’t want dust getting into the mirrors after they are inserted.
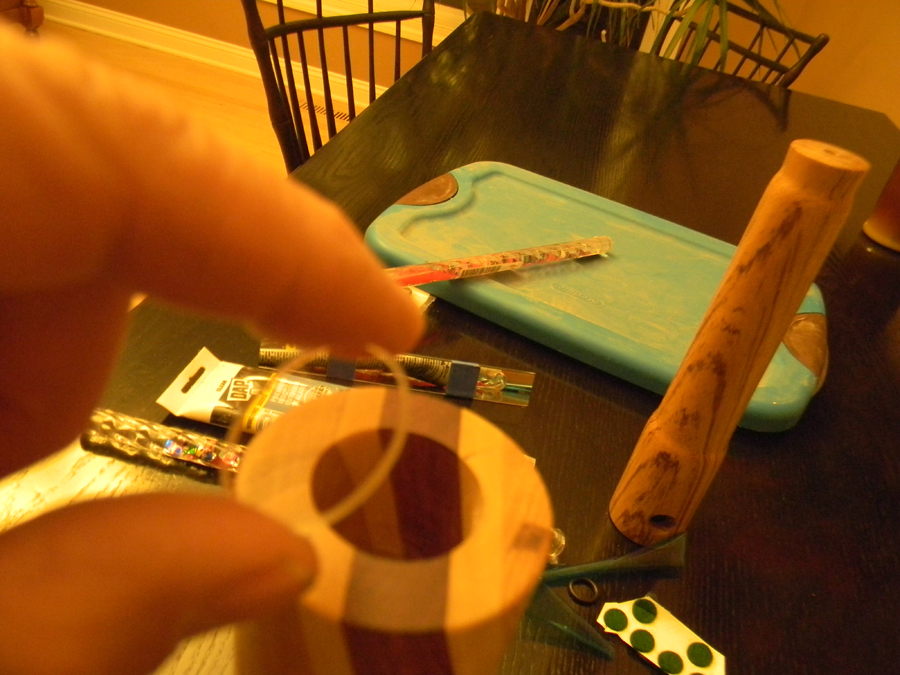
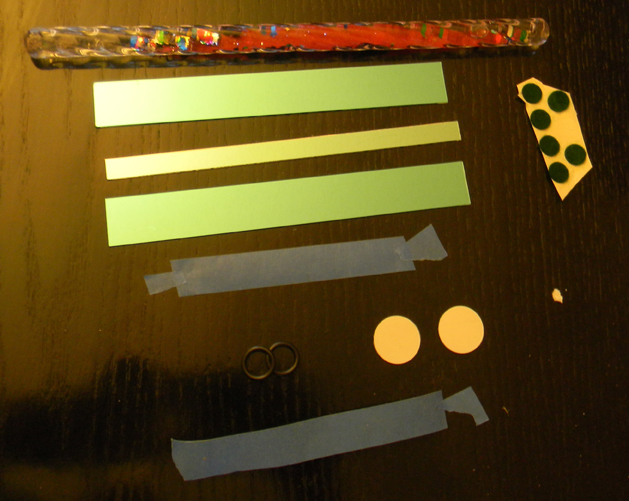 Assemble the final product according to the instructions received with your kit. Our example uses a three-piece mirror set, two dust covers, some felt pads to keep the mirrors “cushioned” inside the barrel, the oil wand and two O-rings for holding the wand in place.
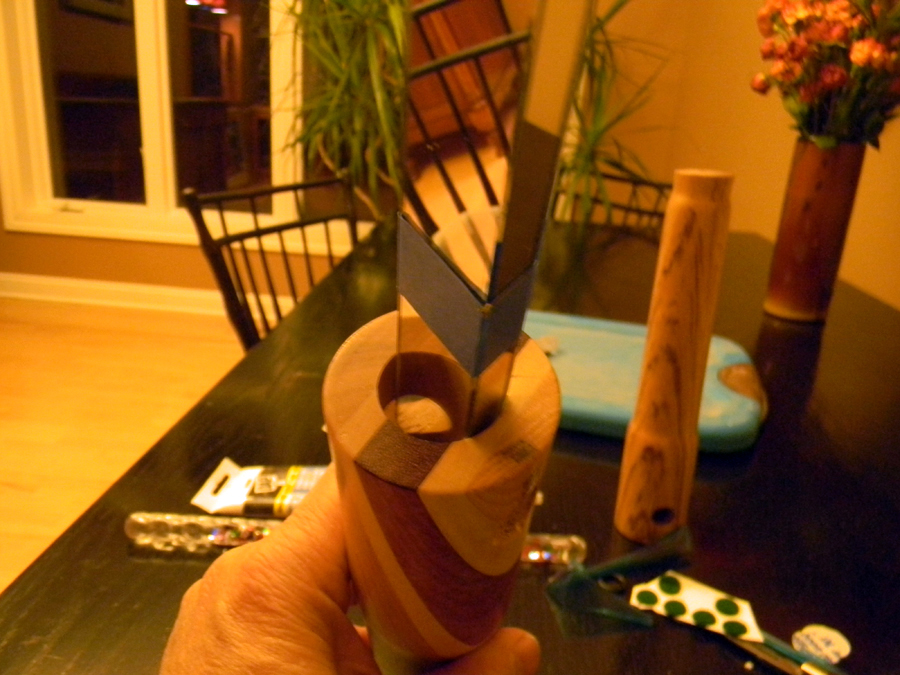 Next, assemble the mirrors into a triangle using a bit of masking tape and insert them into the kaleidoscope barrel.
 Follow the mirrors with the second dust cover. Insert the oil wand through the 5/8” hole and install the O-rings to hold it in position.
Photos By Author
Source:
- Artisan Oil Wand Kaleidoscope Kit
- Craft Supplies
- www.woodturnerscatalog.com
- (800) 551-8876

wondering what type of oil is used in the wand. I have a kaleidoscope that had a test tube which I broke. Trying to make a replacement
Shouldn't the mirrored side be turned inside instead of outside as pictured? Unless the mirror surface is on both sides. And what are the little round green felt stickers for?
In wand kaleidoscope there is no "magic box" or object cell. The particles in the oil wand drift slowly over the mirrors and produce the image you see.
I know what a kaleidoscope is. But what is an "Oil Wand" kaleidoscope?
i recently made a homemade [standard] kaleidoscope and am really pleased with the finished piece, so im ready for the challenge of creating my own "oil" kaleidoscope. your instructions are really appreciated . thanks, virginia ramirez