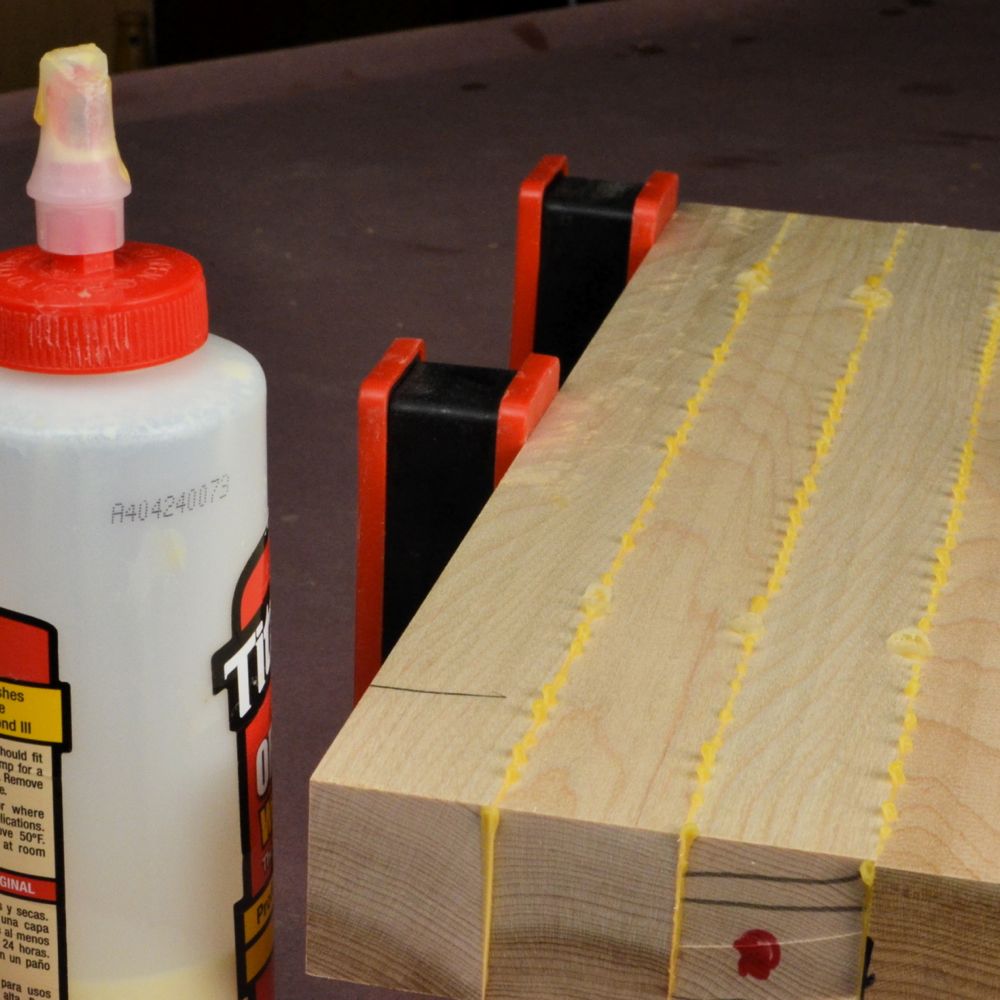
Squeeze-out is actually a good thing. It answers the question: Have you used the right amount of glue? You want a thin bead to come out of the joint—not more, not less.
But squeeze-out is a pain, too. It’s got to come off. Done the hard way, removing squeeze-out can take longer than applying the glue and clamping the wood together. Here are six tips to make the job easier.
Use a Putty Knife
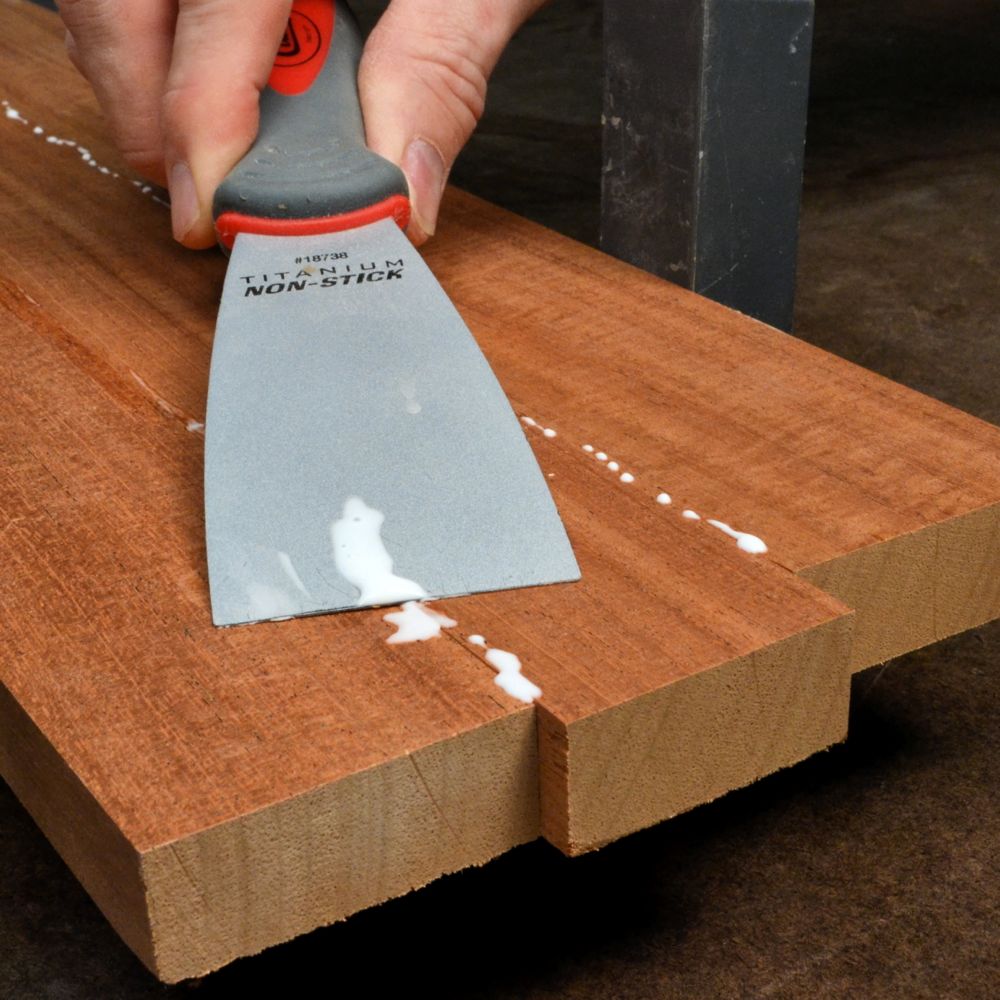
After tightening the last clamp, I usually stop a few moments to catch my breath and grab a cup of tea, then dive into removing the squeeze-out before it hardens.
I figure, if I wait until the squeeze-out is rubbery—the perfect state to remove it—I might get distracted and forget to do it altogether. So I go right at it, even though some of the glue is still runny or soft.
I’ve found that a simple putty knife is the best tool for cleaning up fresh glue. It doesn’t dig into the wood, it’s easy to wipe clean and it won’t rust if you leave it soaking in water.
I’ve got two putty knives: a 2″ for general use and a 1″ for tight spaces.
Wipe on a Damp Rag
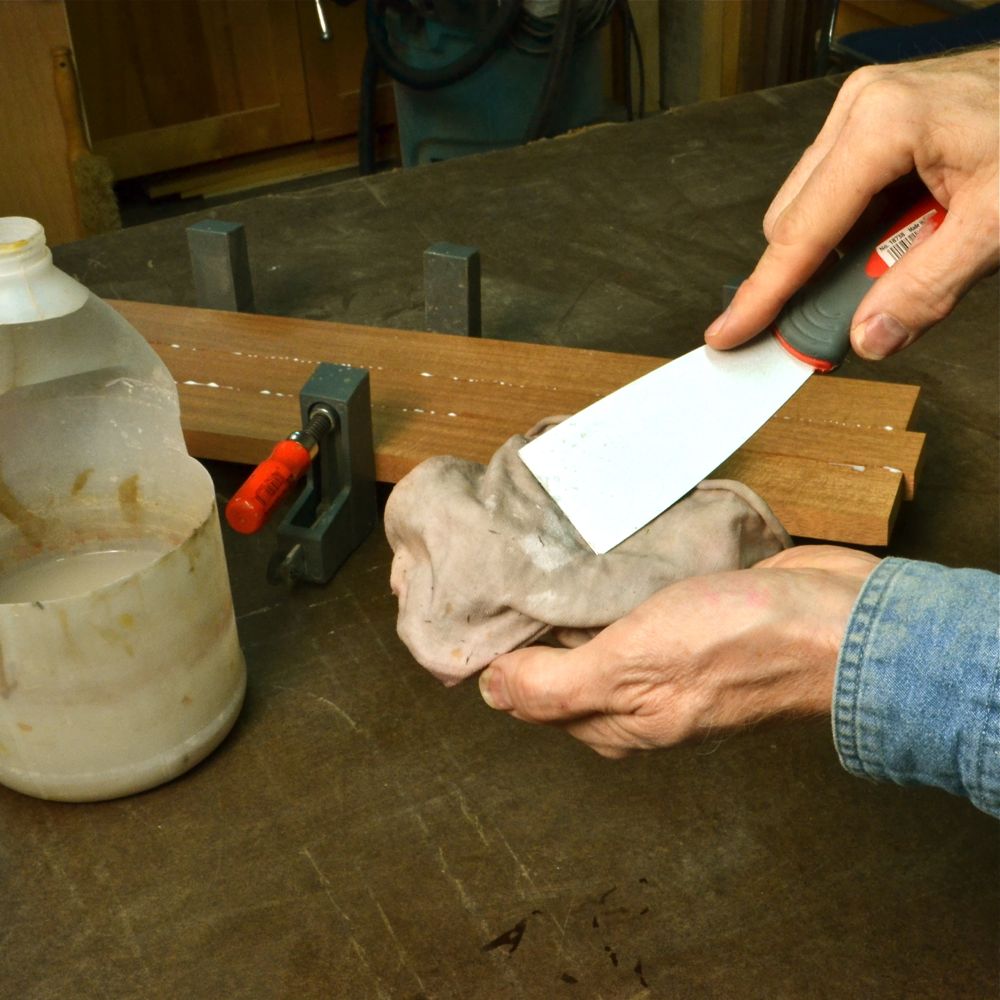
I always use a damp cotton rag to wipe fresh glue off my putty knife. I just keep refolding it to expose a fresh area to wipe the glue on.
Believe it or not, I’ve used the same rag for two years. When I’m done wiping glue, I toss the rag in a bucket of water and let it sit.

Overnight, all of the glue in the rag dissolves into the water. Then the glue settles to the bottom of the bucket. Weird, but true.
When I rinse out the bucket the next day, the glue sediment flows out, too. I wring out the rag and drape it over the bucket, ready to re-use.
Check for Glue You Missed
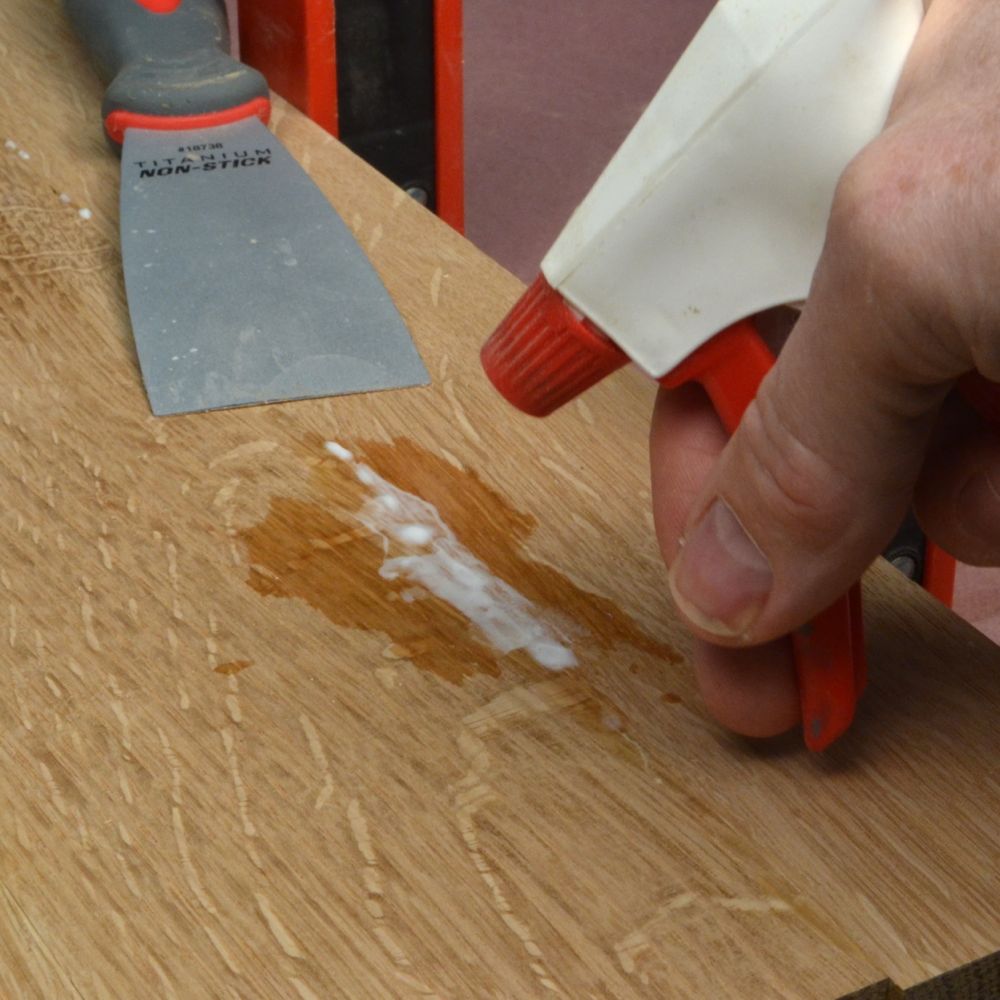
Leaving some glue behind can be a real disaster. When it dries, it turns clear and can be easy to overlook. But when you apply a stain or a finish, OMG.
Stain won’t penetrate a glue film, so you get a splotchy, light-colored area under the glue. Ditto with a topcoat of finish. It’s ugly.
Of course, the trick is to remove all traces of dried glue before you sand or apply a finish. But since the glue is transparent, how are you going to find it?
Here’s the secret: Warm water causes glue to return to its original color. Dried yellow glue turns yellow; white glue turns white. Even after a few weeks.
Warm water also softens the glue. Just wait a few minutes, then remove the glue with a putty knife or scraper. Follow up by wiping hard with a damp cloth.
Around Joints, Clean with a Stick
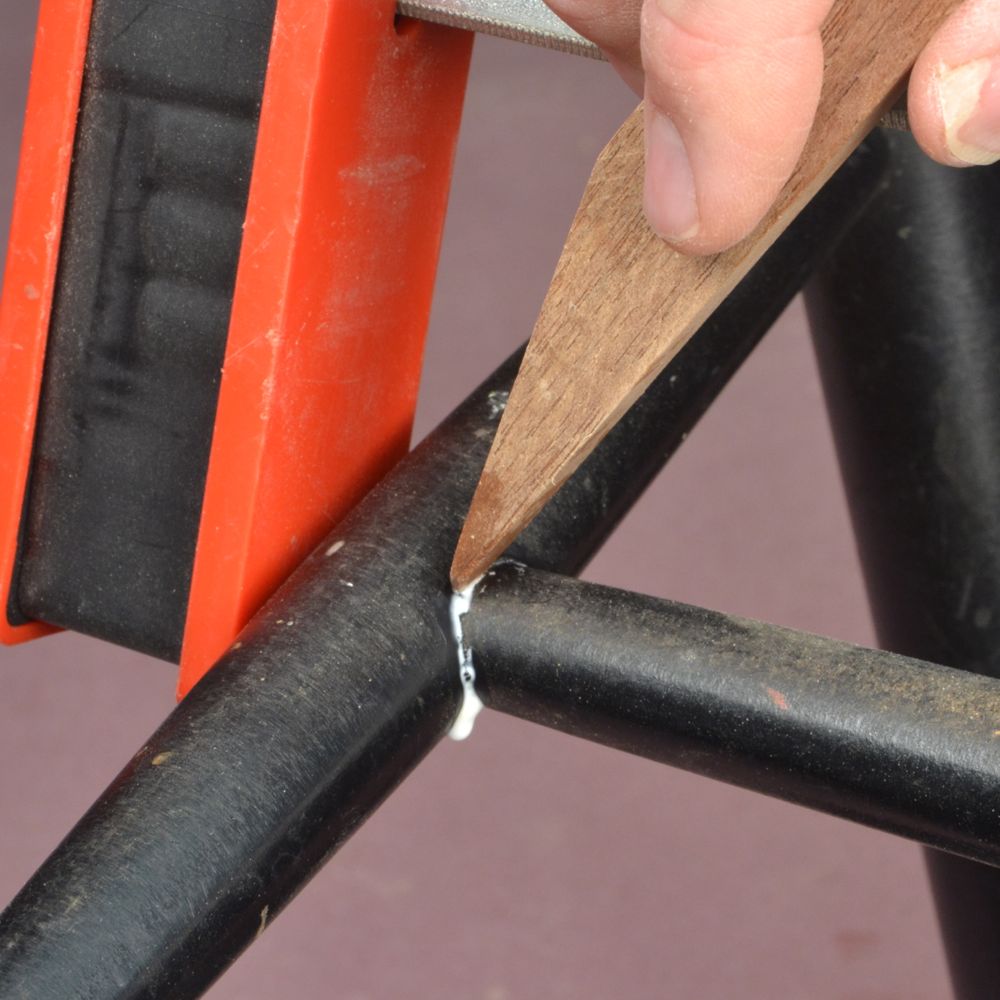
A pointed hardwood stick is the best tool for removing glue squeeze-out in corners where joints come together.
A putty knife or chisel can accidentally gouge the wood. But a tool made of wood can’t do any harm at all.
Let Paper Soak It Up
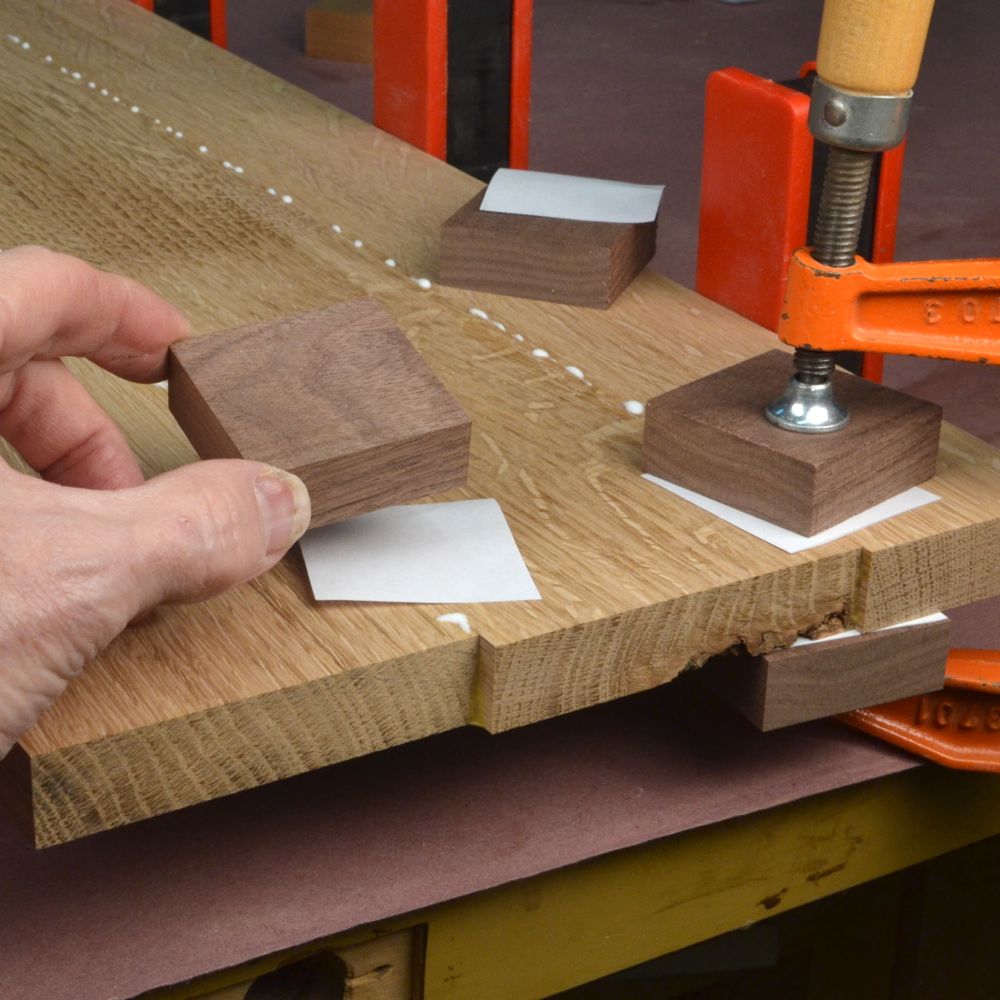
Whenever I use a block to hold glued pieces even, I always place a piece of paper underneath the block to absorb the squeeze-out.
The glue soaks into the paper—not the wood around it. This is far better than using wax paper or tape, which won’t absorb glue.
When I remove the block, I tear the paper off the workpiece. Then I apply some warm water to the shreds of paper that remain and wait a minute or two. The paper softens and is easy to remove with a cloth or putty knife.
Tom’s Ultimate Glue Scraper
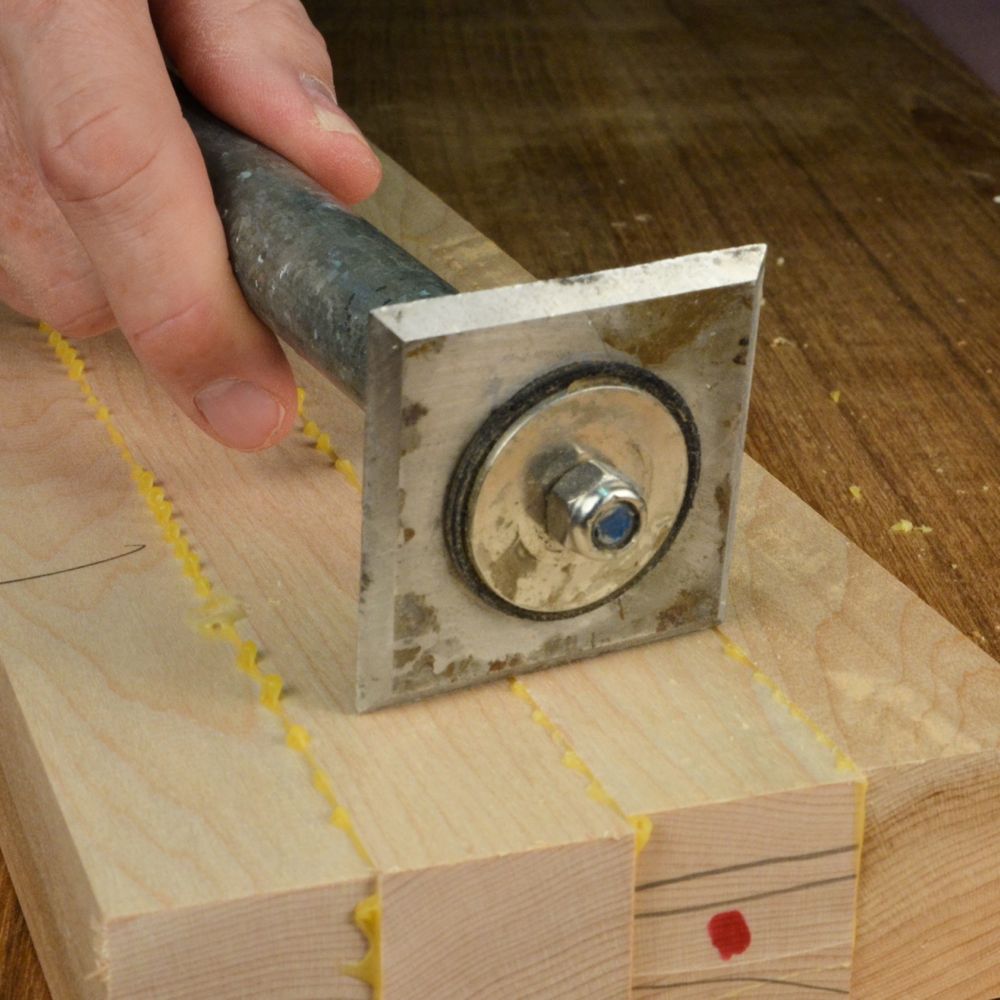
Sometimes, it’s impossible to remove glue squeeze-out right away. The clamps may get in the way. The object may be too heavy to flip over.
The next day—or next week—when you’ve finally got a clear shot at the glue, it’s as hard as a rock.
If you’re gluing boards that will be jointed or planed, you’ve got to remove that glue. If left behind, it will chip, score or dull your blades.
Faced with this situation, I resort to brute force and pull out a shop-made weapon. It’s like a paint scraper on steroids.
The four-sided blade is as hard and sharp as a chisel—it’ll cut through anything. The blade is thick, too: It won’t chatter.
The handle is a 12″ piece of 3/4″ galvanized pipe. It’s heavy, and weight counts. There’s no vibration when I zip through those hard beads of glue.
Making the scraper—the business end
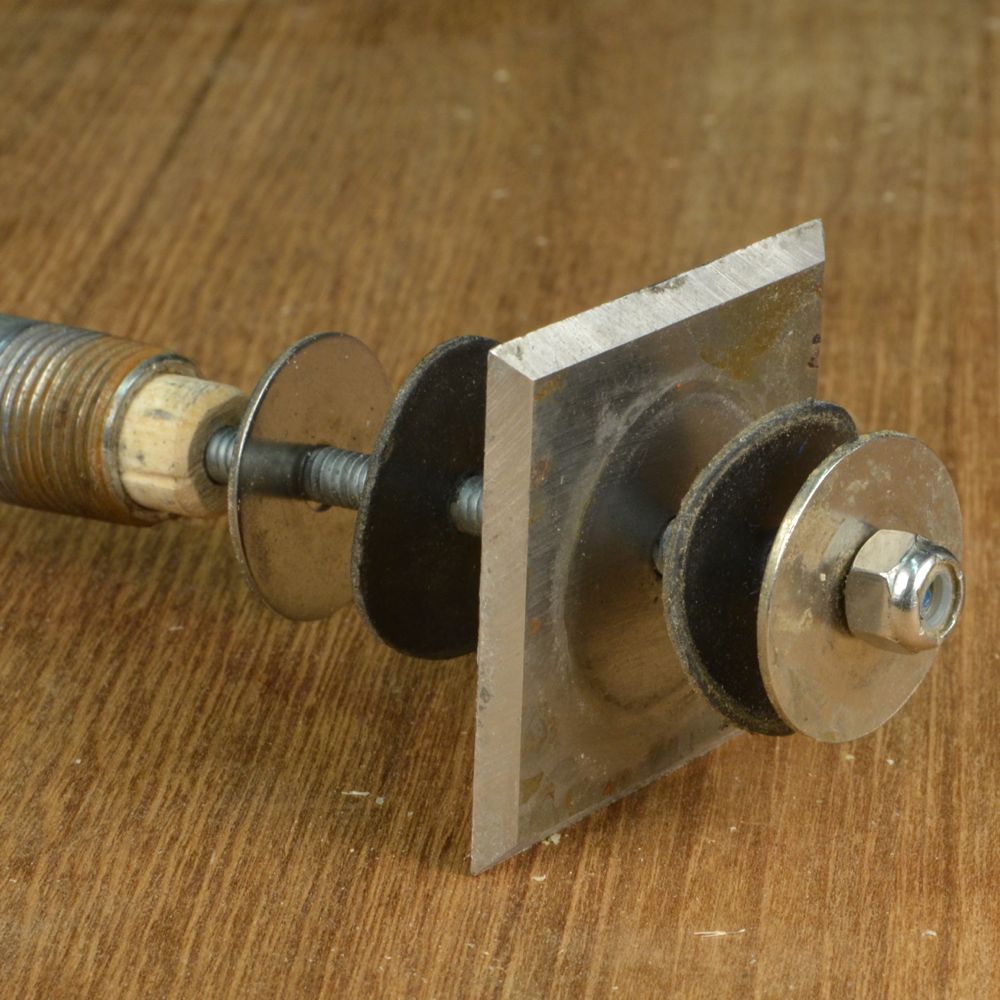
The blade has a 1/4″ hole pre-drilled through its center, perfect for mounting it with 1/4″ all-thread rod. Use a pair of fender washers, a pair of neoprene washers (they help prevent the blade from chattering) and a nylon-insert locknut. Drill a hole through a short piece of dowel to keep the rod centered in the pipe.
Making the scraper—the tail end
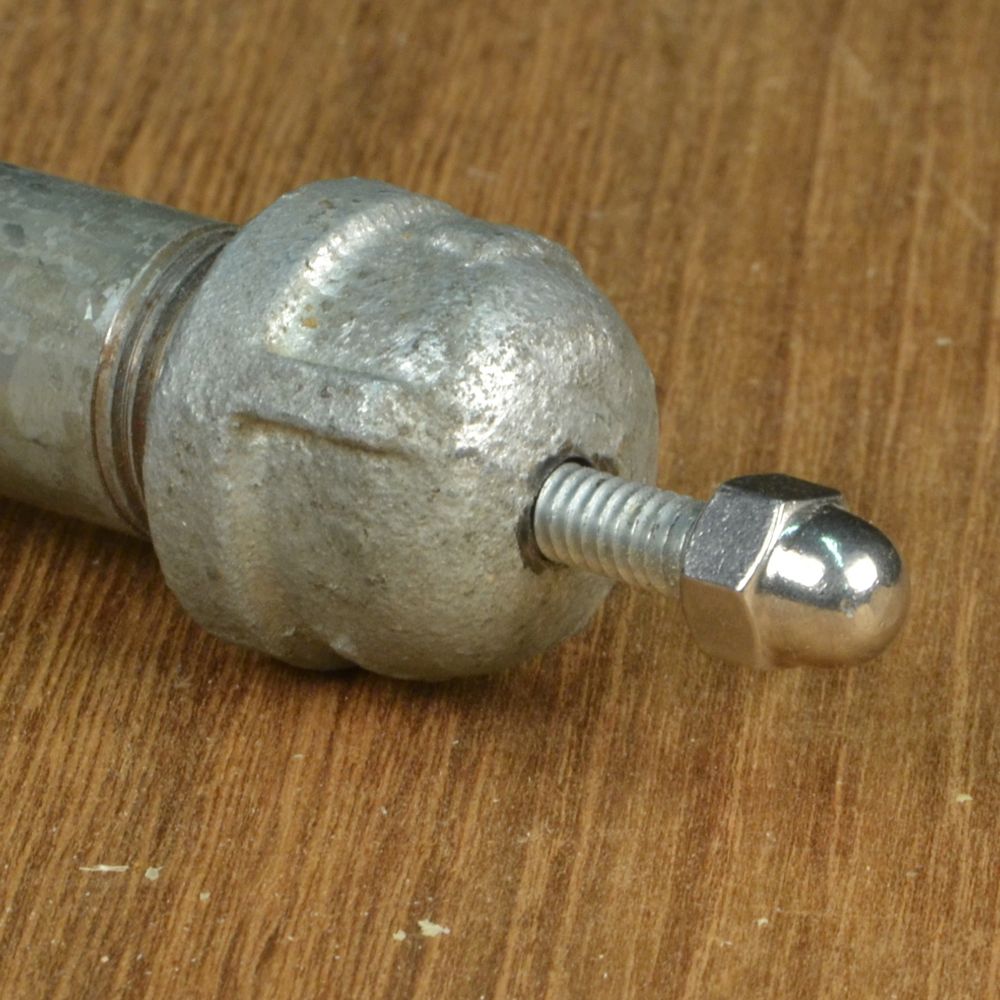
Drill a hole through an end cap for the rod to run through. Thread the end cap onto the pipe, then assemble the scraper, passing the rod through the hole. Cut the rod just long enough to accommodate a cap nut. Tighten the cap nut and stop nut.
Source:
Replacement Glue Scraper Blade, #511-004 Woodworker’s Supply
800-645-9292

As a new wood working hobbyist I love the tips and information I get from the emails. Great job!
Great To Know!
Love the idea for the hardened glue. The last thing I want to do is to ruin my planer and jointer blades.
Good tips on removing glue. Always a problem.
Thanks for your tips on how to find glue that is left behind. No more light spots!
Thanks for the tips about the importance of removing the glue. I understand now why when refinishing projects I had a light spot that wouldn’t take the stain. I am so glad to know how to find left behind glue.
MY PROBLEM IS A ROOKIE MISTAKE GONE WORSE. I HAD TO PUT A RED OAK TABLE PROJECT ON HOLD FOR 6 WEEKS AND WHEN I LEFT IT I HAD GLUED UP THE TOP AND HAD THOUGHT I HAD CLEANED UP THE GLUE SQUEEZE OUT. WHEN I GOT BACK TO WOKING ON THE TOP I SANDED DOWN TO 220 GRIT AND PROCEEDED TO APPLY A MEDIUM OAK STAIN. THE NEXT MORNING THERE WERE TWO AREAS THAT STUCK OUT LIKE SORE THUMBS WHERE THE GLUE HAD NOT BEEN PROPERLY CLEANED UP. THERE IS TO OVERCOAT ON IT YET SO WHAT IS THE BEST WAY TO FIX IT? I WOULD THINK I WILL NEED TO COMPLETELY START OVER WITH ROUGH SAND THE ENTIRE TOP TO CLEAN UP THE GLUE RESIDUE AND THEN SAND DOWN TO THE 220 AND RESTAIN IT. ANY SUGGESTIONS?
I loved the tips I had not used warm water before works great!!😊
Woodworkers Supply no longer exists!! Thus the reference for homemade scraper parts is outdated
Thank you for the glue squeeze out tips. An additional tip I use to clean out glue in corners is a straw. Simply run the end of the straw in the corners and the glue goes up in the straw.