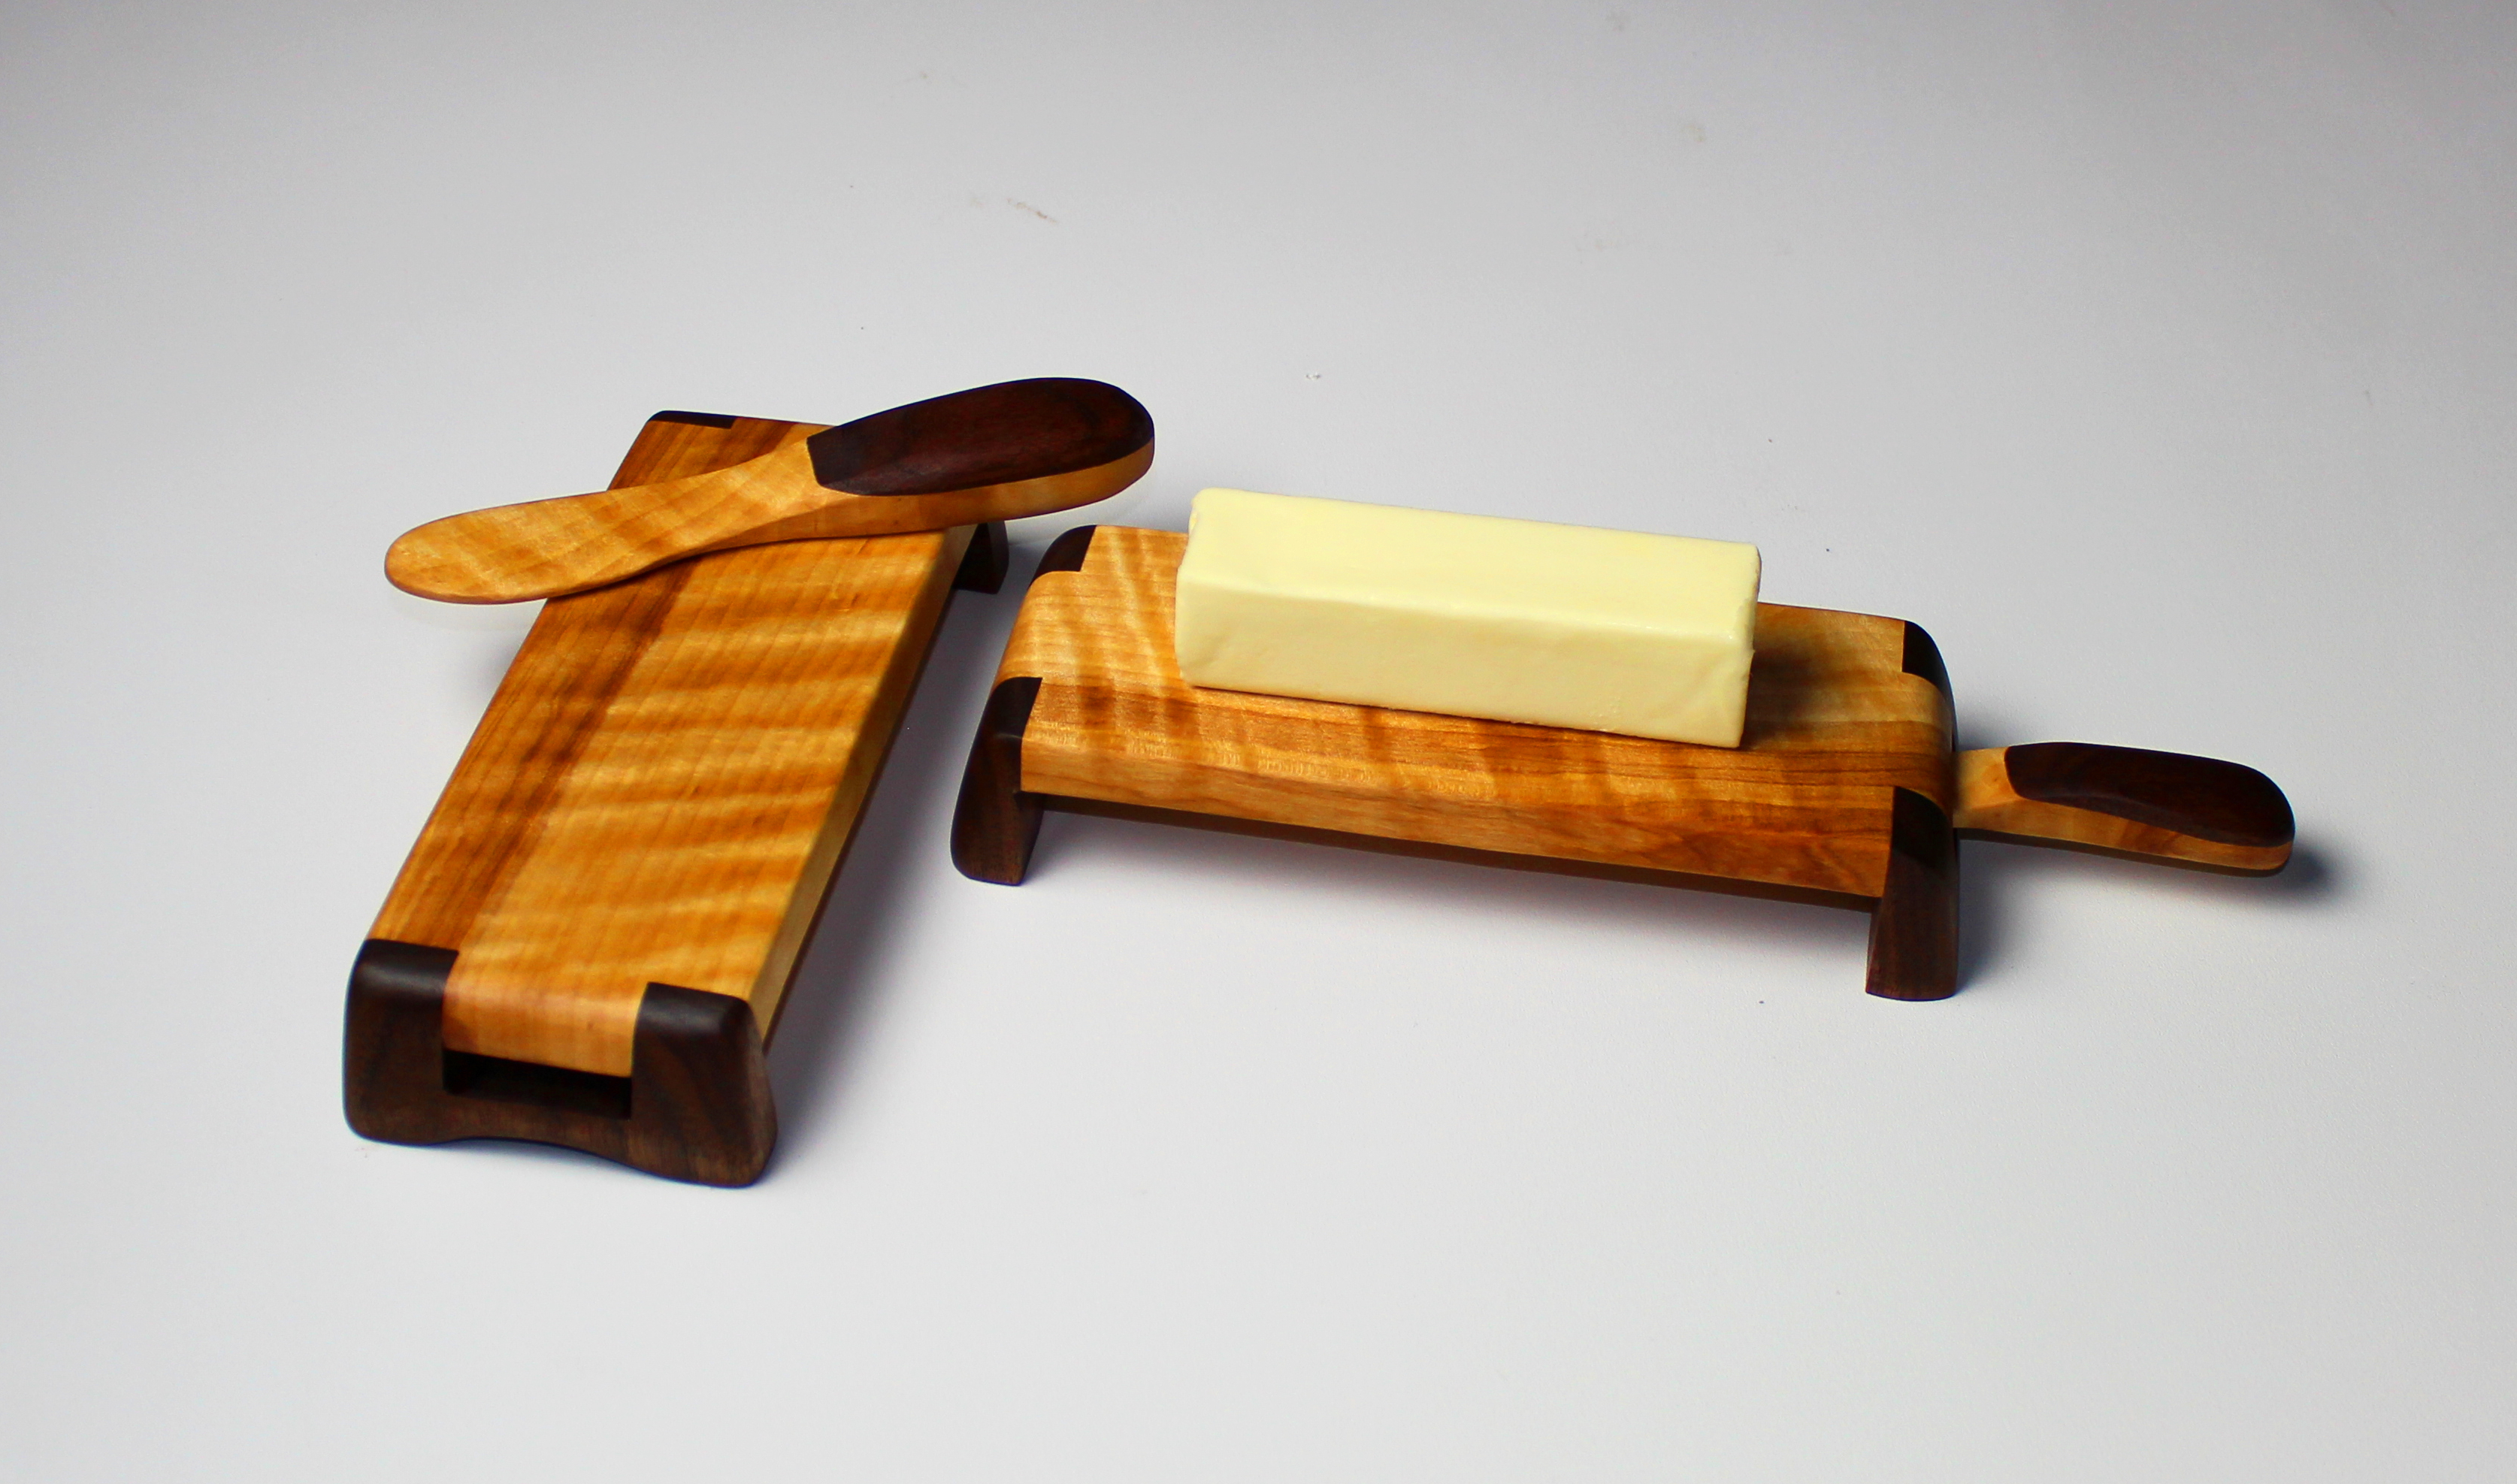
This butter board and spreader set provides a great accent to a special meal. From a woodworking perspective, it is easy to crank out a bunch of these in a single day, and the project also provides a great use for scrap wood.
The convenient on-board storage also provides a nice home for the spreader while not in use. The spreader also doubles as a handle that can be used to pass the set around the dinner table. This project is designed for batch production, and you can easily get caught up on your holiday “shopping” in a single day by utilizing each setup to make a bunch of identical parts.
Small projects like this provide a great use for leftover pieces of special wood such as the curly birch used here. For the base I used some small pieces of walnut that I salvaged from my scrap pile.
Let’s build the base first
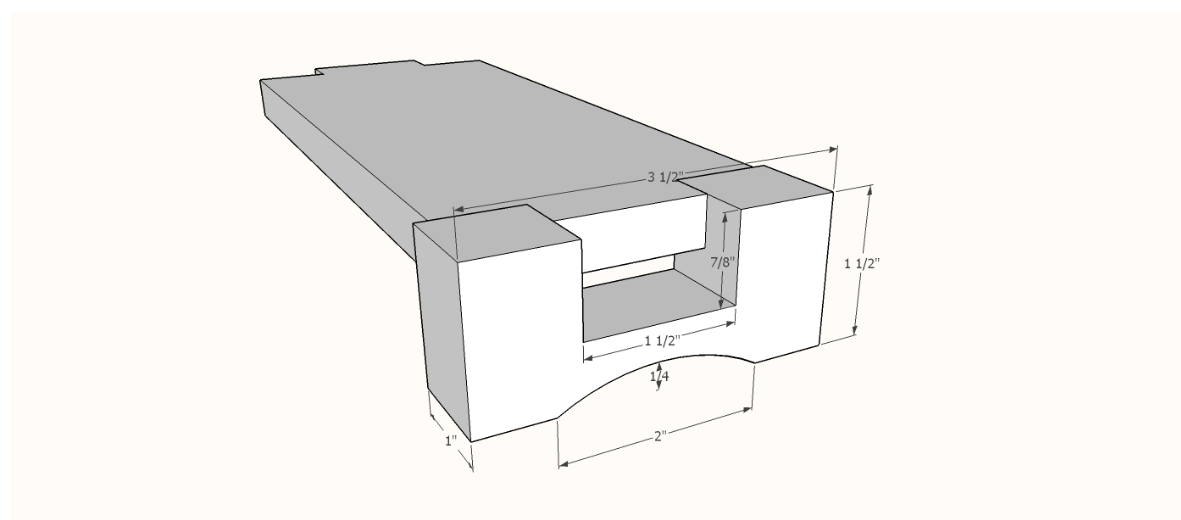
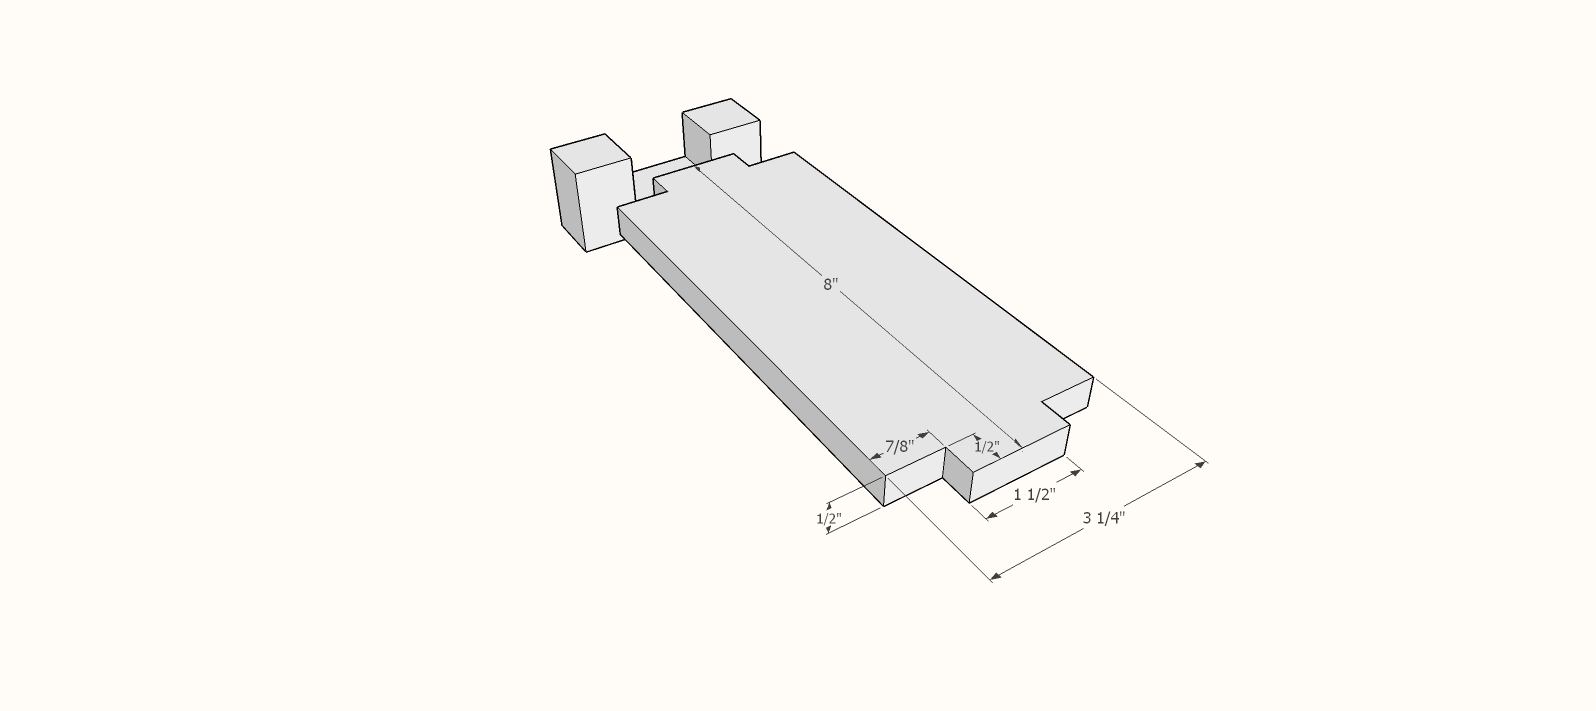
Note that the leg is extra thick, and projects beyond the tenon, to allow an angled cut being made later.
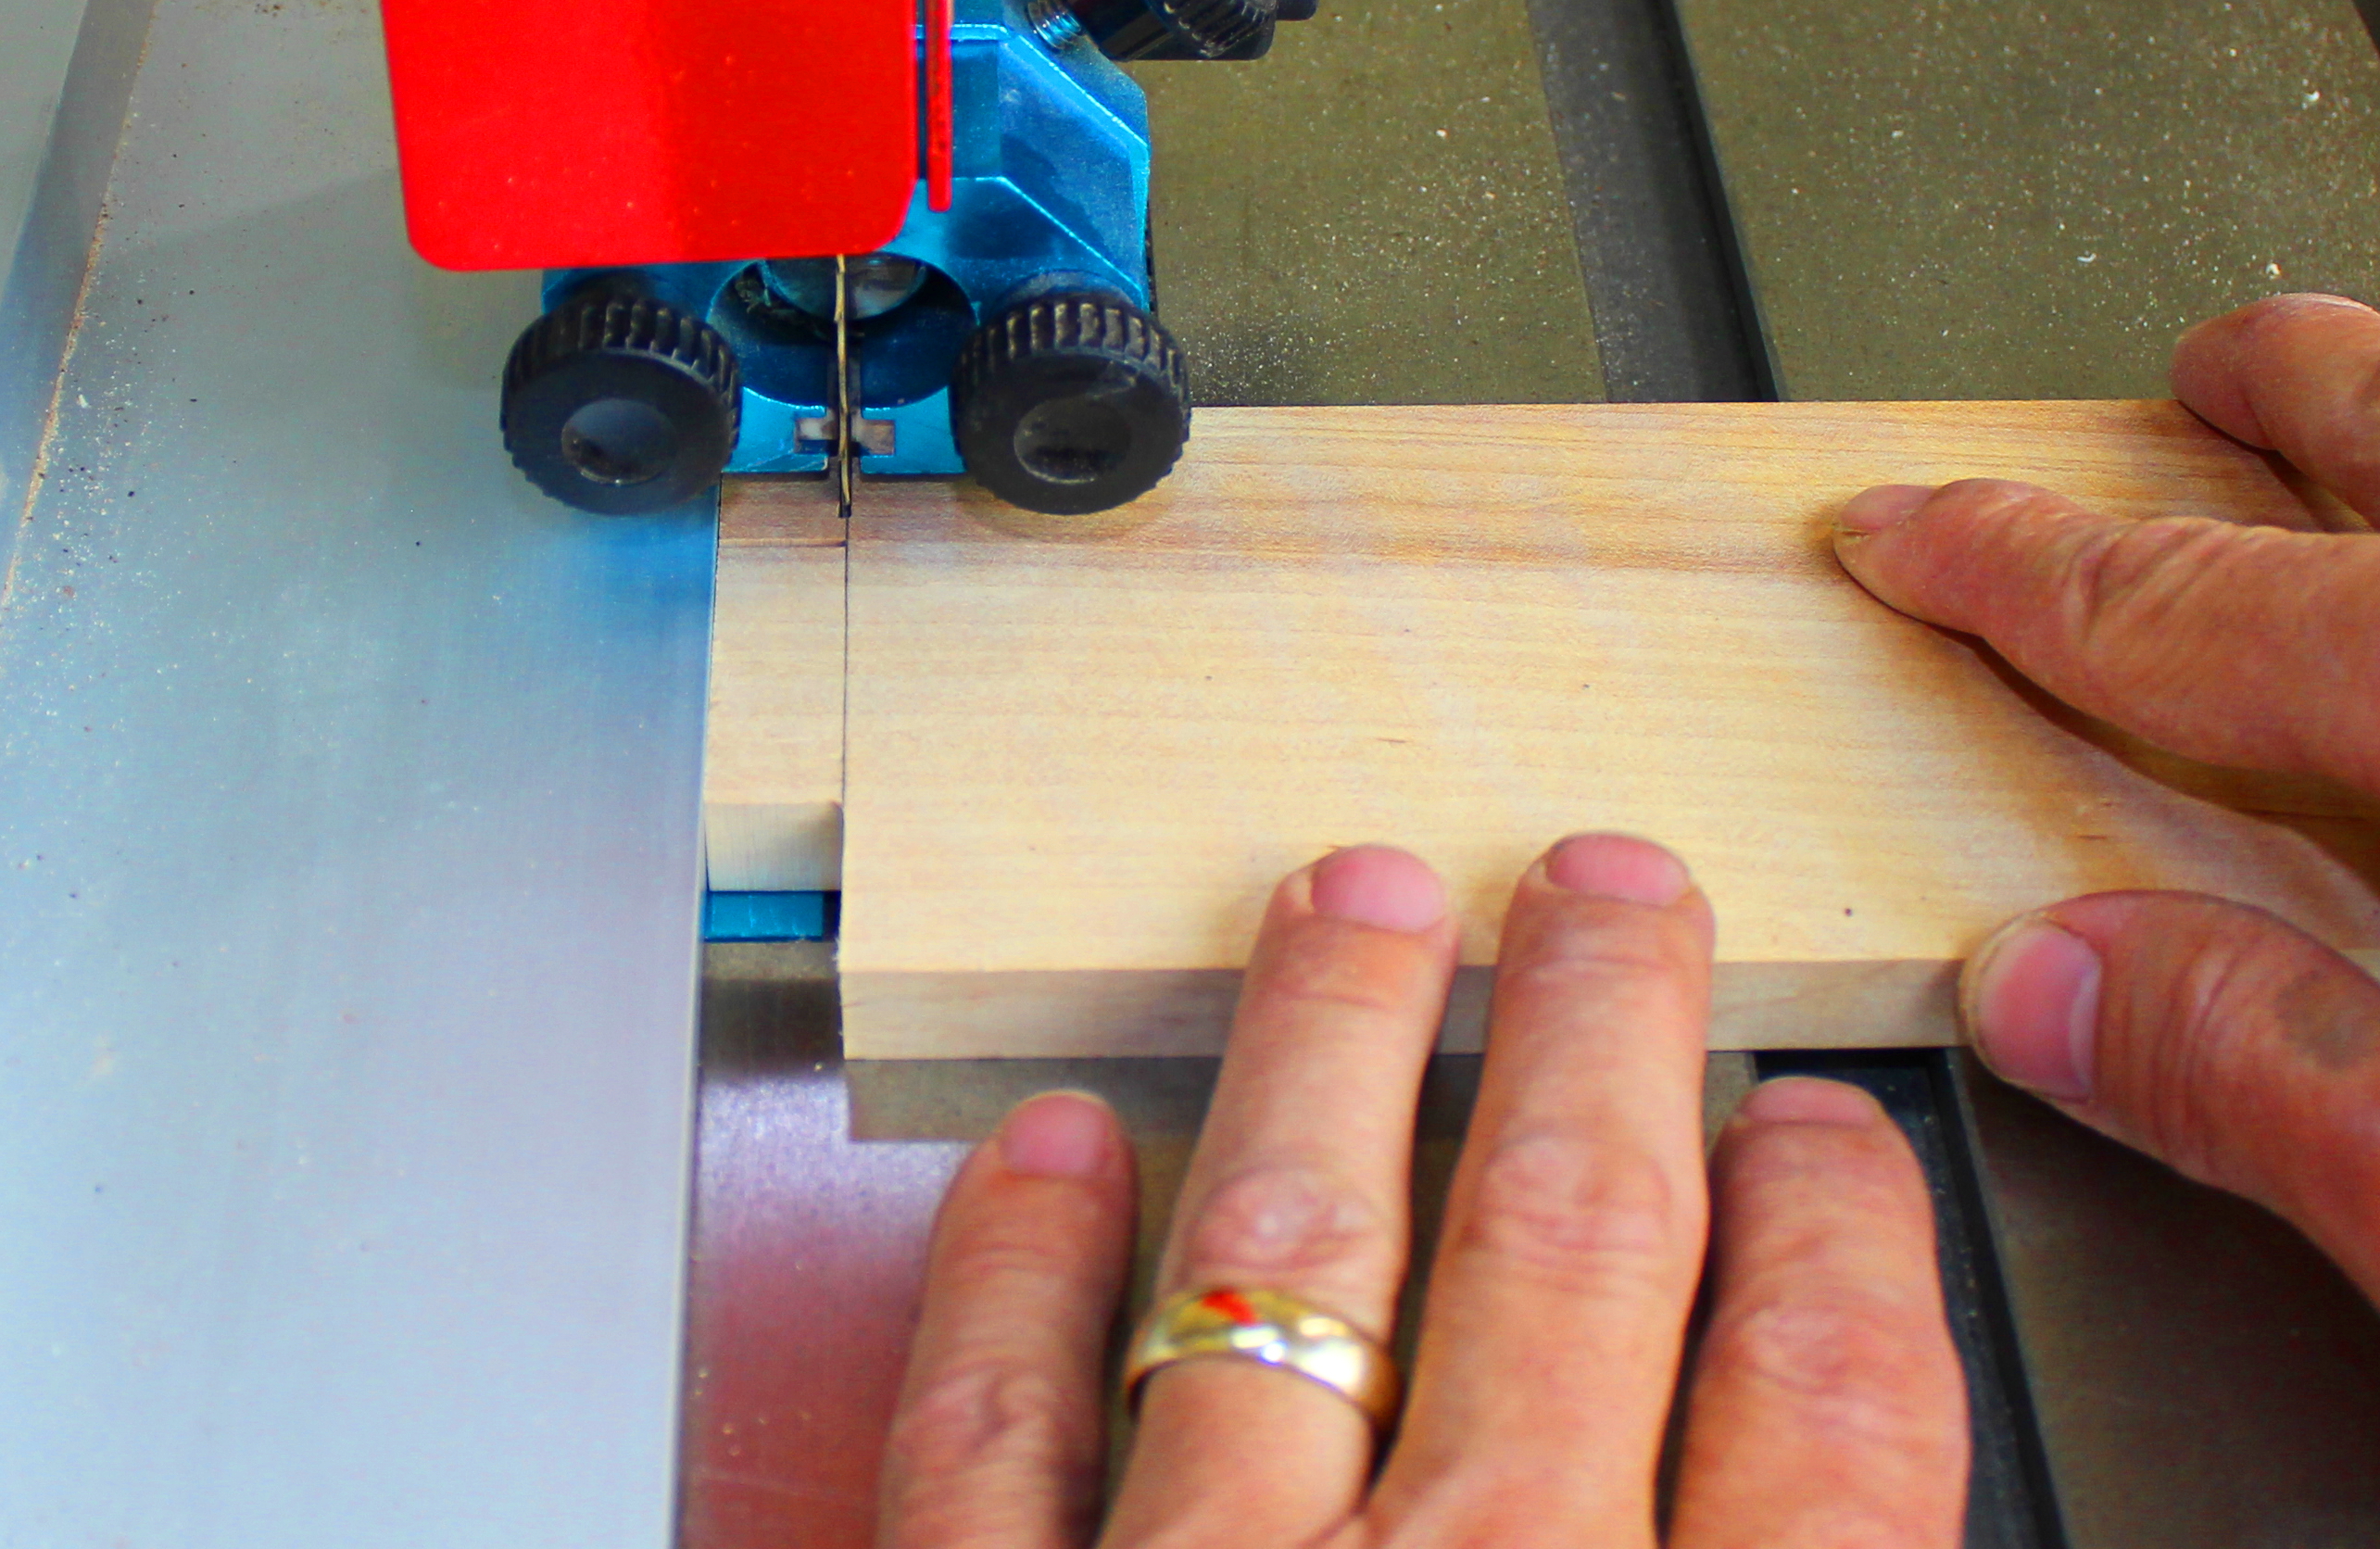
Cut finger joints
I used the band saw extensively on this project, as it provides clean cuts, accuracy, and good safety while dealing with small pieces. Test the fit carefully on scrap pieces so that you get the perfect fit on the finger joints. Once you get each setup dialed in, you can run a bunch of these relatively quickly. Careful setup on the band saw is key here. Take your time at each setup, and do not cut past your lines. Leave the leg pieces long for safe handling until the finger joints are cut and fitted to the top piece.
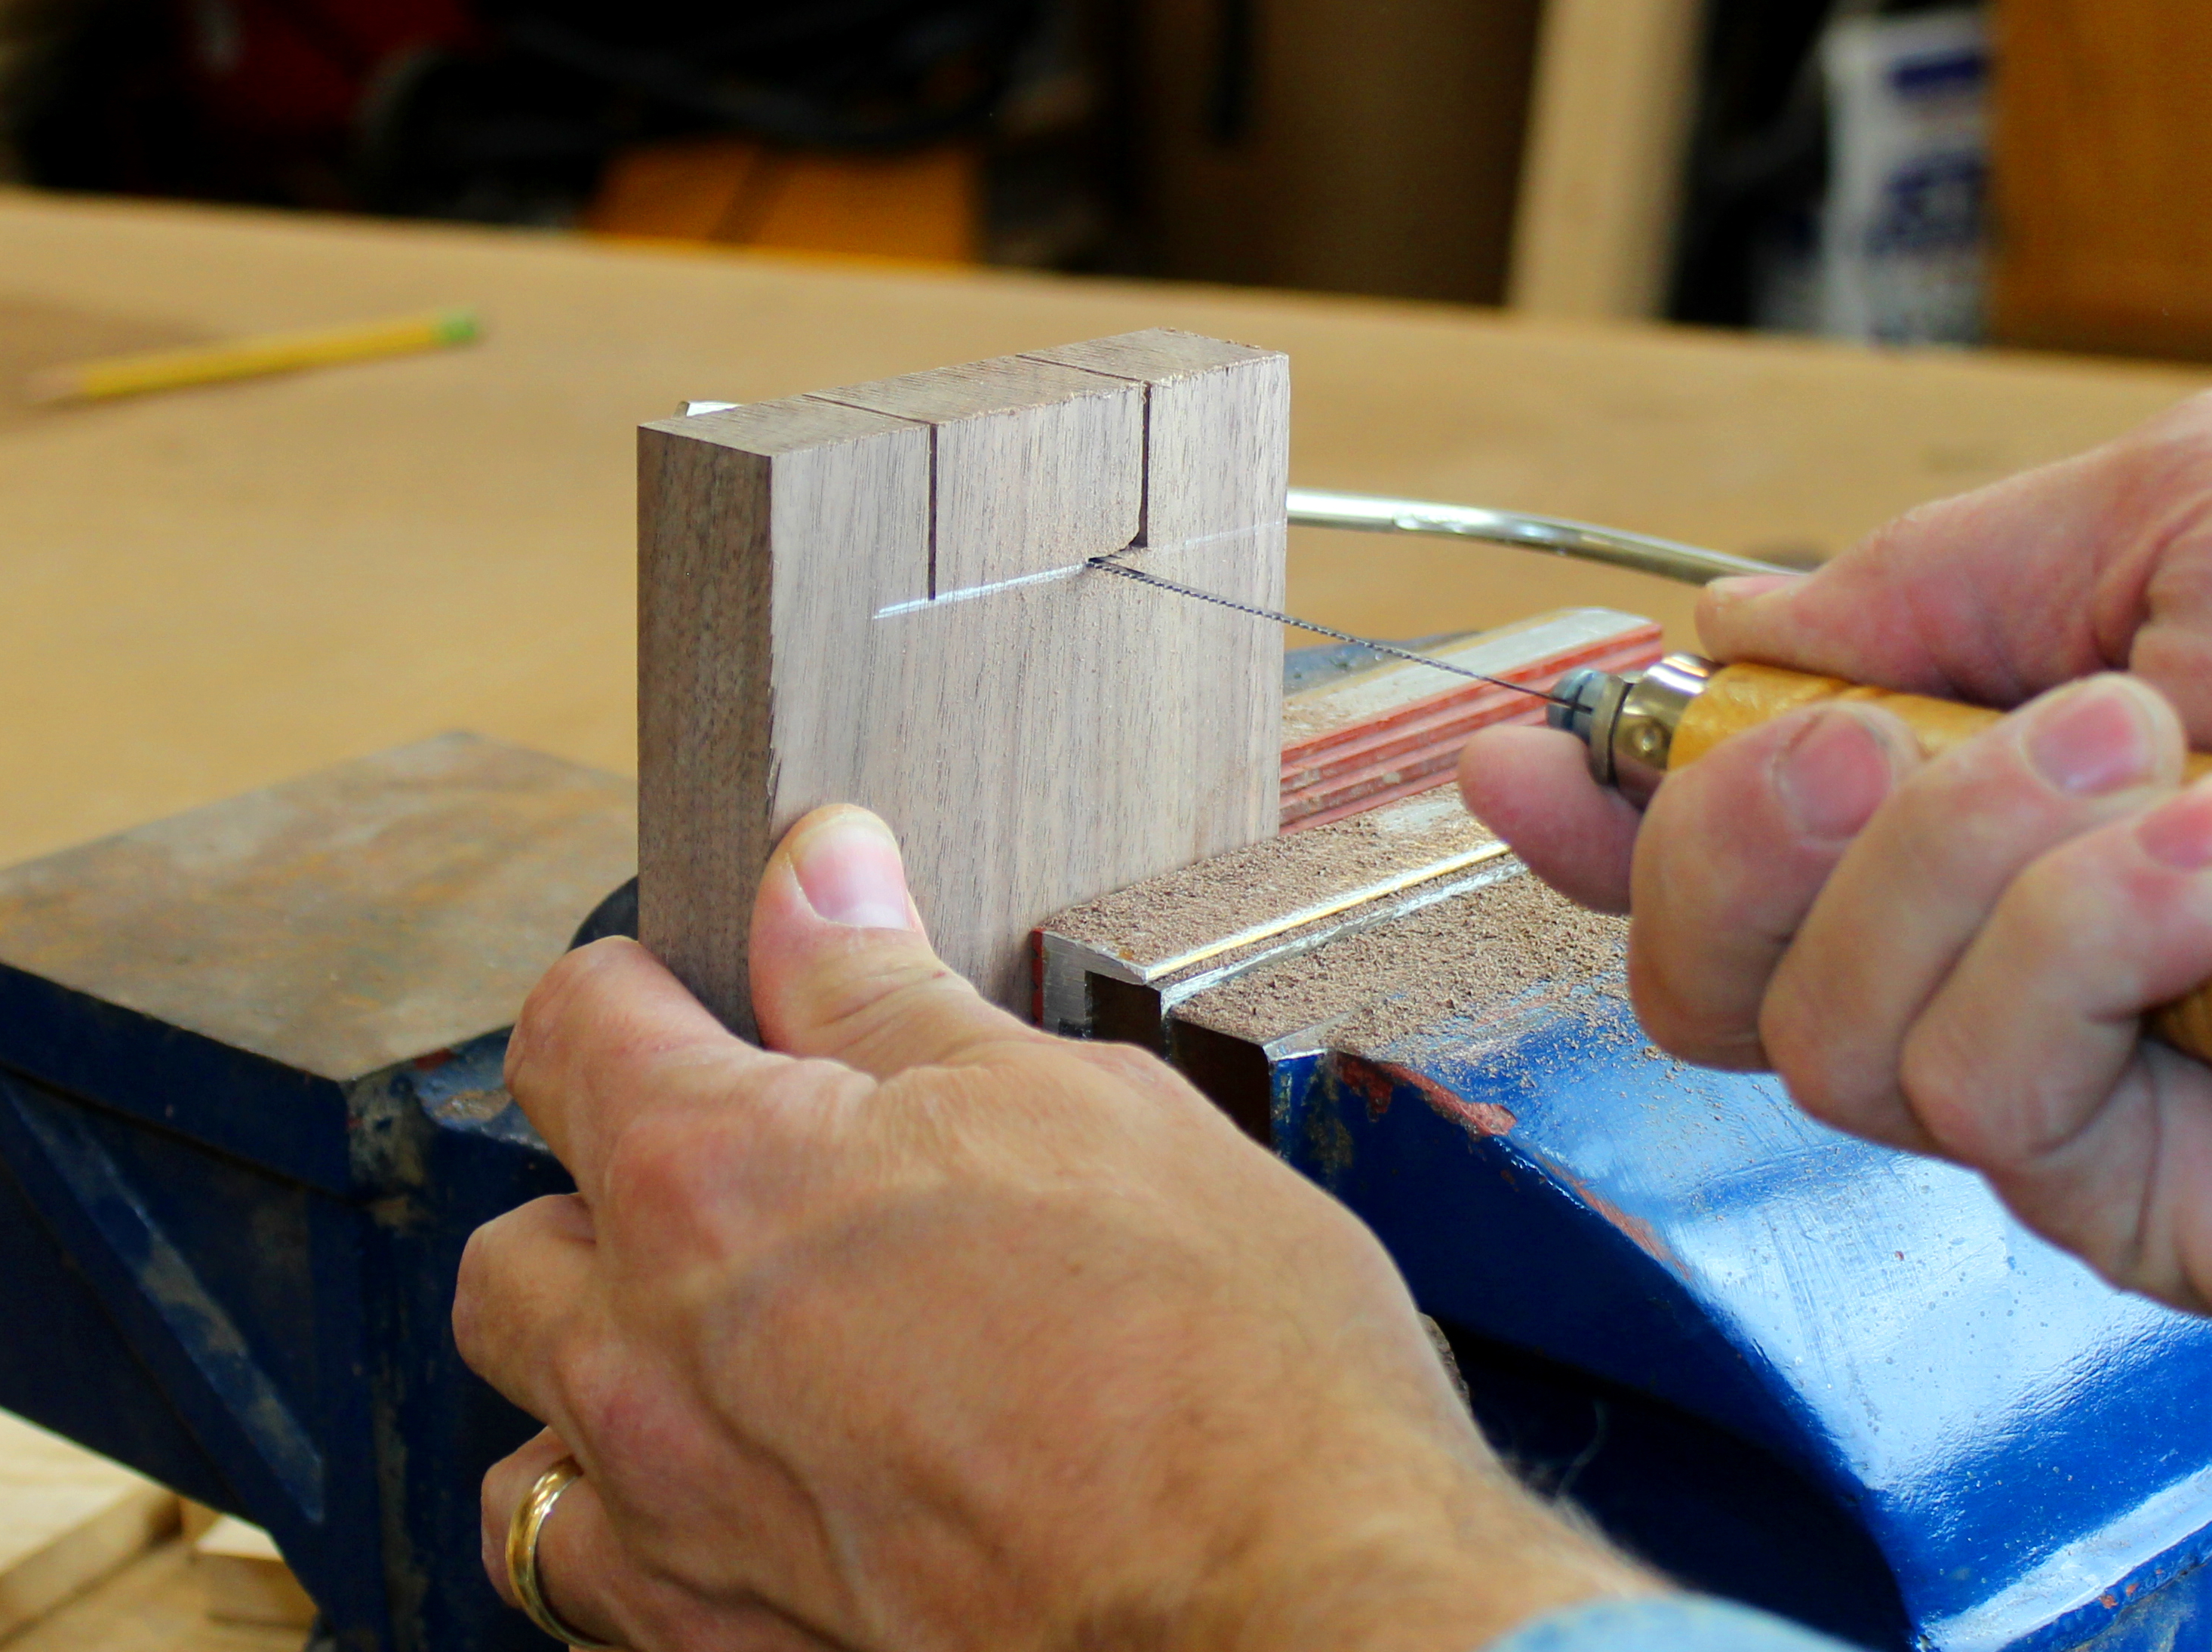
Remove waste on legs
Use a coping saw or scroll saw to remove waste, cutting carefully to each line. If you can get a good crisp line, then no cleanup will be necessary. If you need to clean up your cut, use a sharp chisel and pare straight down onto a sacrificial backer board.
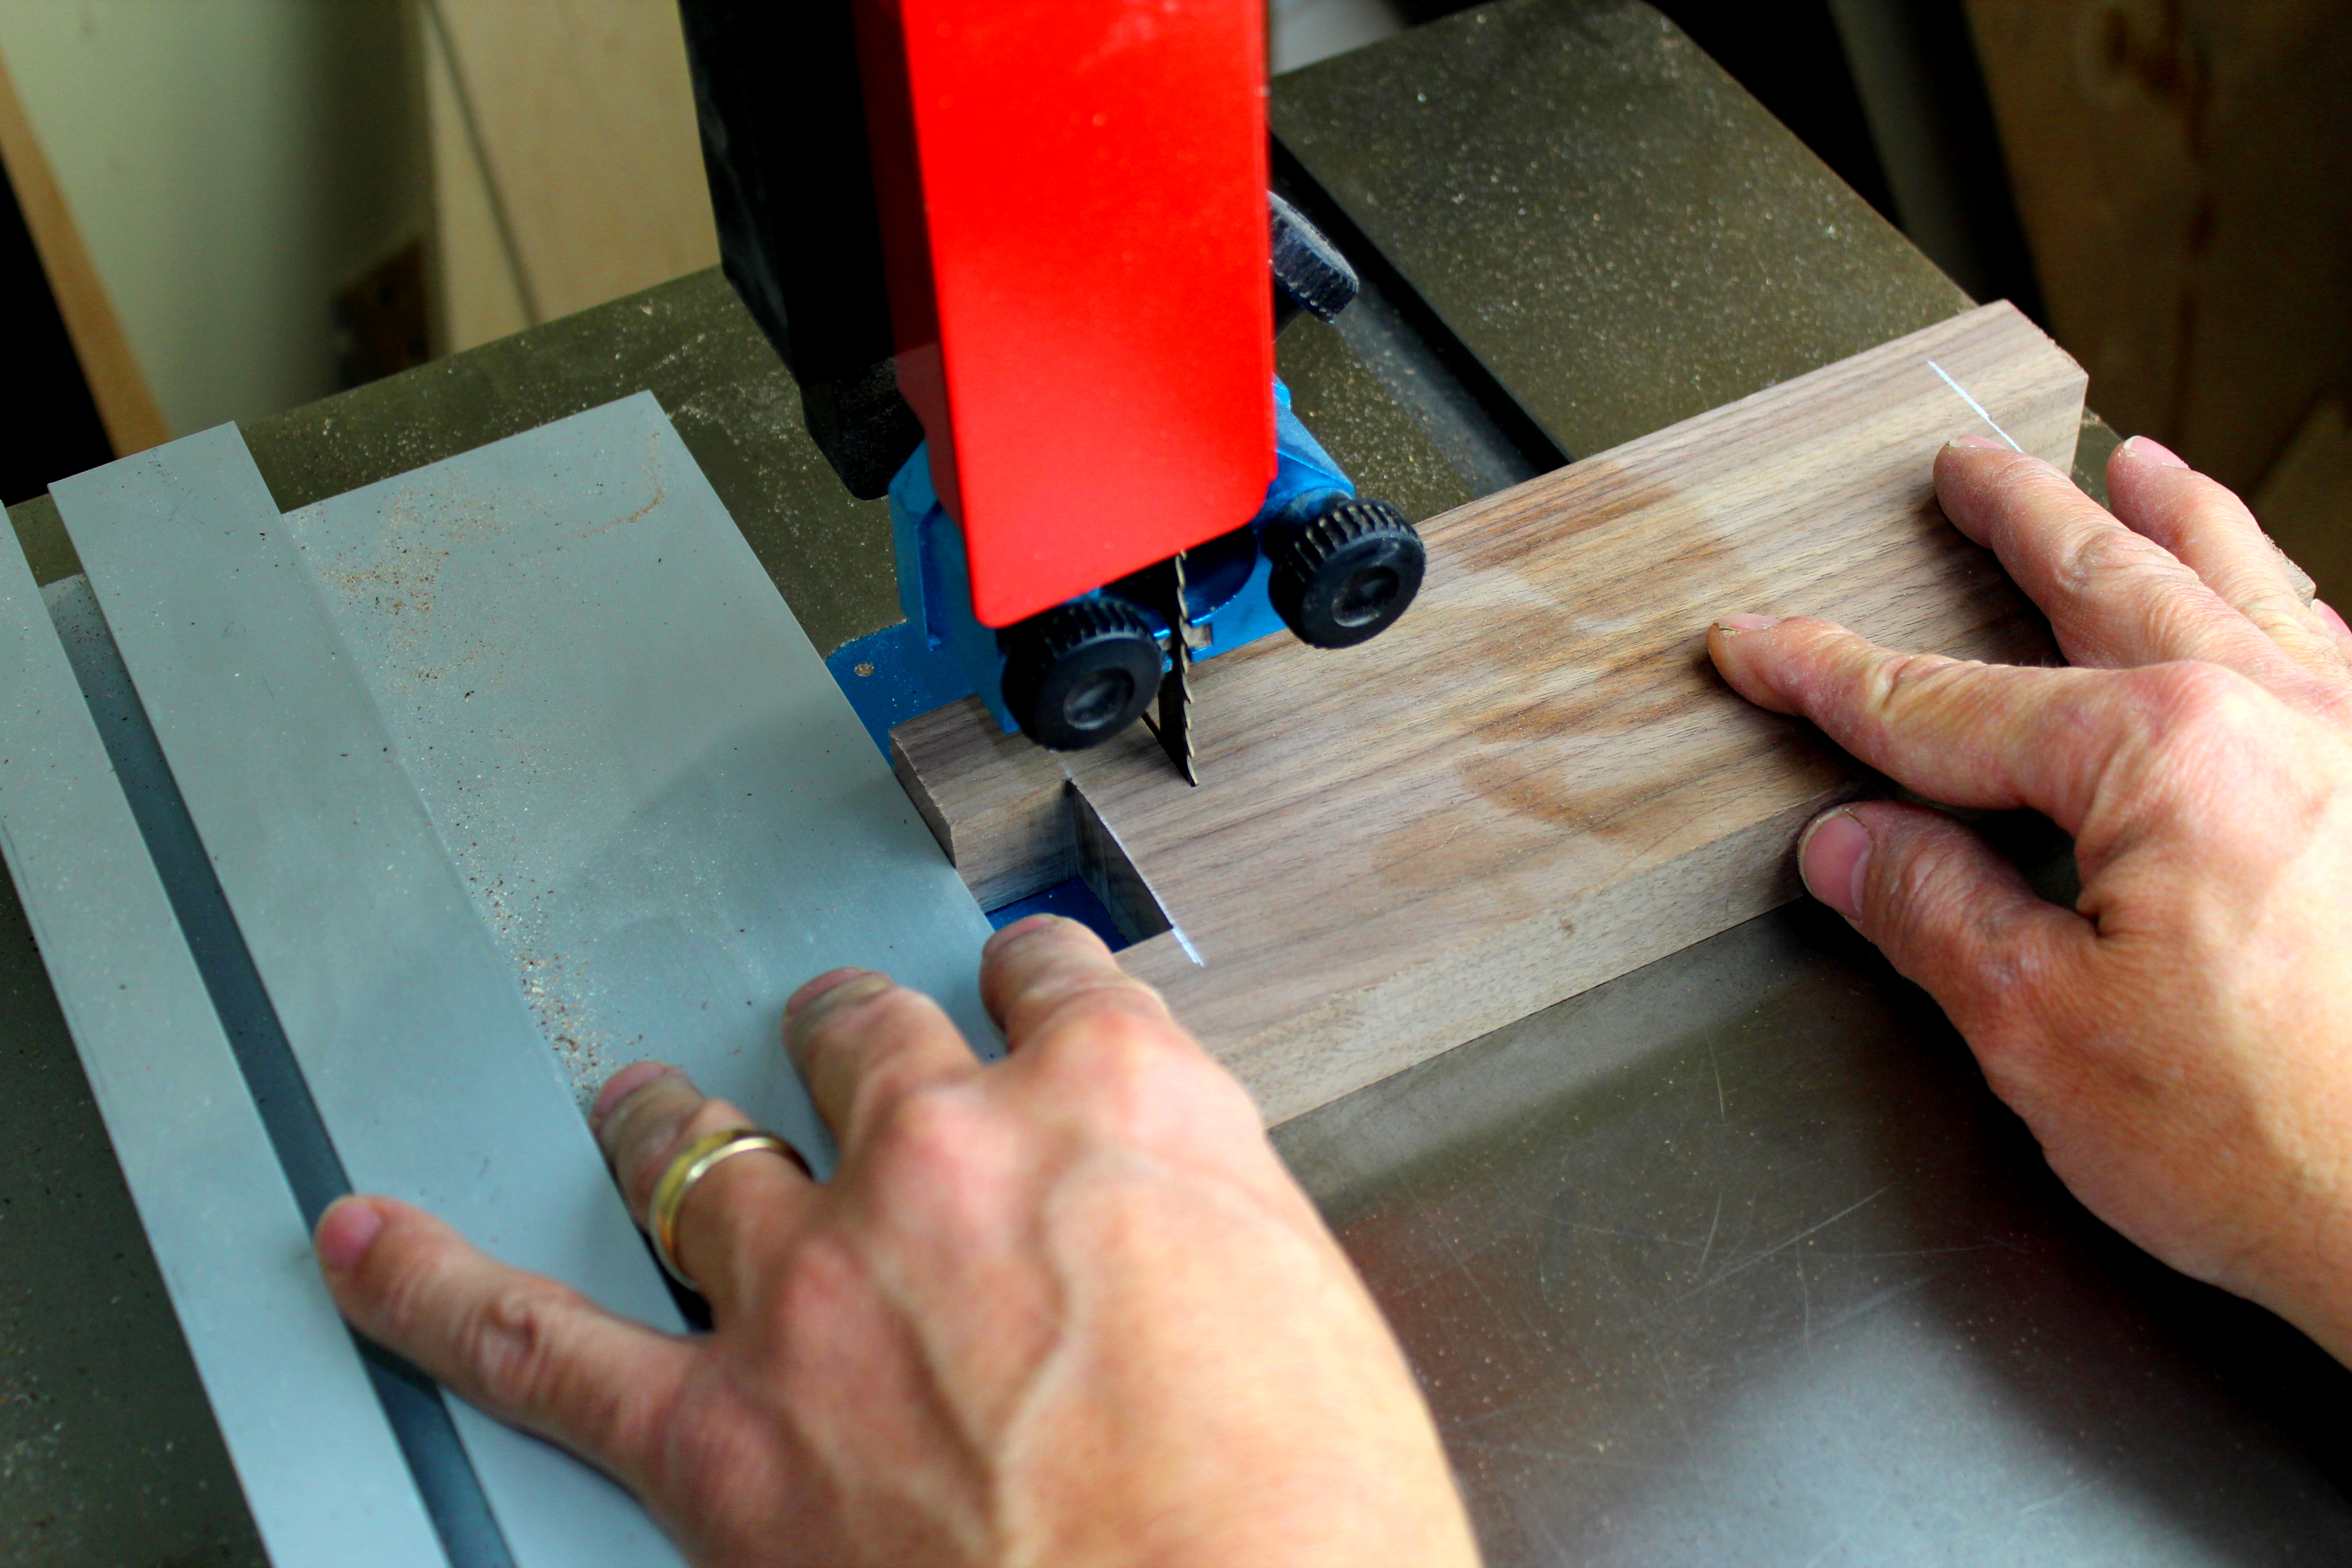
Cut the legs to length
Set your fence to 1-1/2” to get consistency in leg height.
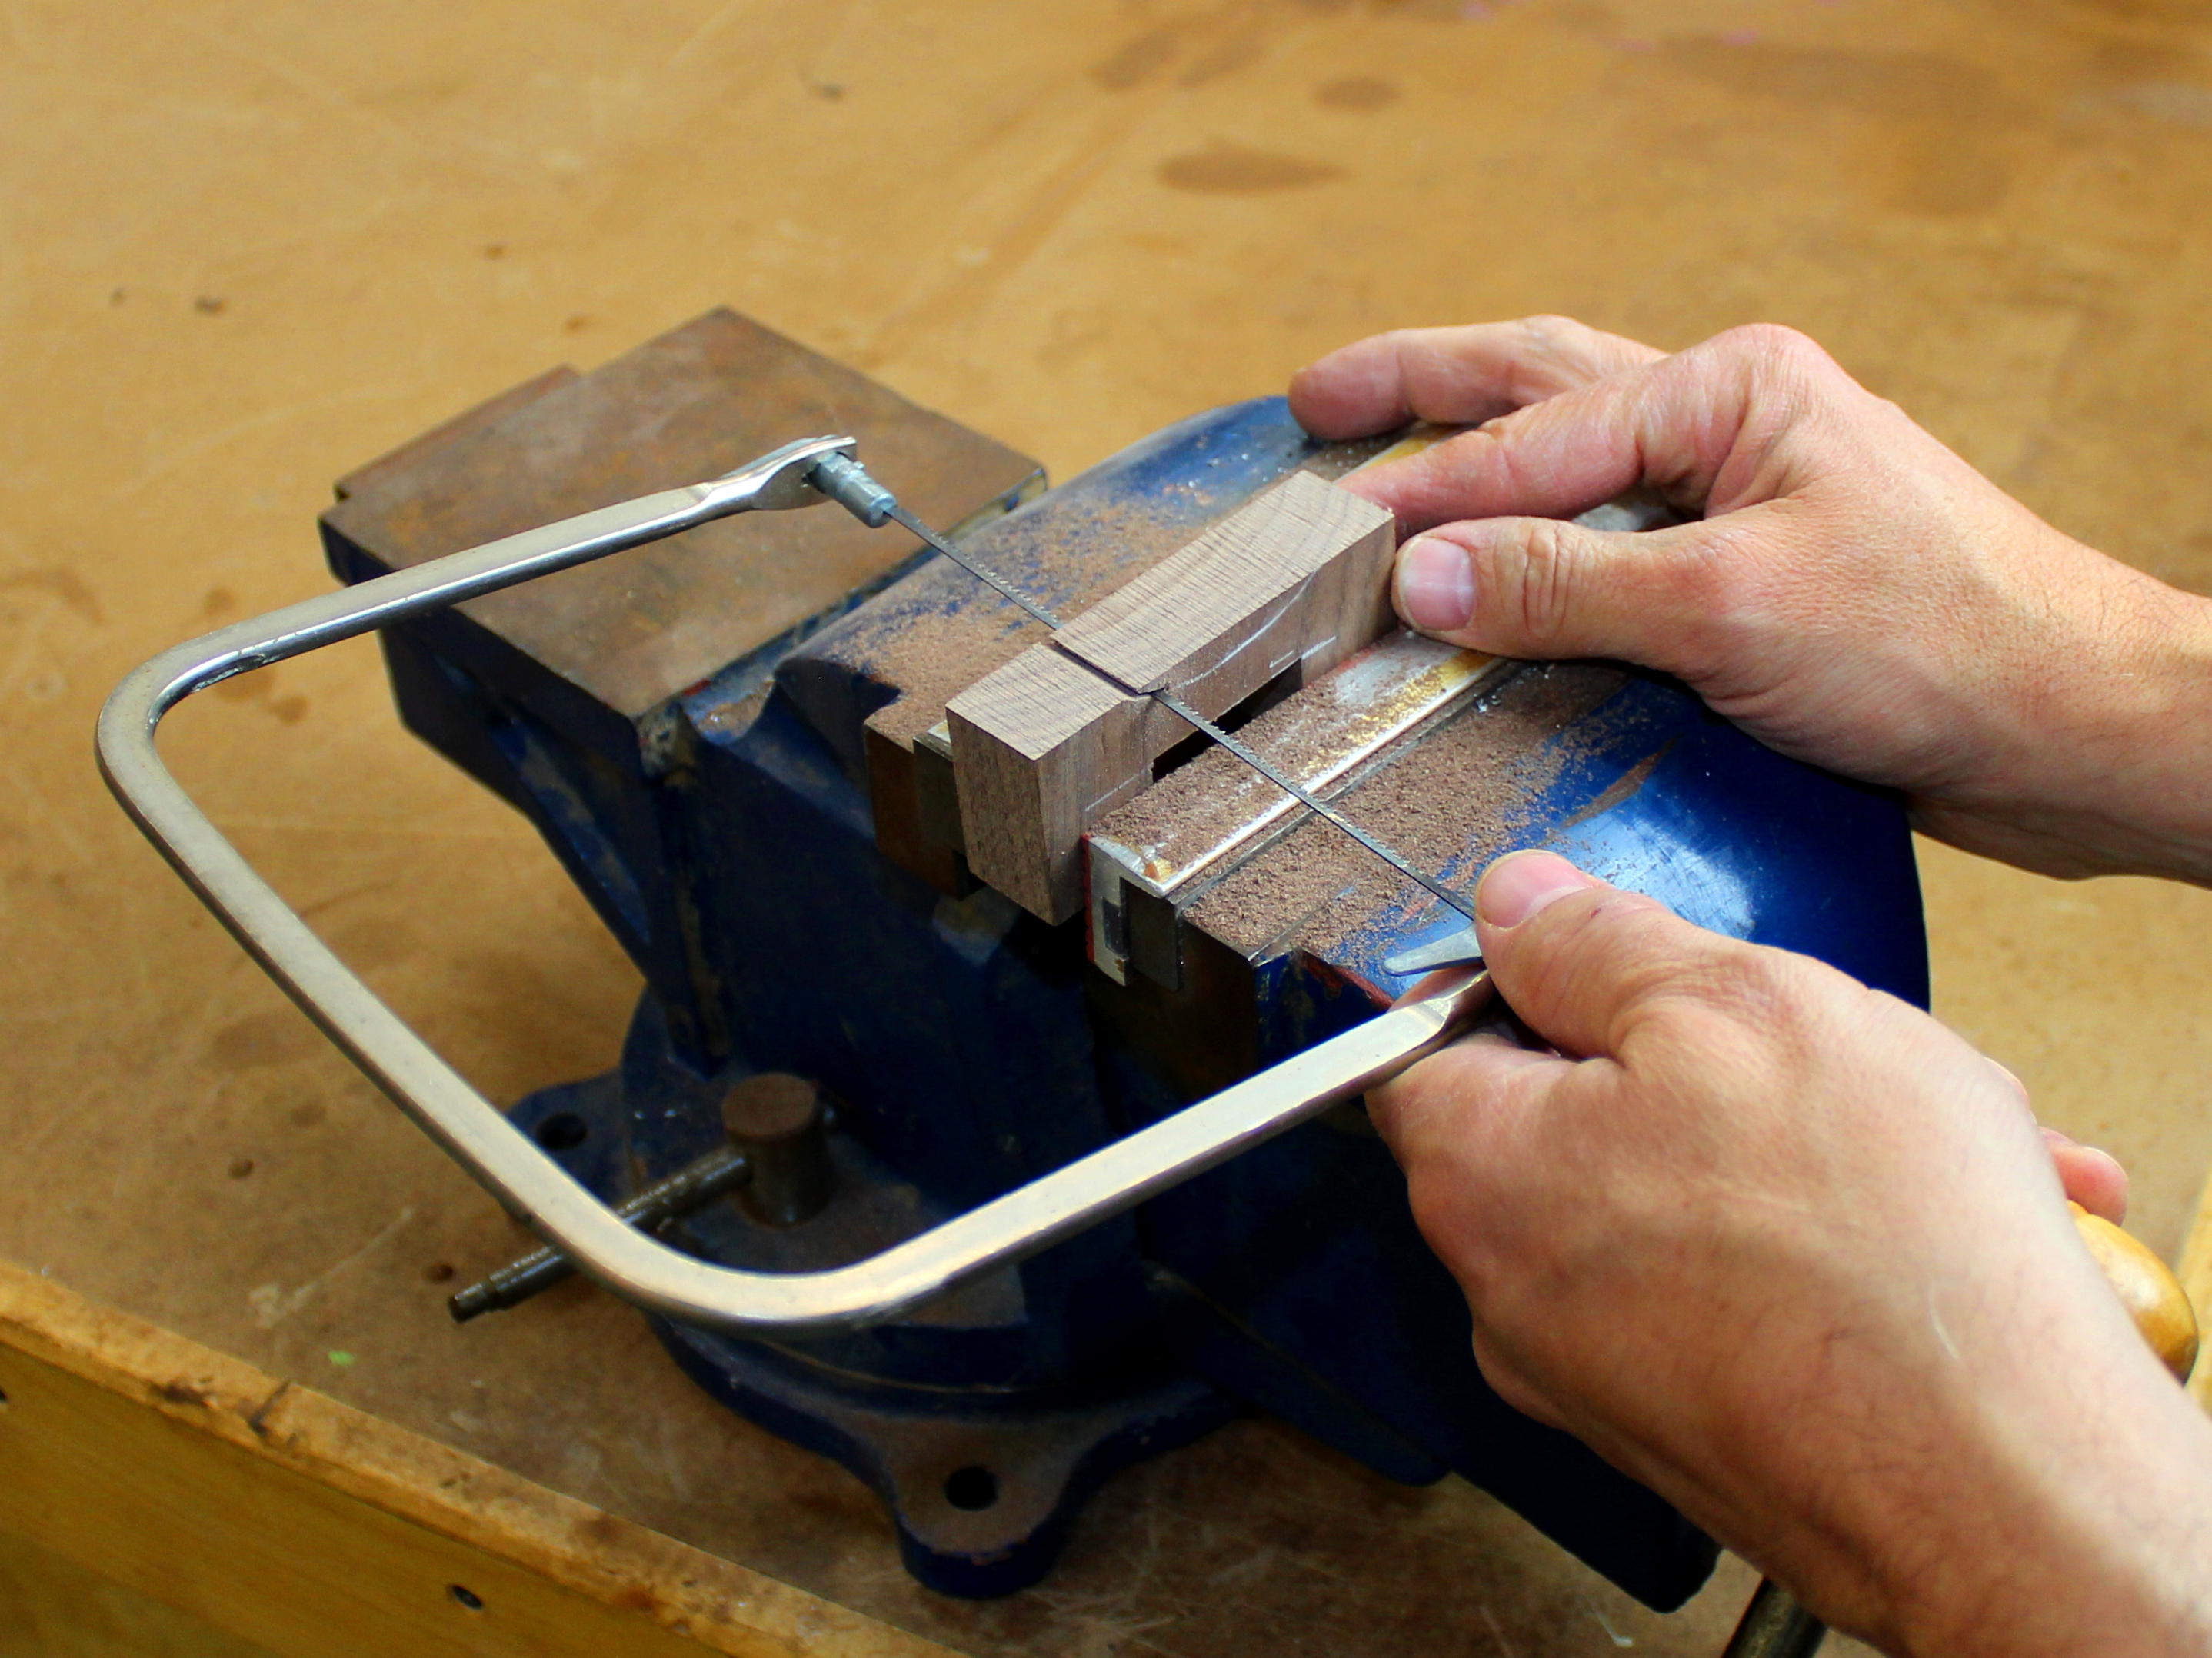
Cut the arch
Using the pattern provided, or a coffee can or other round object, draw an arched line on each leg piece and cut using a scroll saw or coping saw.

Glue and clamp the assembly
Put a light coating of glue on all mating parts, and clamp using minimal pressure. Be sure that the components remain square during assembly. Carefully remove glue from within the knife storage slot with a small screw driver and damp cloth.
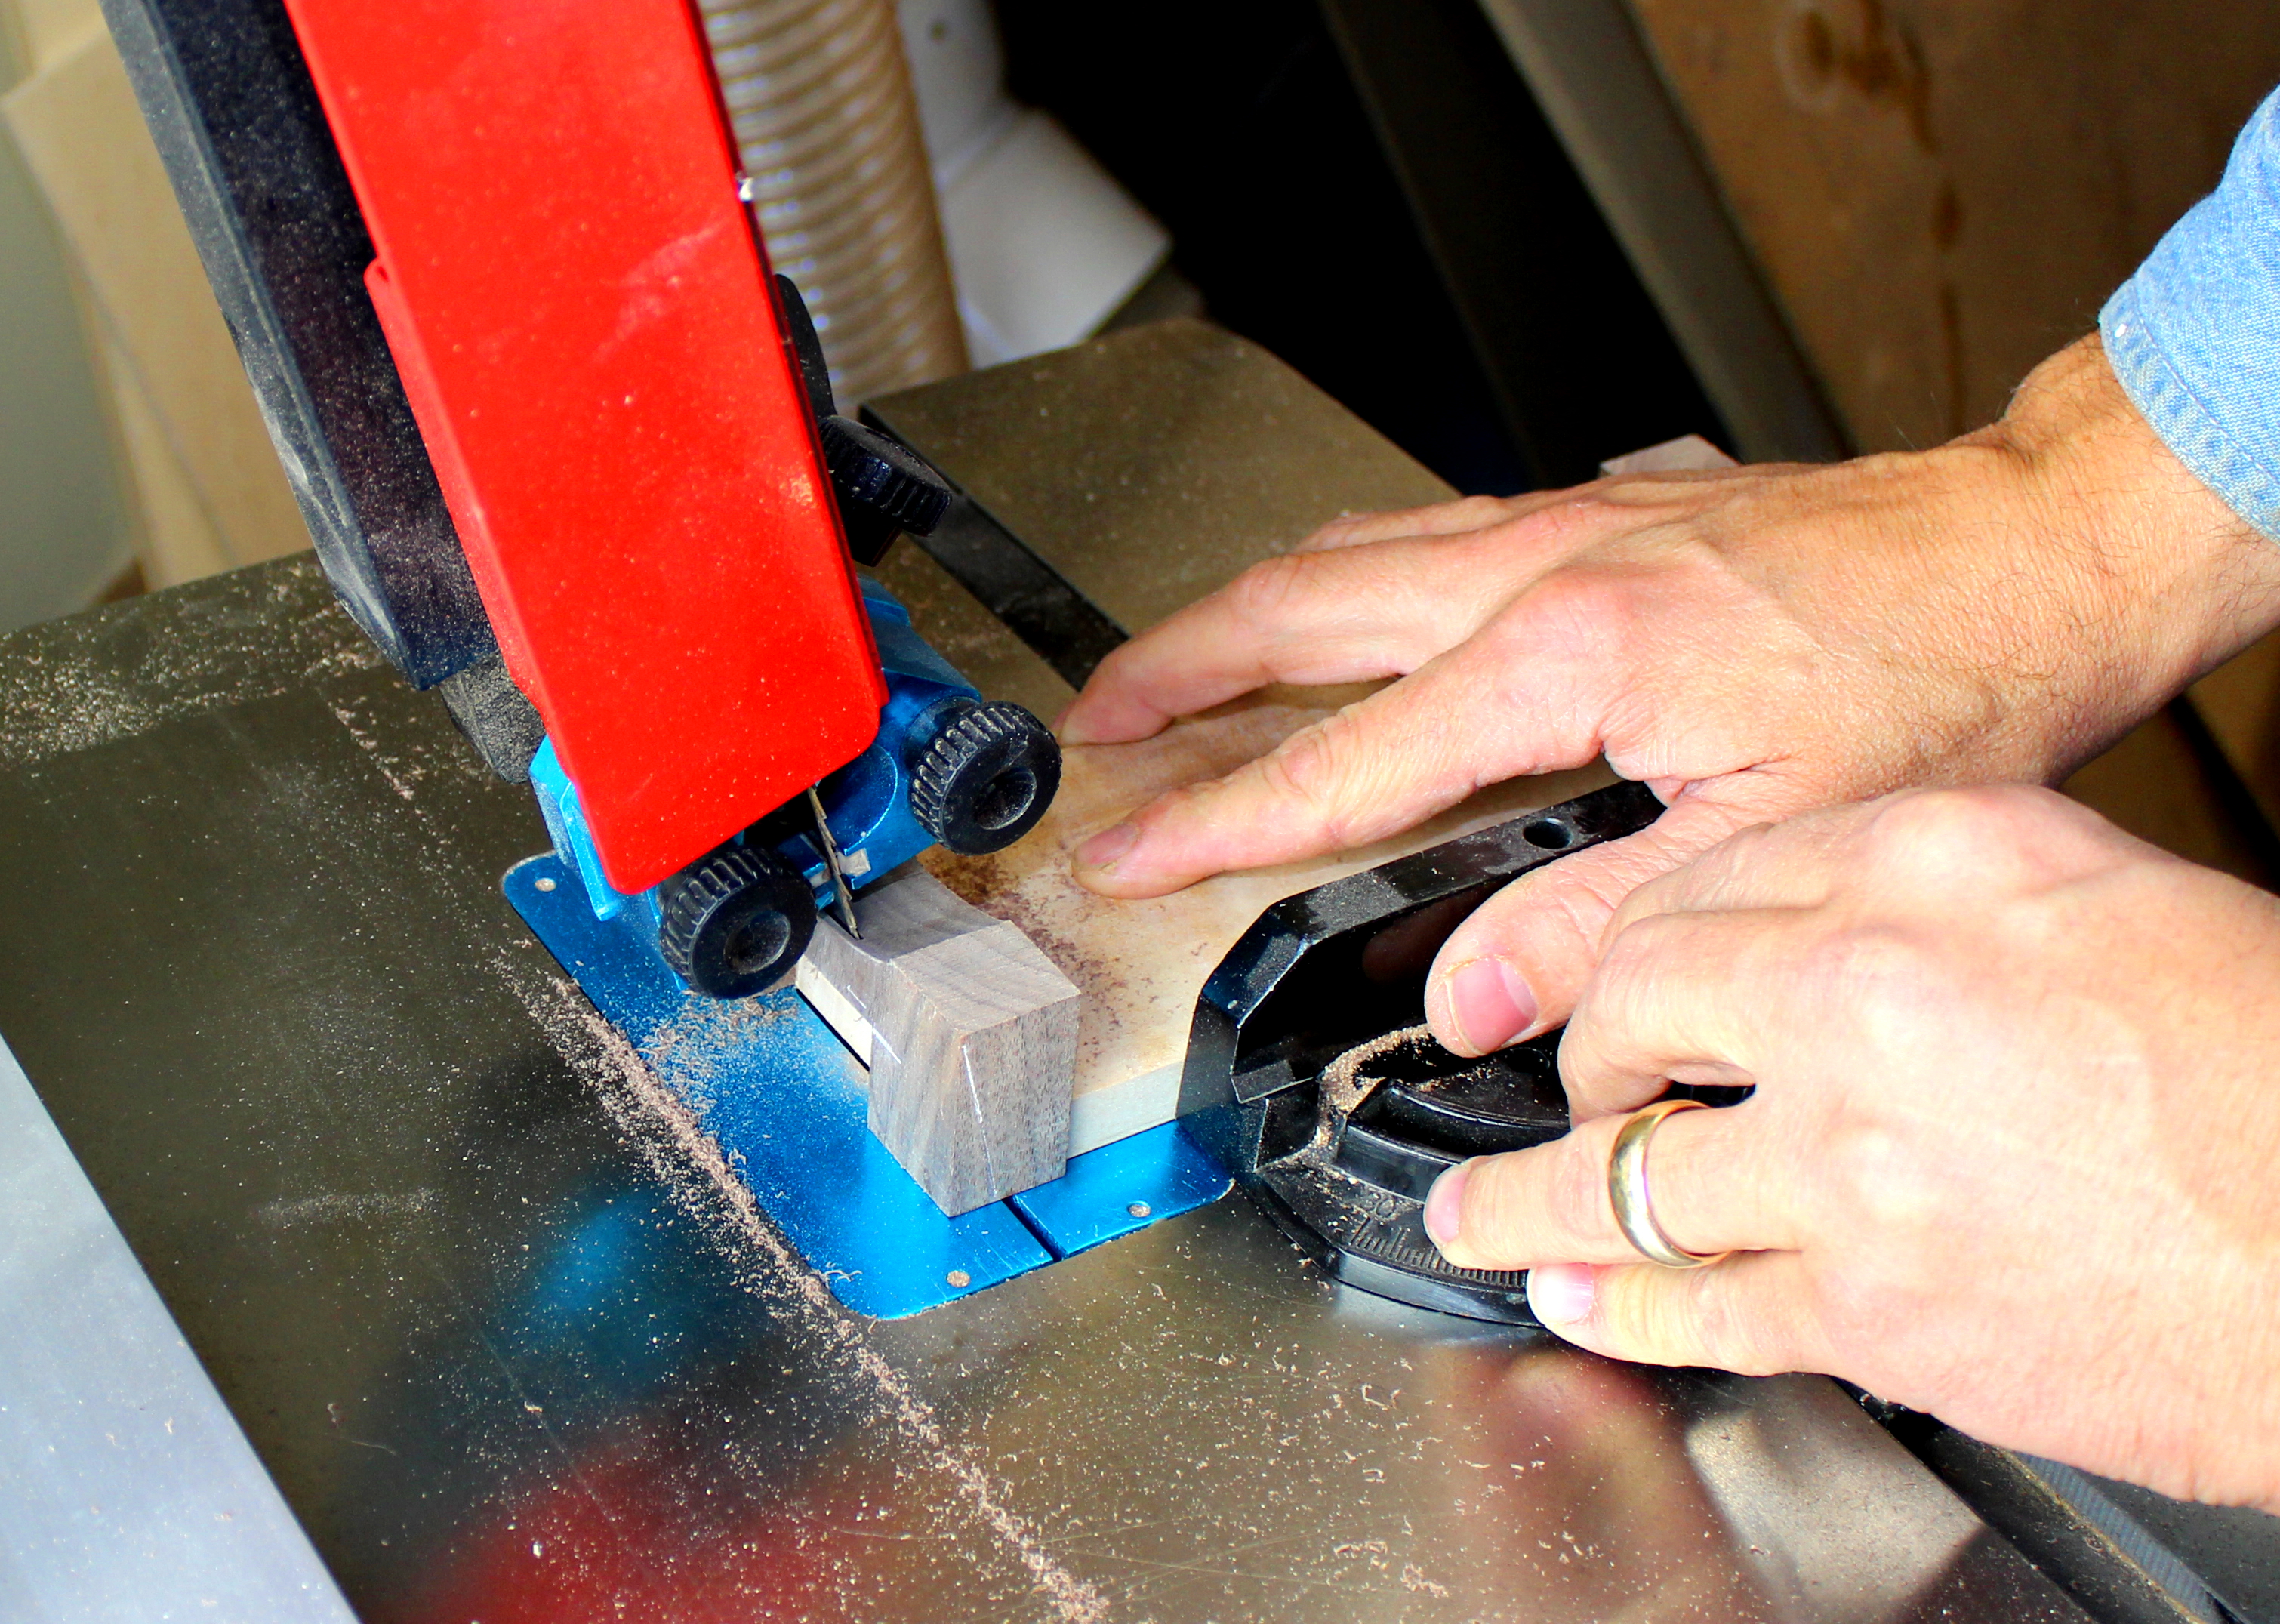
Cut tapers
Cut the ends at a 15 degree angle, with the angle tapering in toward the top. Cut the sides to a 10 degree angle, also tapering in at the top.
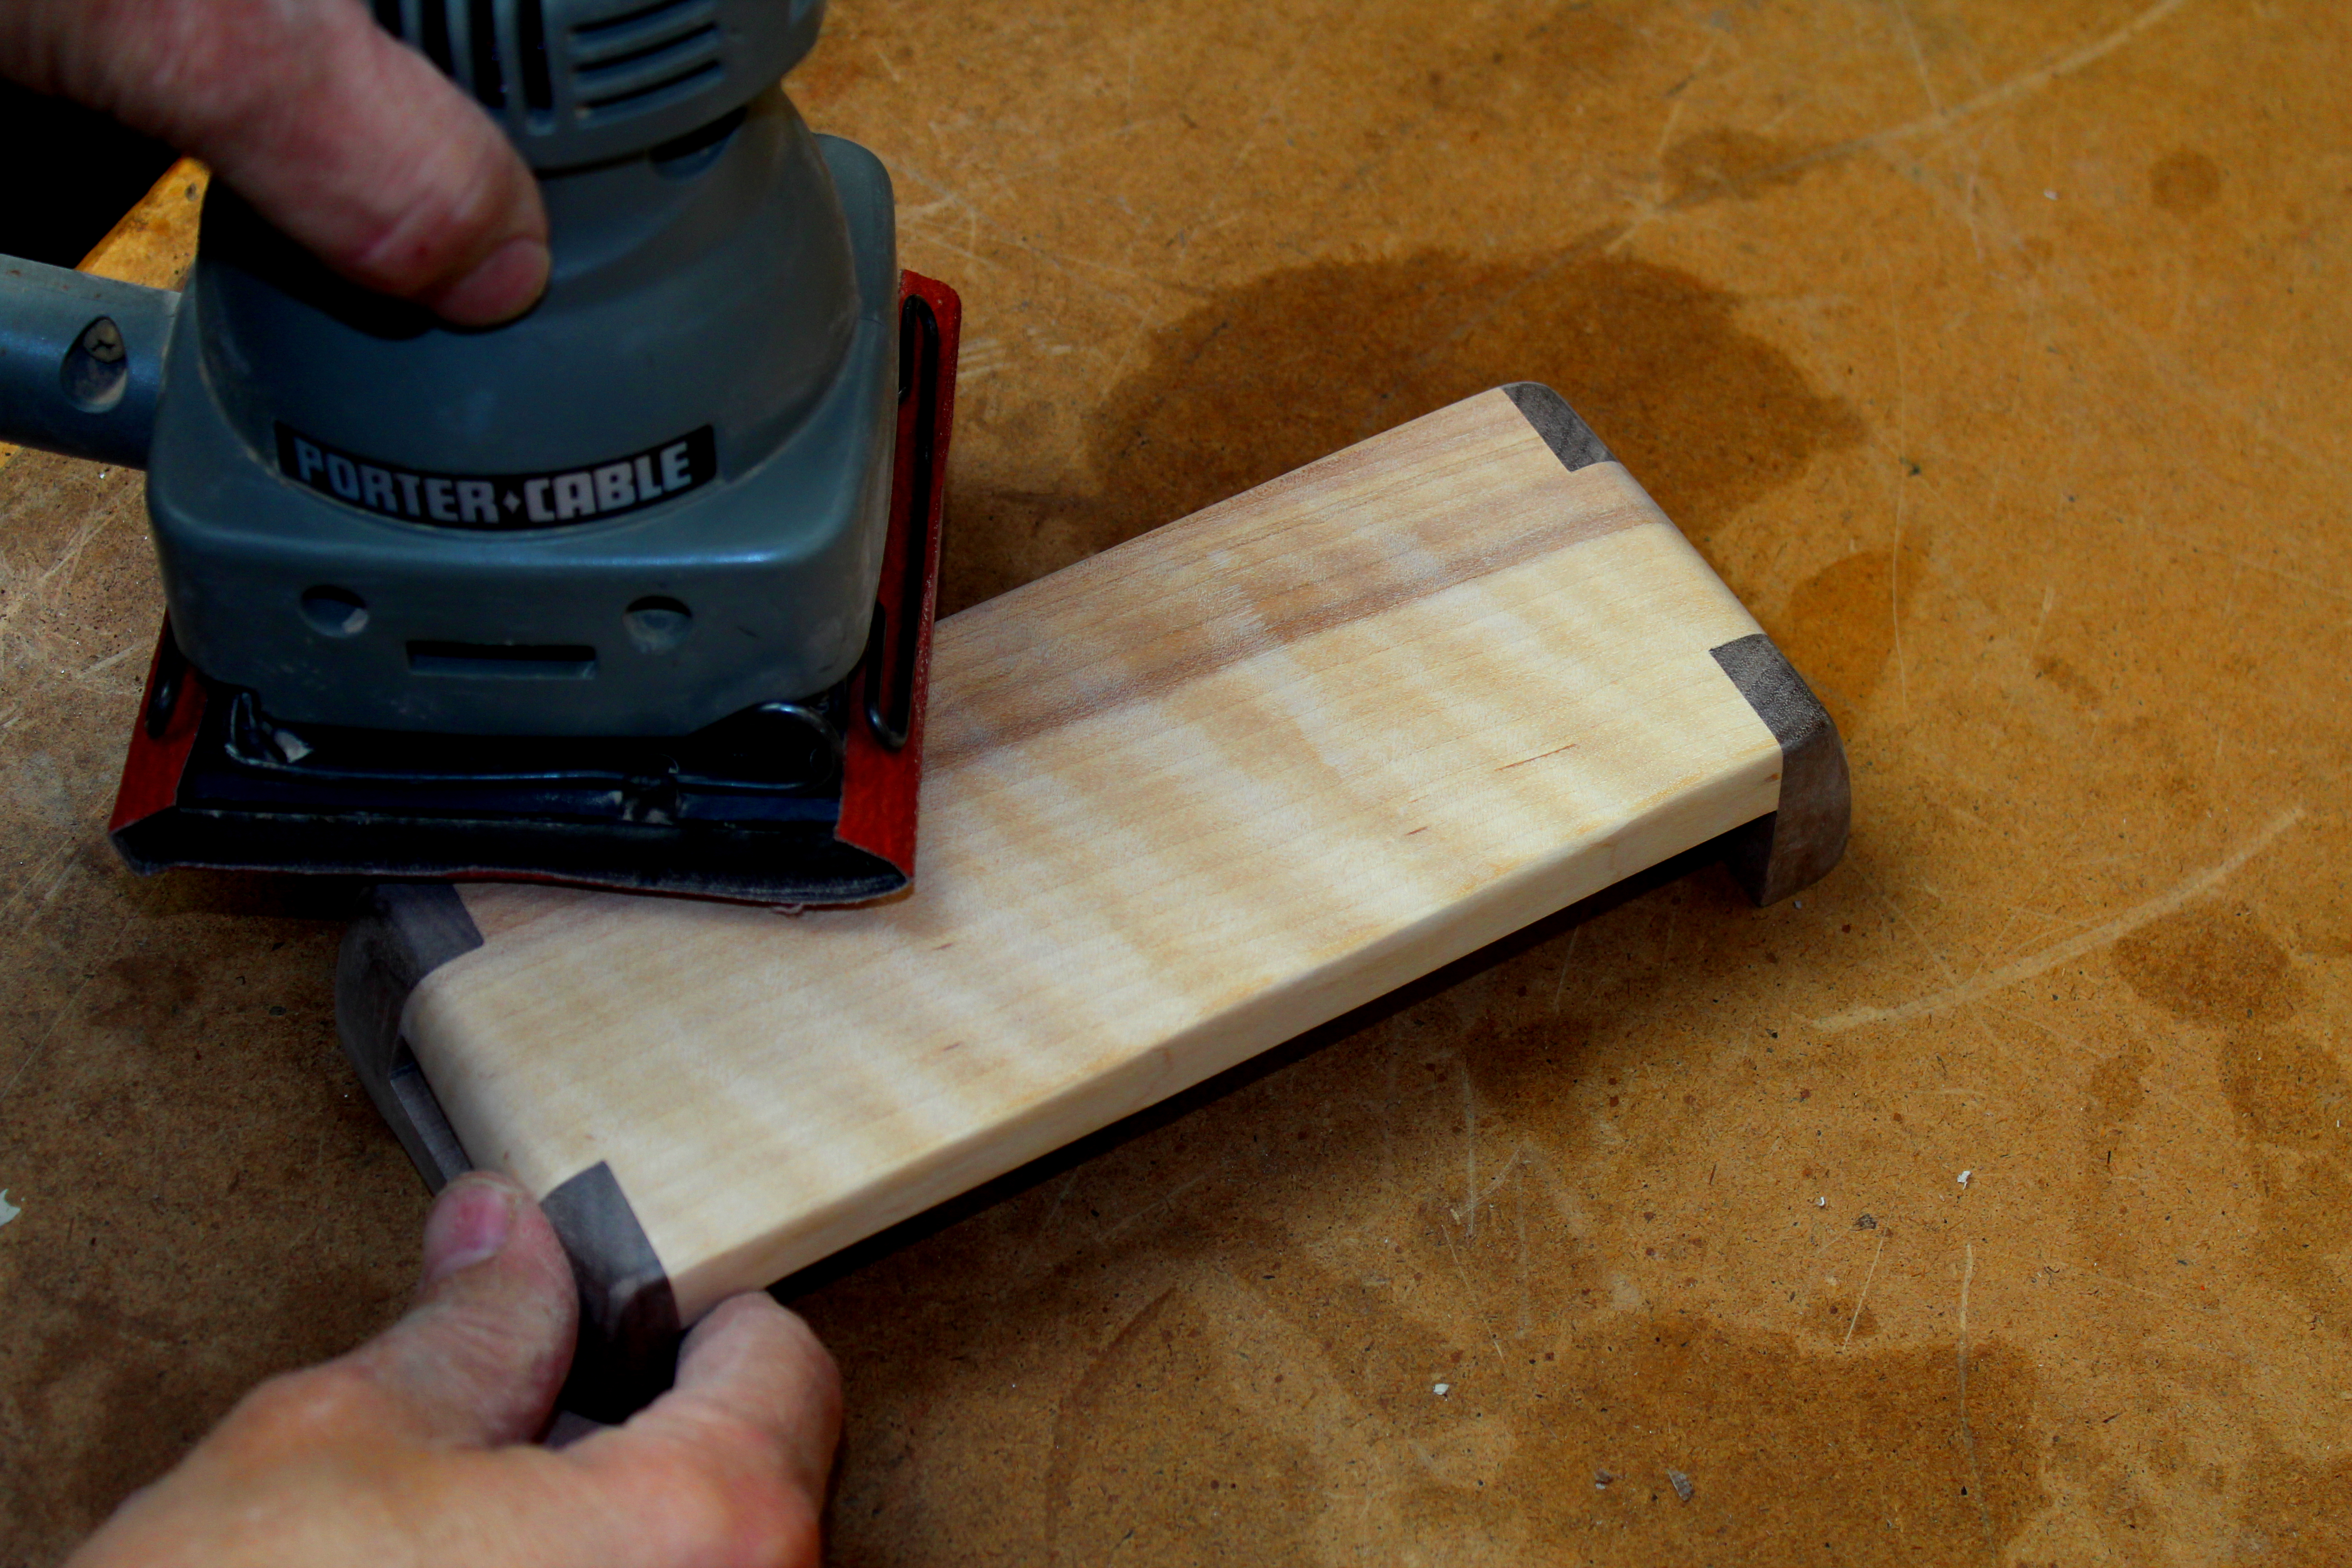
Sand all surfaces
Sanding is an important part of shaping the final piece. Round over all edges to give the pieces a curvaceous appearance, to match the spreader.
Turning our attention to the spreader…
The spreader is a simple project, which starts with a two board glue-up, followed by some curvy cuts on the band saw.
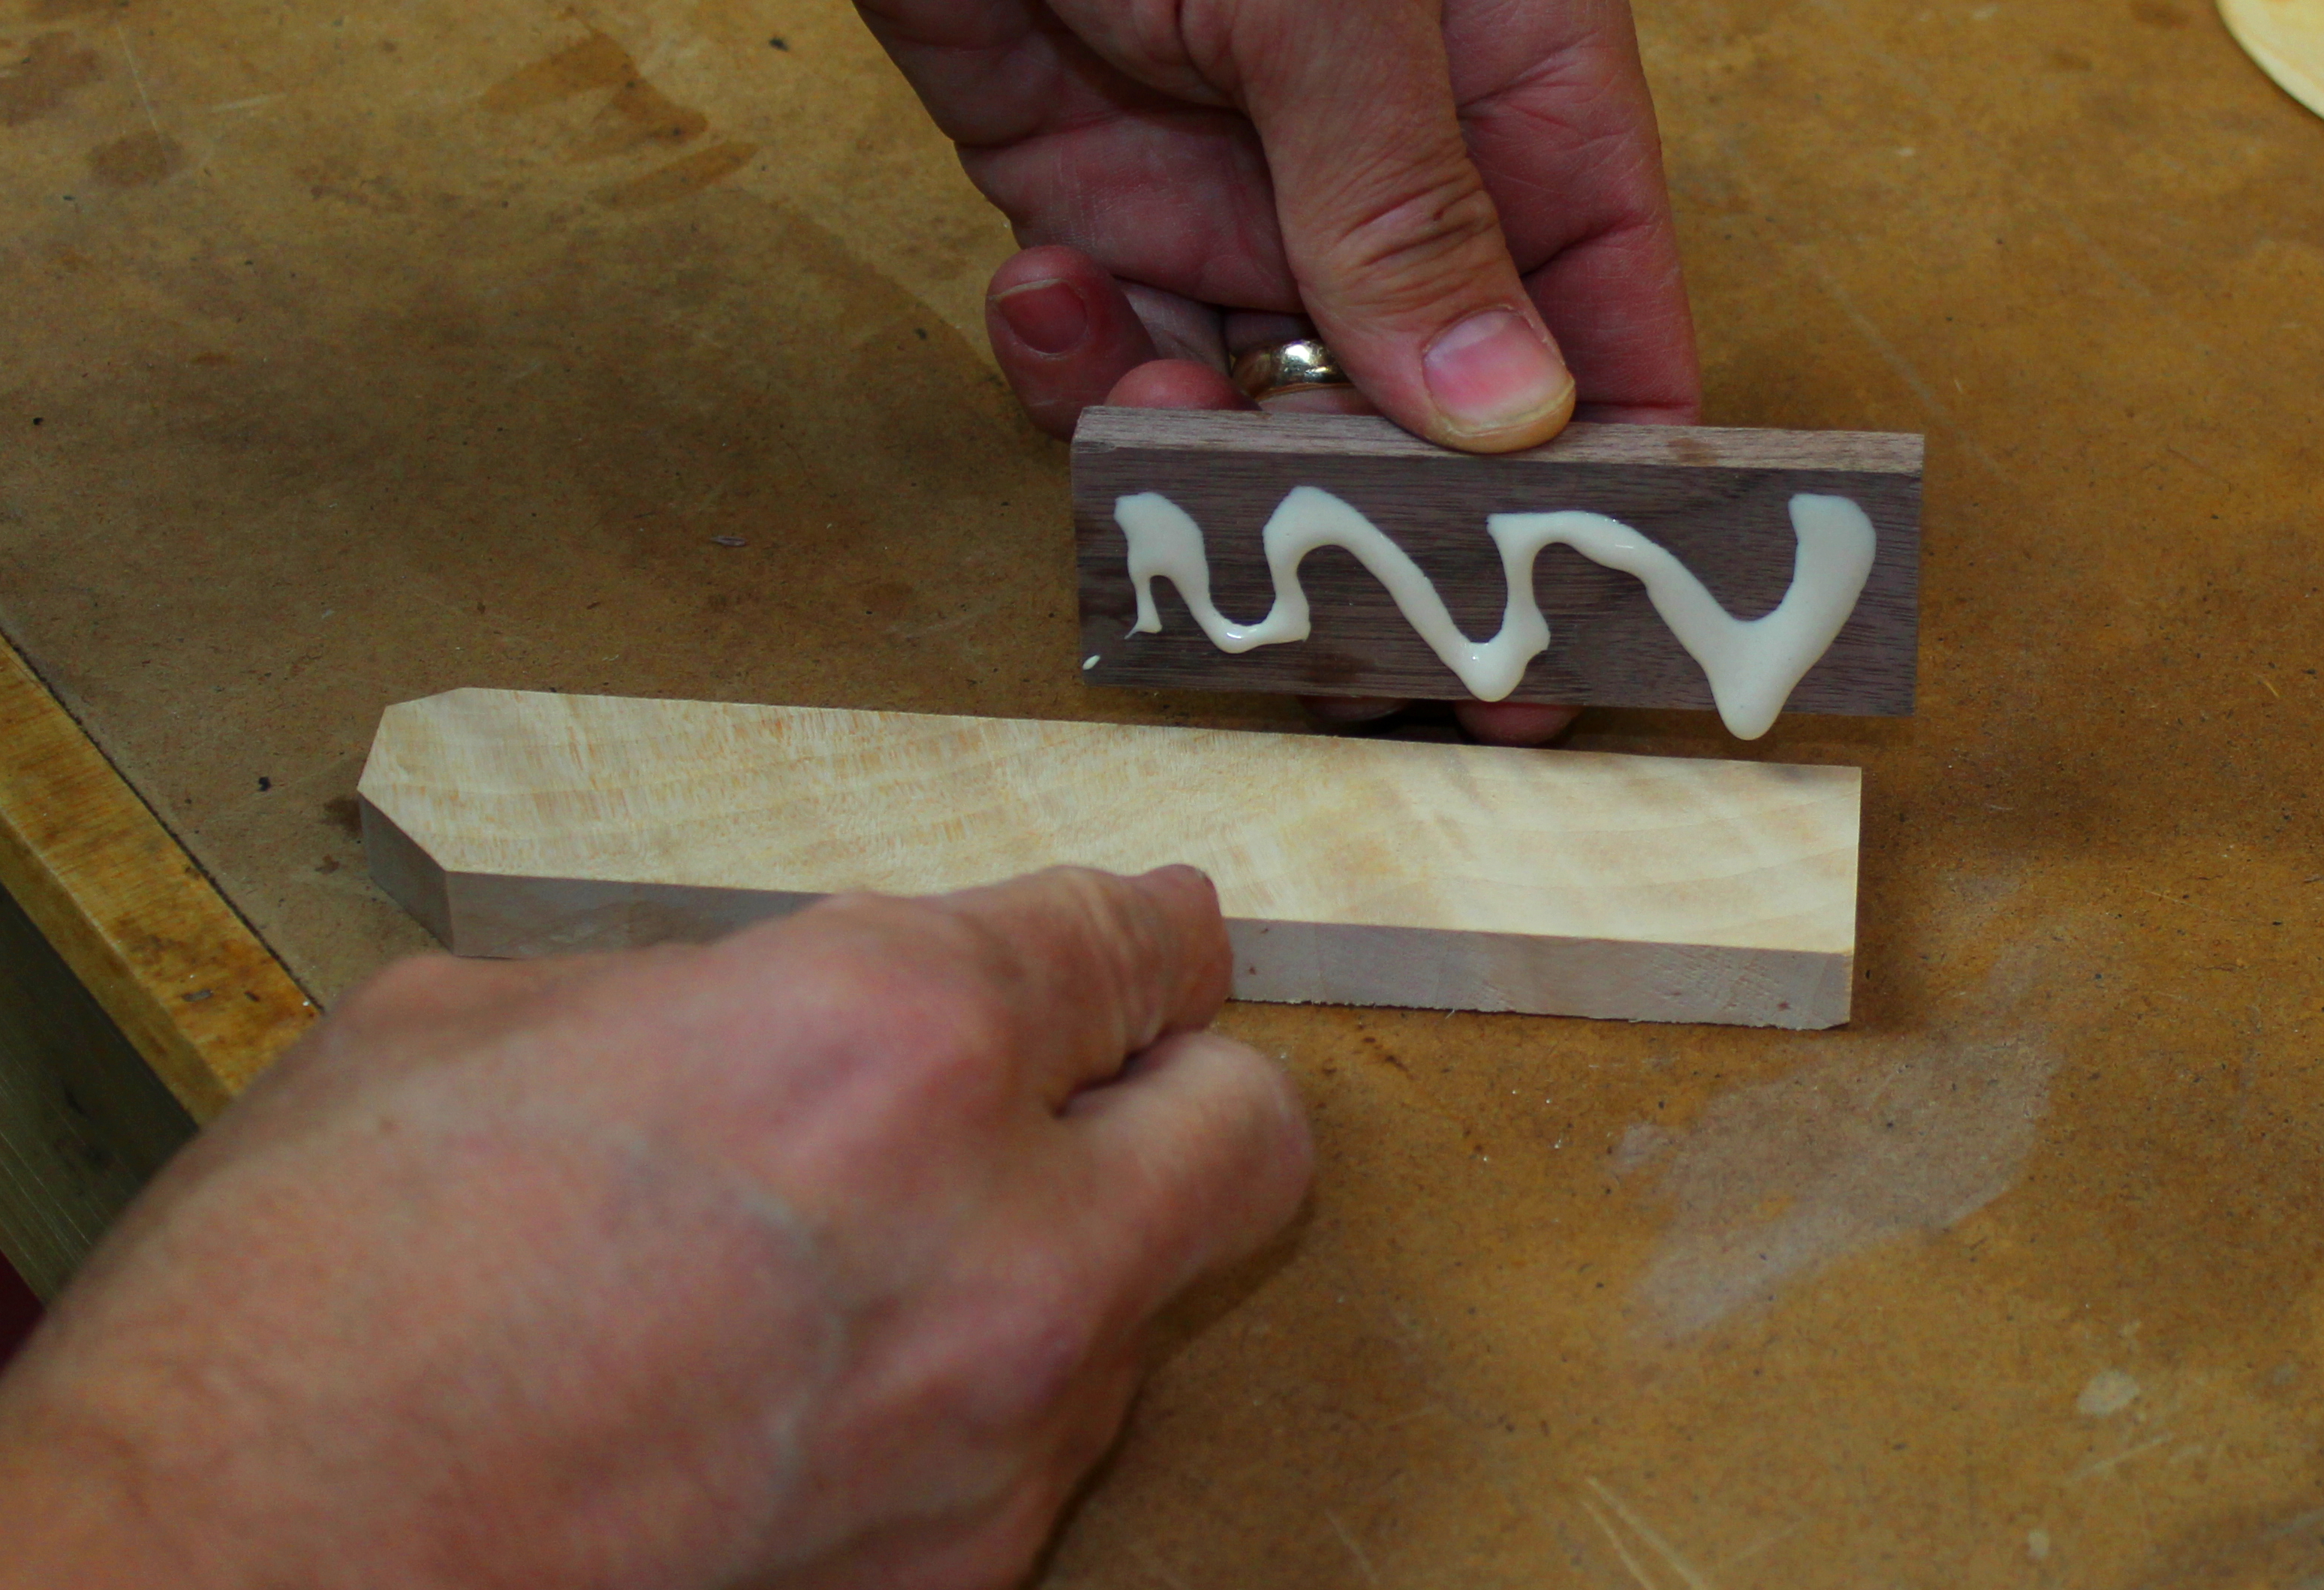
Glue up blanks
Cut and glue pieces of contrasting wood as shown in diagram.
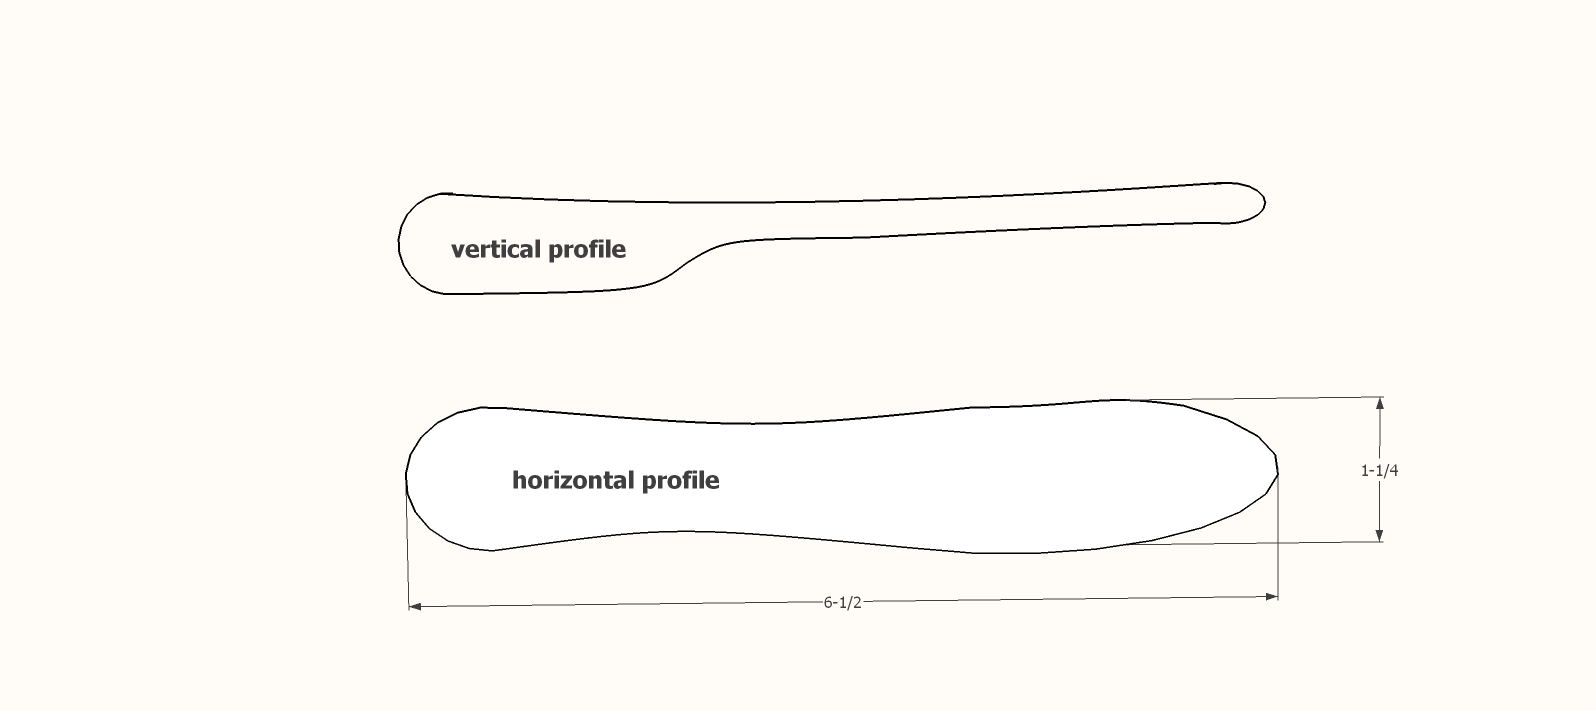
Click here to download the templates for this project.
Trace horizontal outline
I like to use a white charcoal pencil on the dark wood, and a normal pencil on the light wood, for better visibility during cutting.
Make cuts
Cut out the shape, leaving the line. Next stand the piece up and trace the vertical profile, or just cut it free hand as it is a simple shape. Again, it is important to leave the line so that you can sand to final shape.
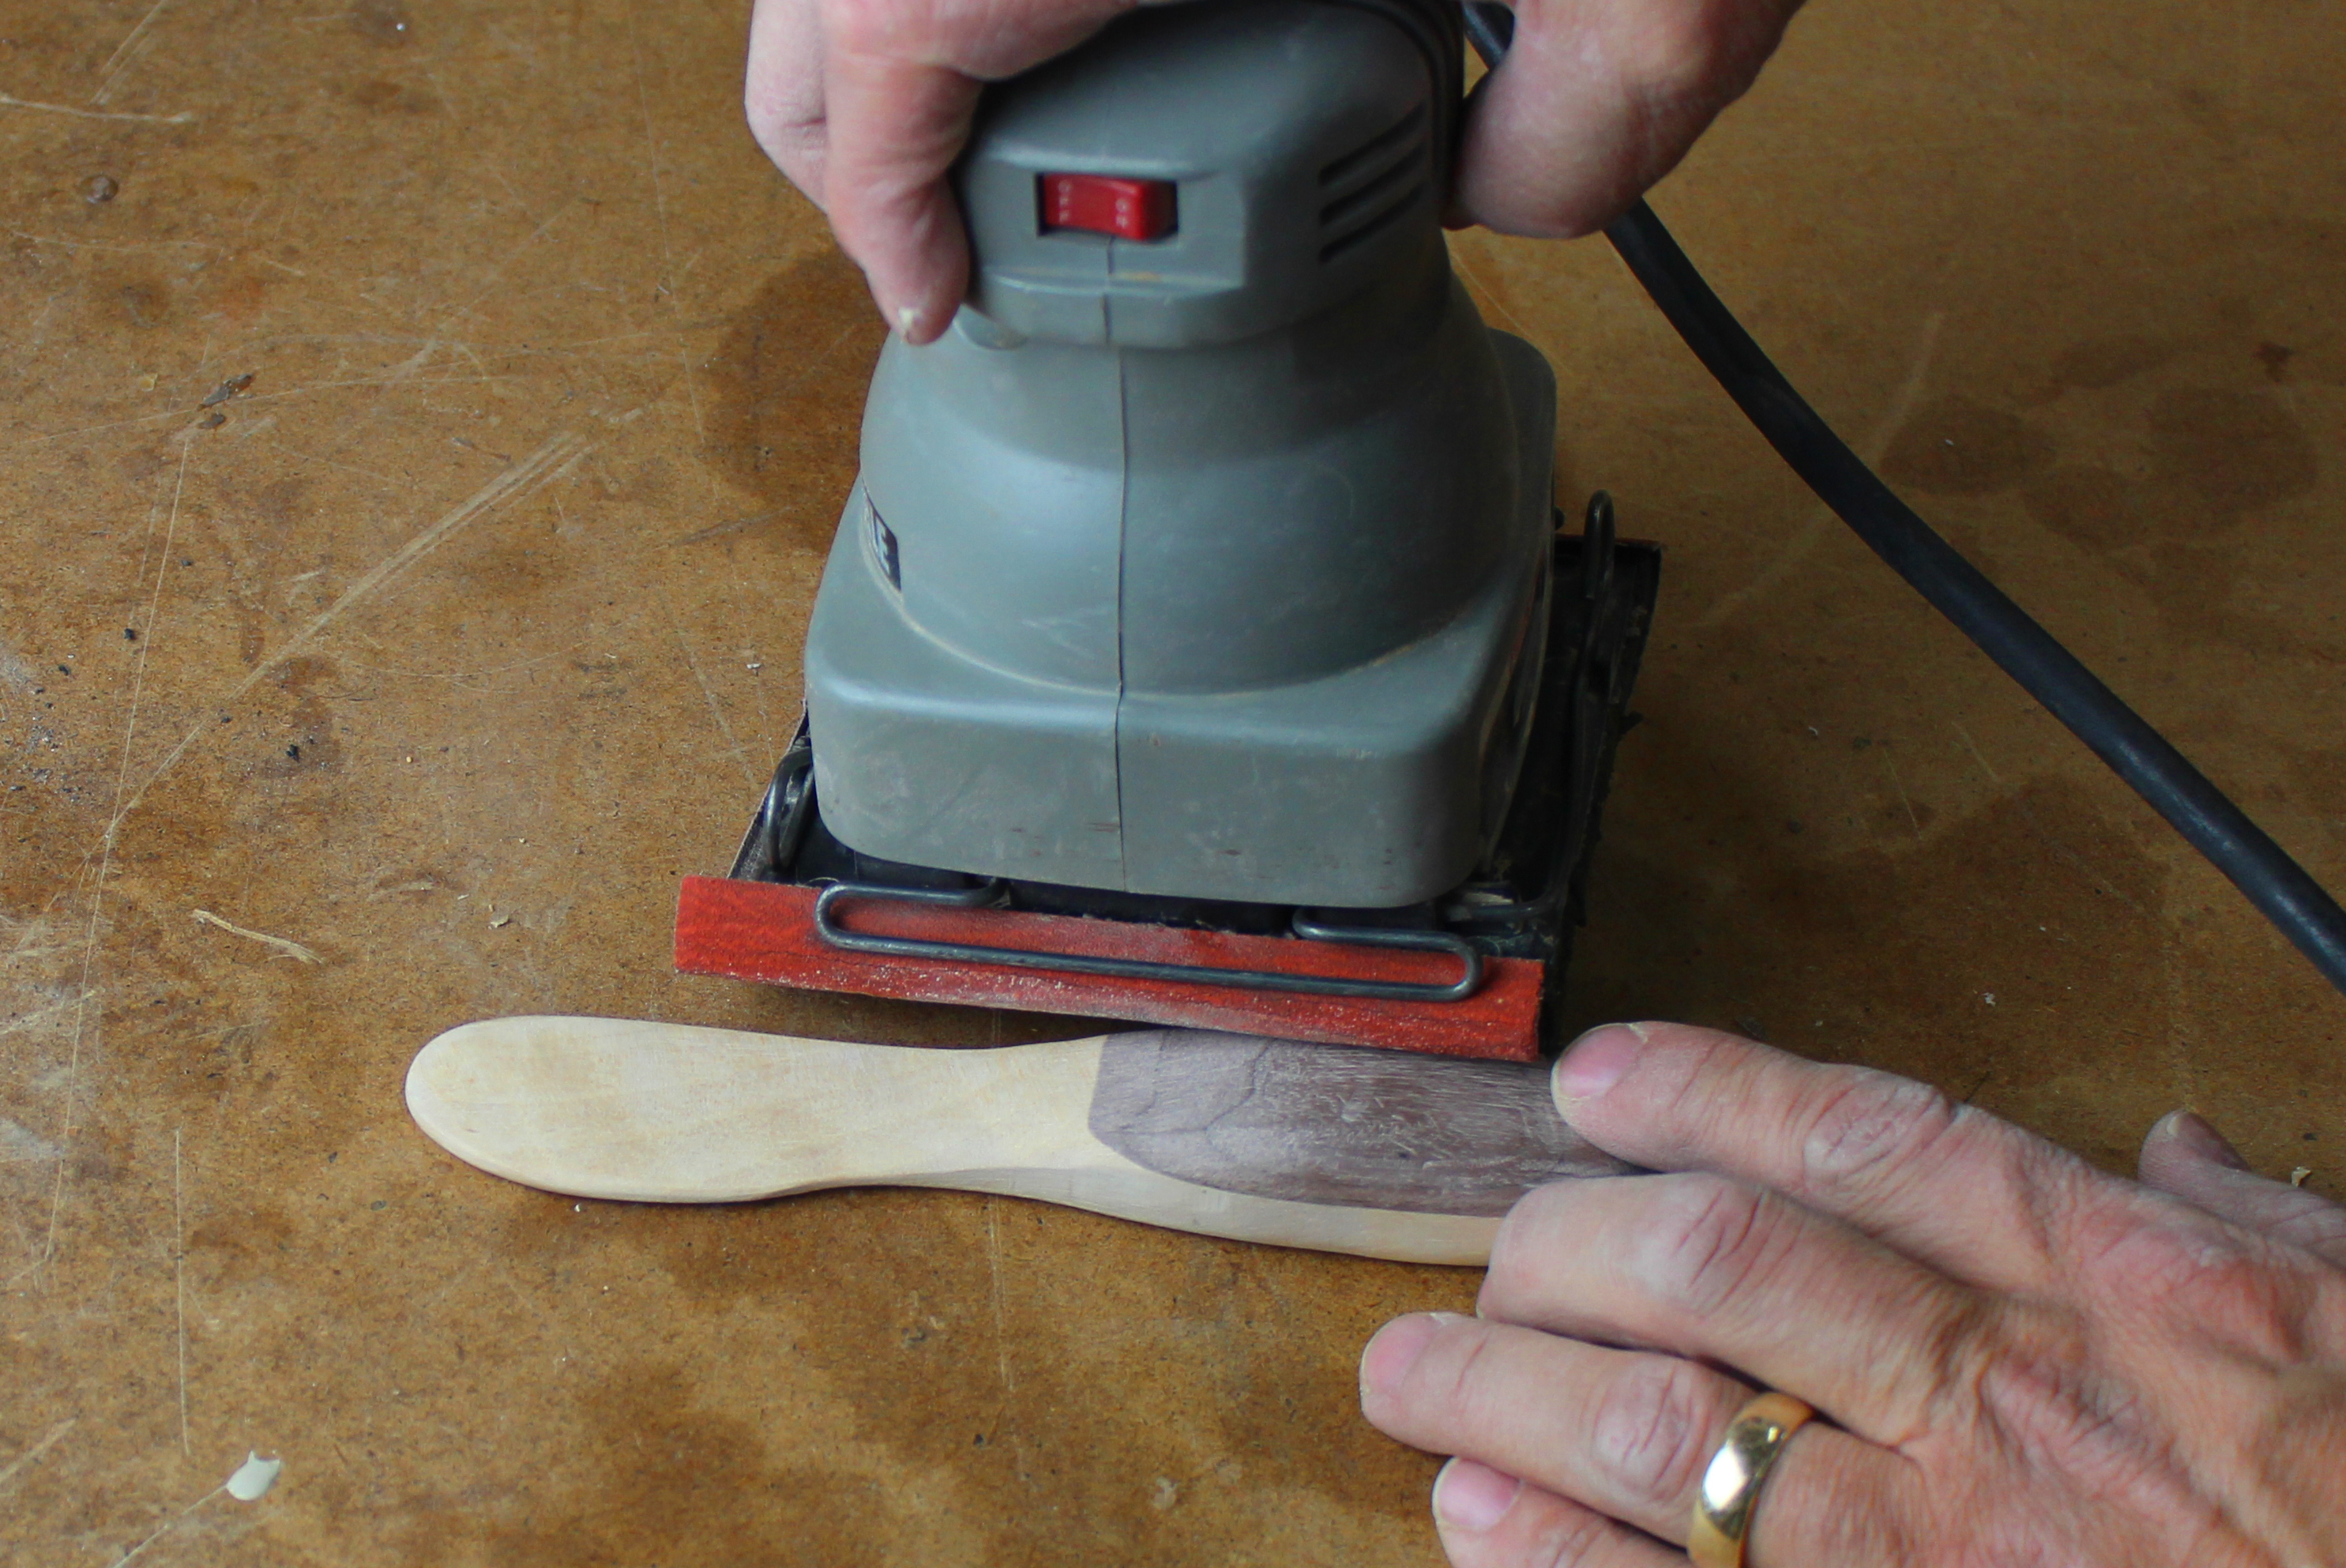
Sanding
Carefully sand, first with an aggressive grit, such as 80, to define the overall shape. Then progress through grits up to 220, taking time to smooth and round over all edges.

Finishing
Use a food-safe finish such as mineral oil (shown here) or a salad bowl finish to bring your project to a lustrous glow.

This looks like a great project. I'm thinking of using it for Christmas gift.Maybe add a cover?
Hi, I am wondering the best way to finish a project where I used maple next to padauk. When I try shellac or poly it bleeds orange into the maple. Thanks for any idea's. Dave
The "Click here to download templates for this project" only downloads the pattern for the spreader.
Did anyone ever get the project plans? It's 2022 now
Ur link for 10 projects is leading to 1 single planter box plan
Please send
J’aimerais recevoir des video
I would like to get the project plans to make gifts.
Nice product. Thanks
This is truly beautiful. It was unclear at first that we weren’t making 3 pieces, but two that store together. I plan to give this a try.