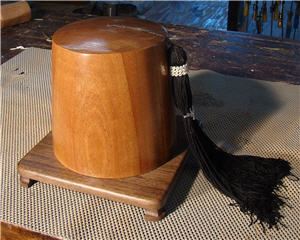
 Every once in a while, an unusual woodworking commission comes along. This recently happened to me when I was asked to turn a cremation urn into the shape of a Shriner fez. Here’s the project. I hope you can get some ideas and tips for your projects.
Material Selection. Since a fez is red and I’m not a big fan of staining wood, I chose Honduras Mahogany for the turning if I can avoid it. In addition to being the right color, it’s an easy wood to turn. I also knew I’d be able to get wide pieces. This was important since I needed a 9″ x 9″ x 10″ blank. I hoped to face glue pieces to get the size I needed without edge gluing them first. I could send the mahogany through my surface sander and face glue five pieces to get the dimensions I needed. I chose walnut for the base, knowing that the walnut's richness would stand out against the mahogany.
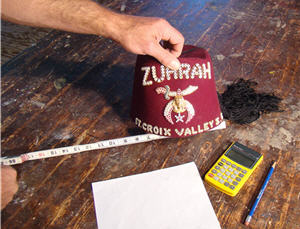 Dimensions. While the mahogany was in clamps, I worked on the final dimensions for the project. I had been told that the cremains would fit into a traditional fez, so the inside dimensions of the fez became the inside dimensions of my turning. I wanted to maintain a 1/2″ wall thickness, so I started by measuring the inside of the fez bottom and adding 1″.
I then divided the new outside dimension of the turning by the dimension of the real fez, which told me I was making the turning base about 125% larger than the real thing. I used that same proportion to determine the height of the turning and the diameter of the tapered top. All I had to do was take measurements from the fez and multiply them by 1.25.
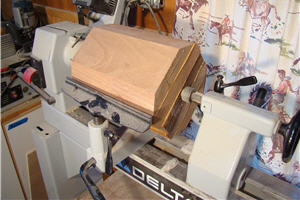 Turning the blank. Whenever a spindle blank is larger than 3″ x 3″, I cut the corners off before turning. This blank certainly qualifies. I centered the blank between the headstock and tailstock on the drive and lived centers. Then I set the tool to rest, and everything went well.
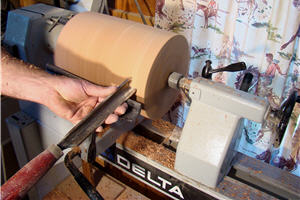 I roughed the cylinder using a 1-1/4″ spindle gouge, running the lathe at 800 rpm.
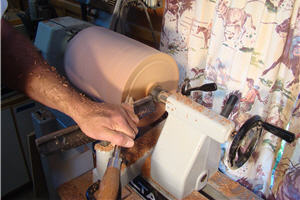 I faced off the bottom of the turning using a 3/8″ bowl gouge. I wanted to ensure the bottom was true before marking the overall length. At this stage, the bottom is slightly concave.
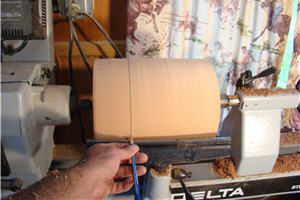 Once the bottom was true, I marked the overall length of the turning–based on the dimensions I had calculated earlier. My glue-up was longer than I needed it to be, but better to err on the side of too much than too little.
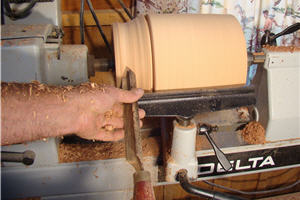 With the top of the turning marked, I turned away the waste above that point
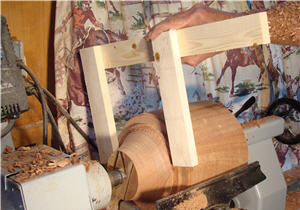 Since I didn’t have calipers large enough to measure the diameters this project called for, I made them. I nailed and glued two 1 x 2s to a cross piece, with the target diameter established between them.
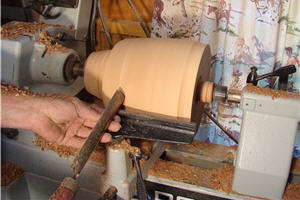 With the diameter established top and bottom, all I had to do was “connect the dots.” I returned to my roughing gouge to turn the taper required from top to bottom, then finished it with my skew.
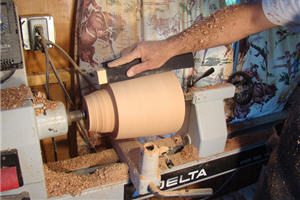 Once the taper was turned, I wanted to make sure I kept a true and straight line from top to bottom. Instead of doing the sanding by holding the sandpaper in my hand, I wrapped the paper around a 2 x 2. The block guaranteed that my line remained straight.
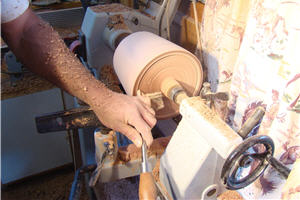 With the outside complete, I defined the wall thickness and started hollowing the interior. I intend to leave a column between the tailstock and the turning and hollow around it. This is such a deep and narrow turning–and all end grain, I’m not sure a chuck will provide enough bite to hold it so that I will keep it between centers.
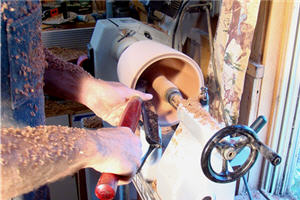 Hollowing was the hardest part of the project. I had to reach in about 6″, deep with an interior diameter of 7″ at the base. I had to do most of it by feel, not sight. I had a couple of chisels catches, but nothing too bad. I changed from a gouge to a scraper once I was about 3″ deep since there wasn’t enough room to manipulate the gouge.
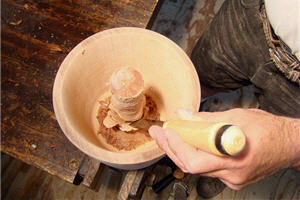 With the ‘fez’ off the lathe, I carved away the core left behind by the tailstock. Once the core was out, I used a bowl sanding attachment in a drill order to sand the interior. With the interior cleaned up, I cut the remaining waste from the top and sanded it smoothly.
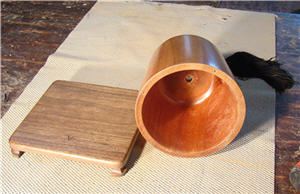
 With a tassel from a real fez installed, the final piece looks great. It’s sealed, inside and out, with three coats of catalyzed lacquer applied with an HVLP sprayer. Four screws hold the top to the bottom to allow the insertion of the cremains.
Photos By Author


I am amazed that you didn't use 'fancy' turning tools. Thank you for that. I've wanted to do urns, but don't have the expensive attachments.
Did you have to do anything special to the bottom edge to keep the ashes from sifting out? Will just 4 small screws be enough to keep it sealed? What about using a router to cut a shallow groove in the base sized to the urn to help keep the ash from escaping? Enjoyed the presentation. I am planning on turning an urn for my little Schipperke's ashes this winter when I have time. He was my buddy for 13 years until diabetes got him. Thanks!