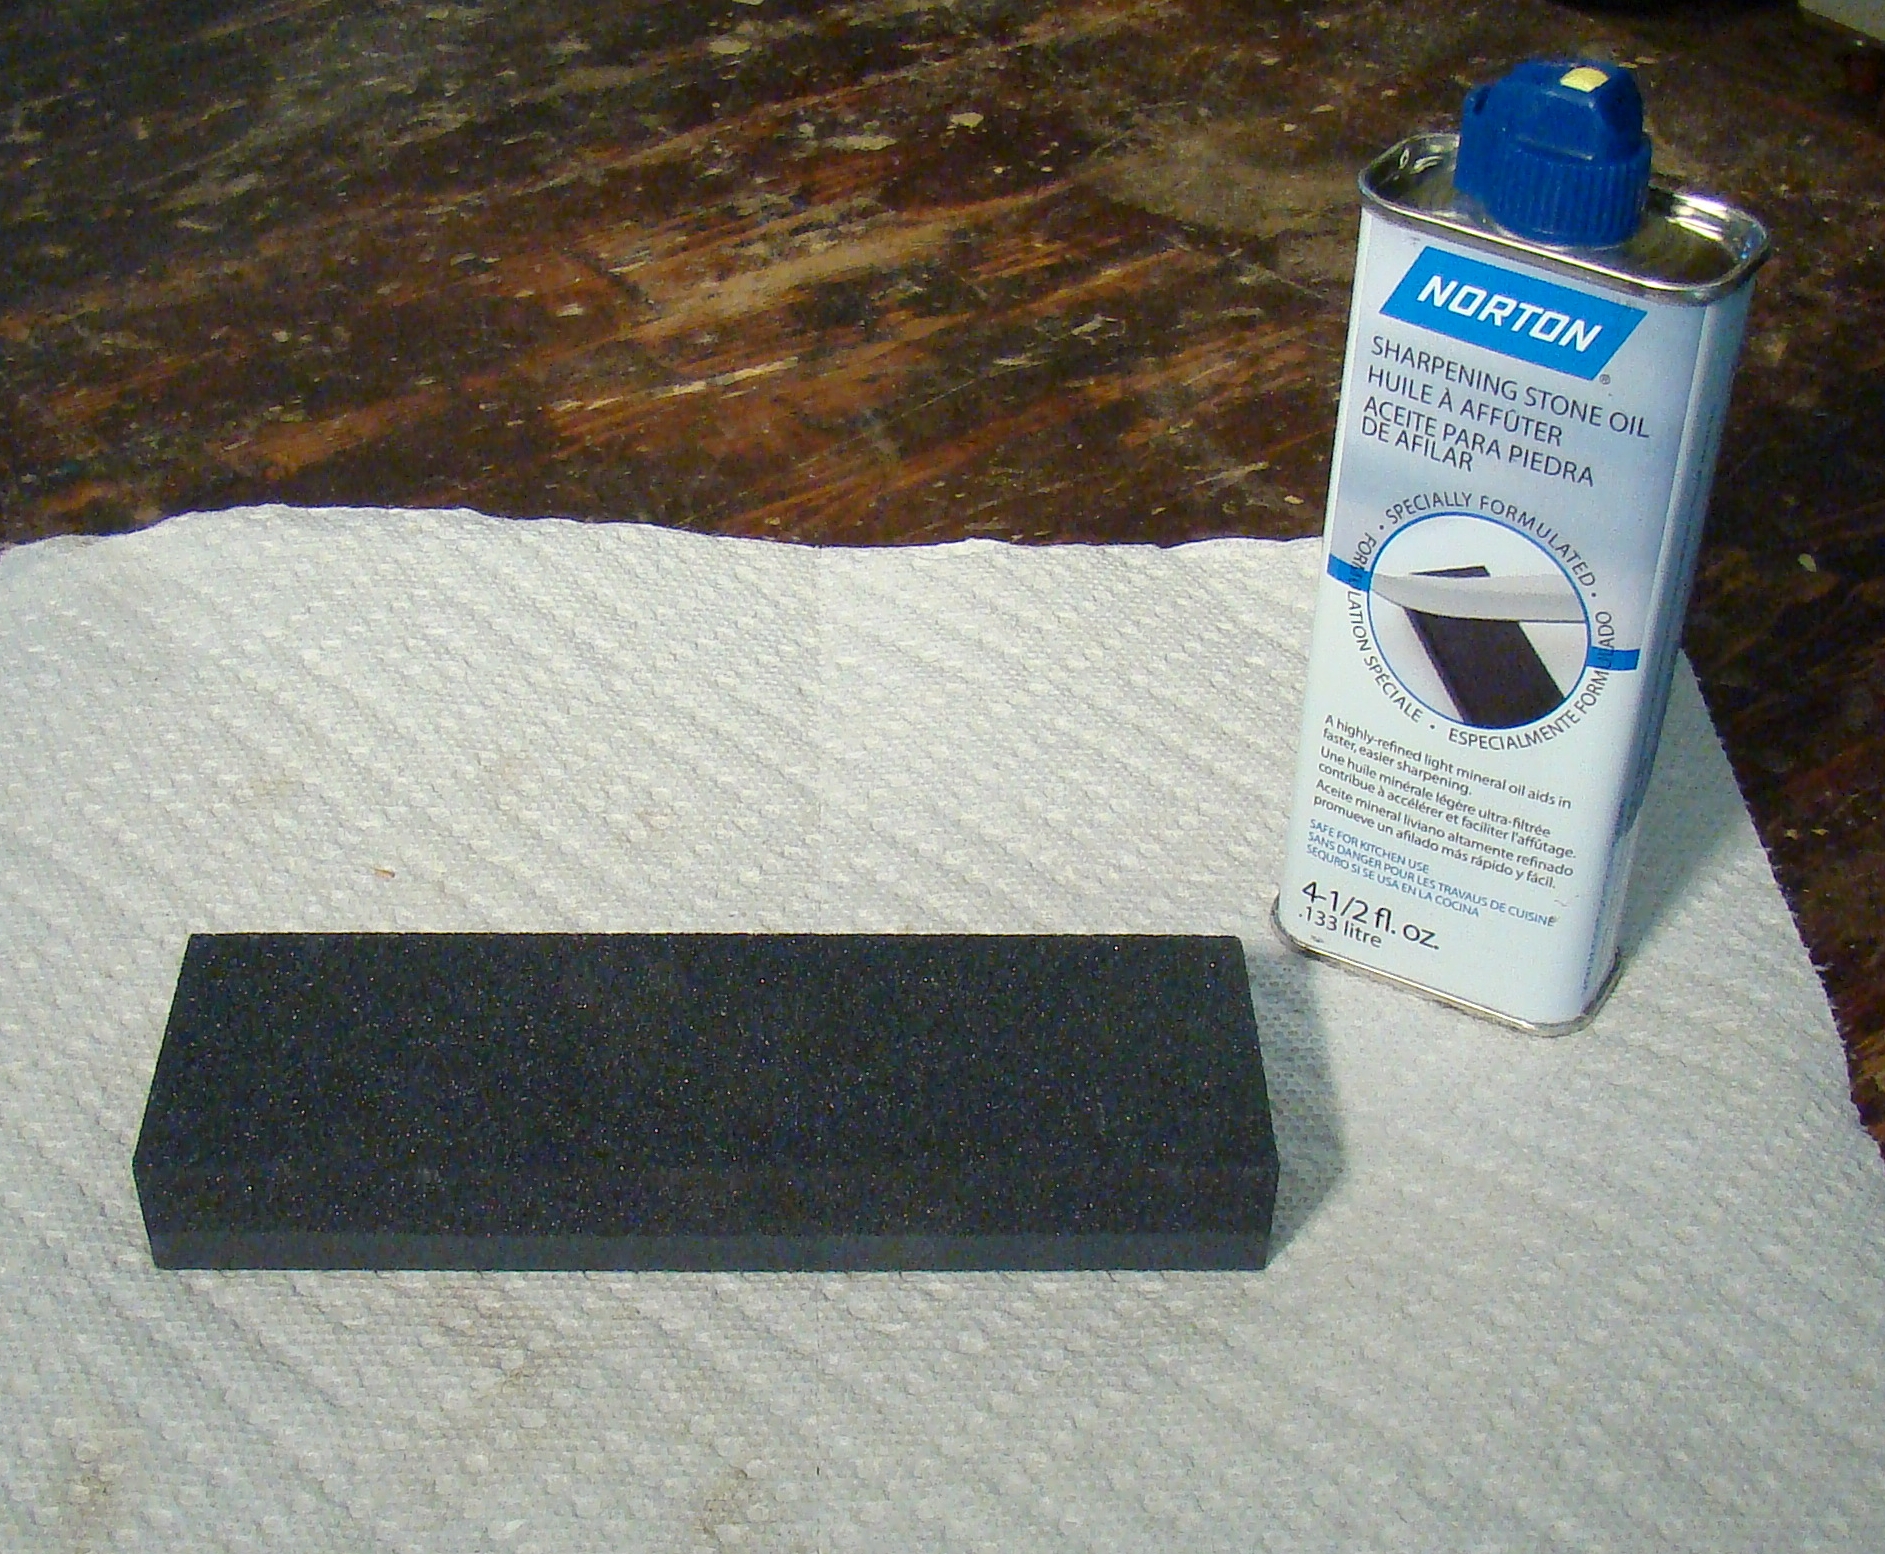
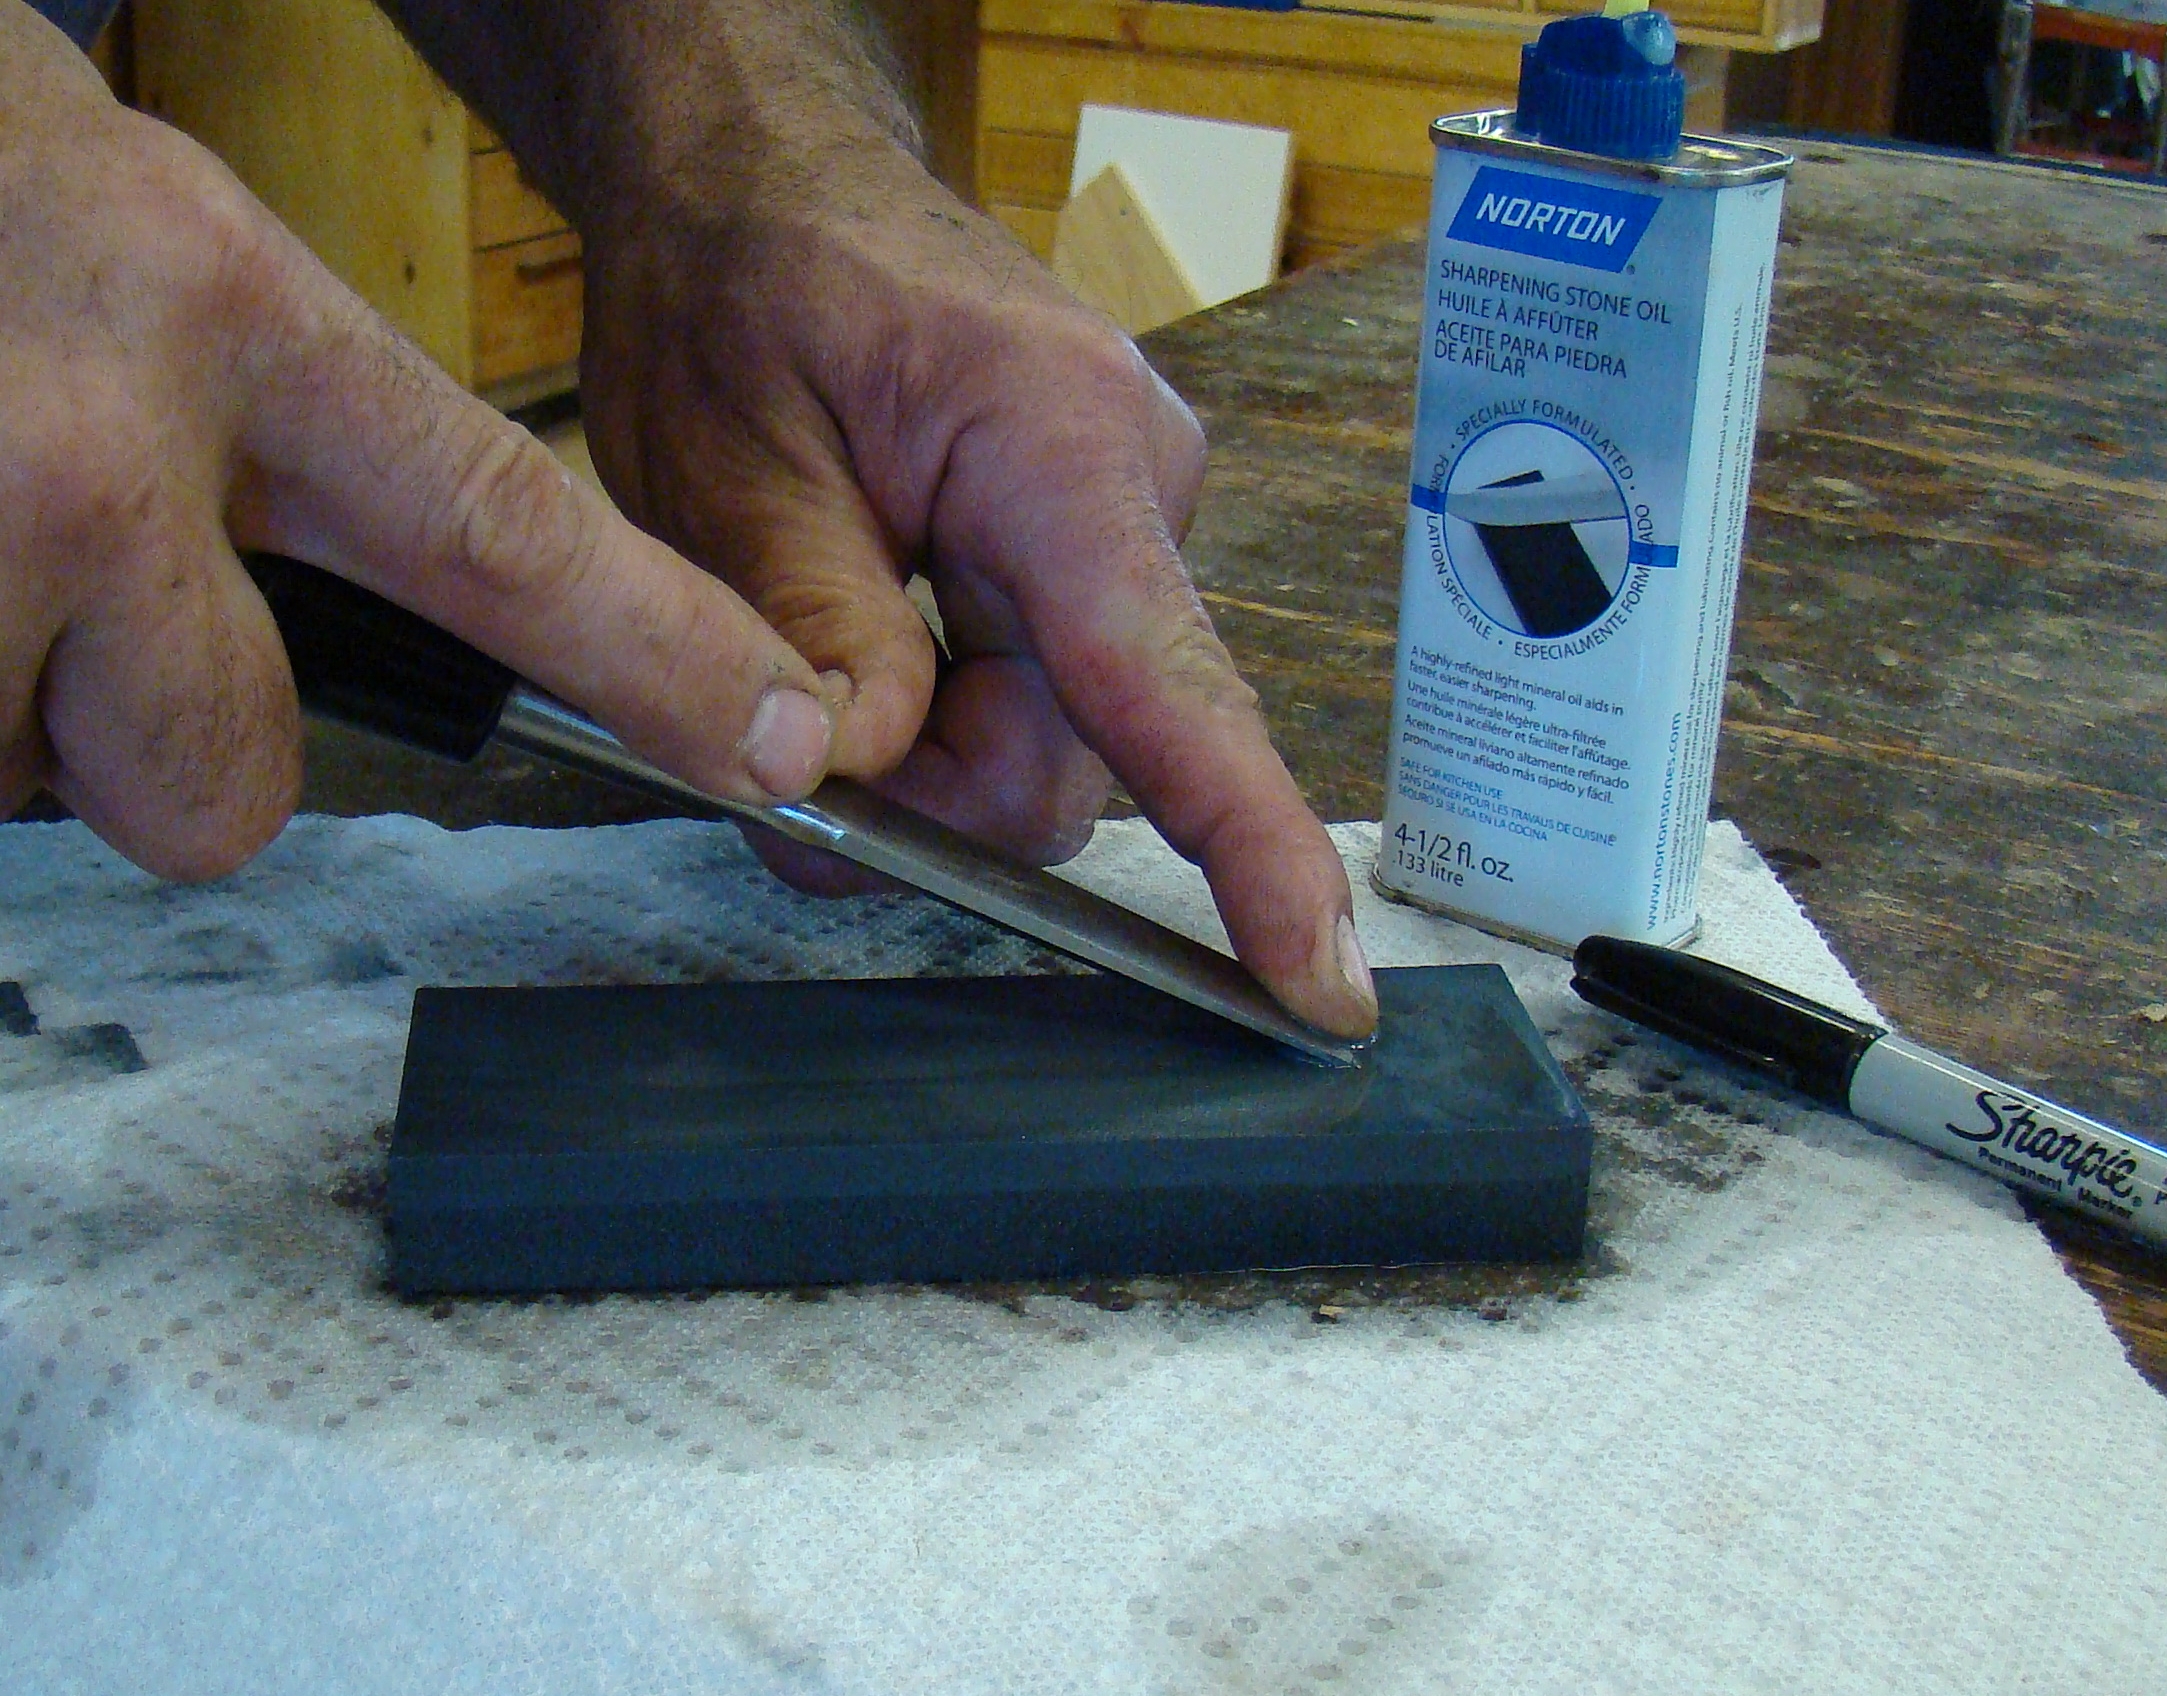
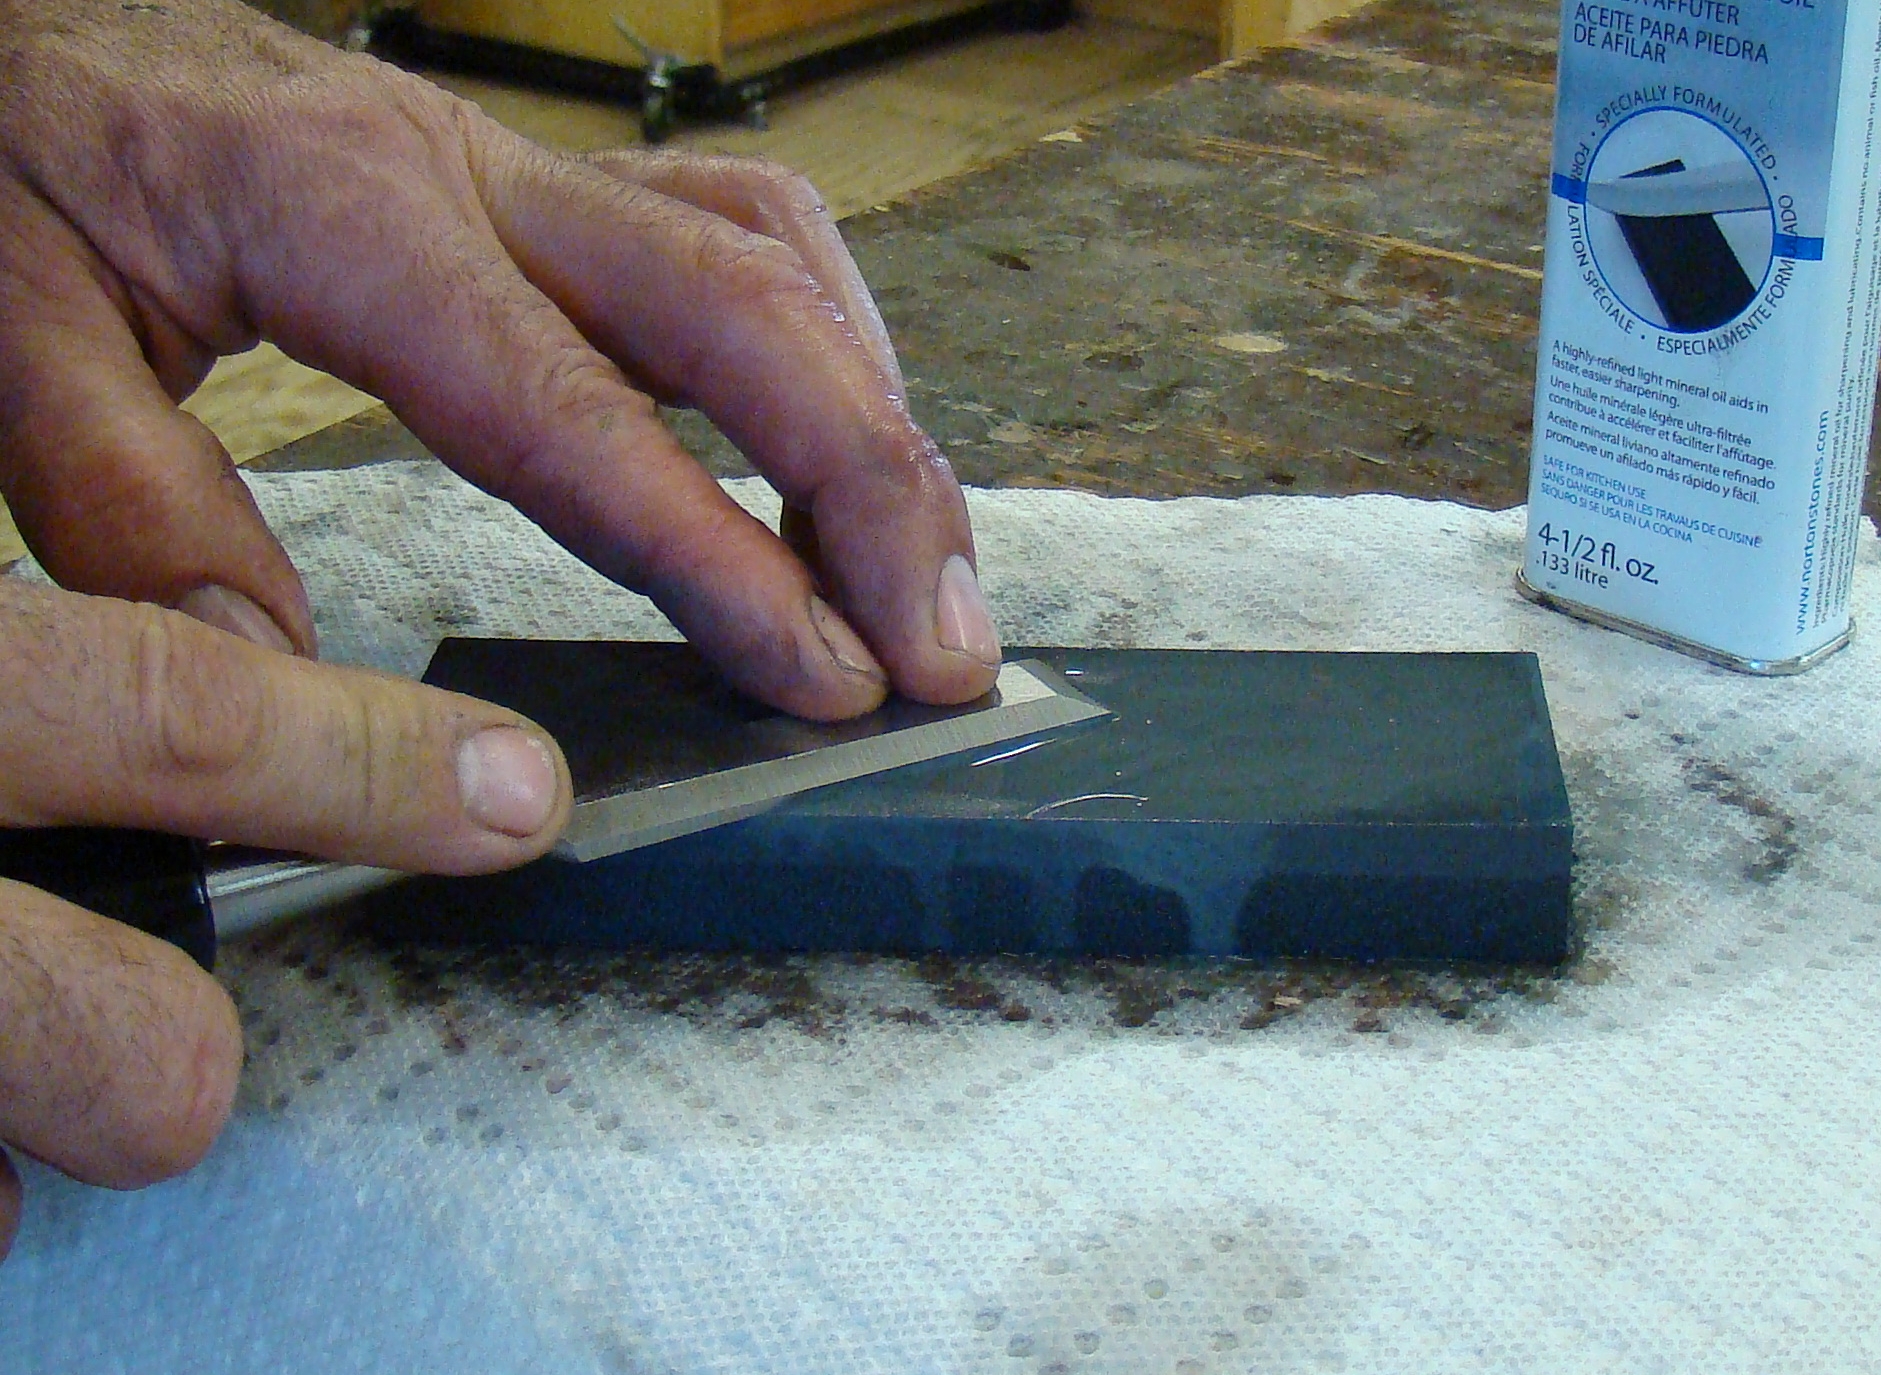
You’ll need a whetstone and some lubricating oil. Notice the two different colors in the stone. The stone has a coarse side and a fine side. For honing, use the fine side. If you manage to chip a chisel, or otherwise damage it, and really need to remove some metal to make it right, start on the coarse side. Saturate the stone with oil. This prevents the metal filings, called swarf, from clogging up the stone. A new stone is thirsty and will soak up a lot of oil. Make sure there’s always oil on the surface of the stone when you’re sharpening. A paper towel will help soak up excess oil so it doesn’t end up all over your bench.
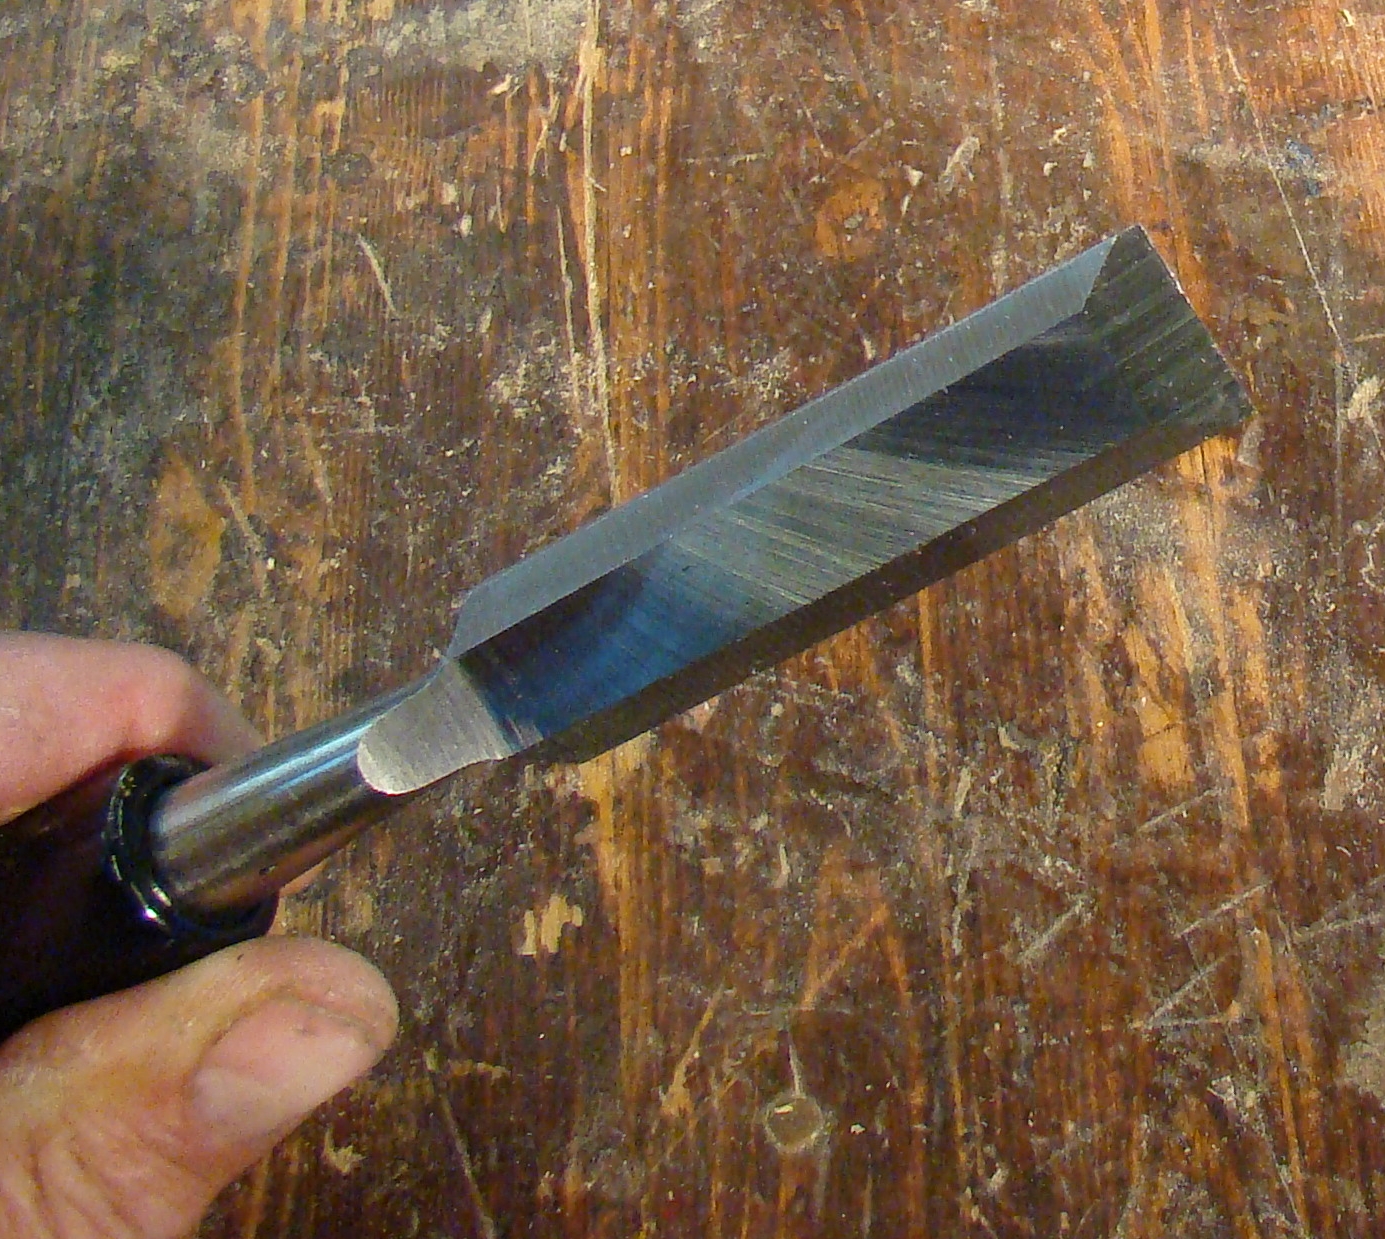
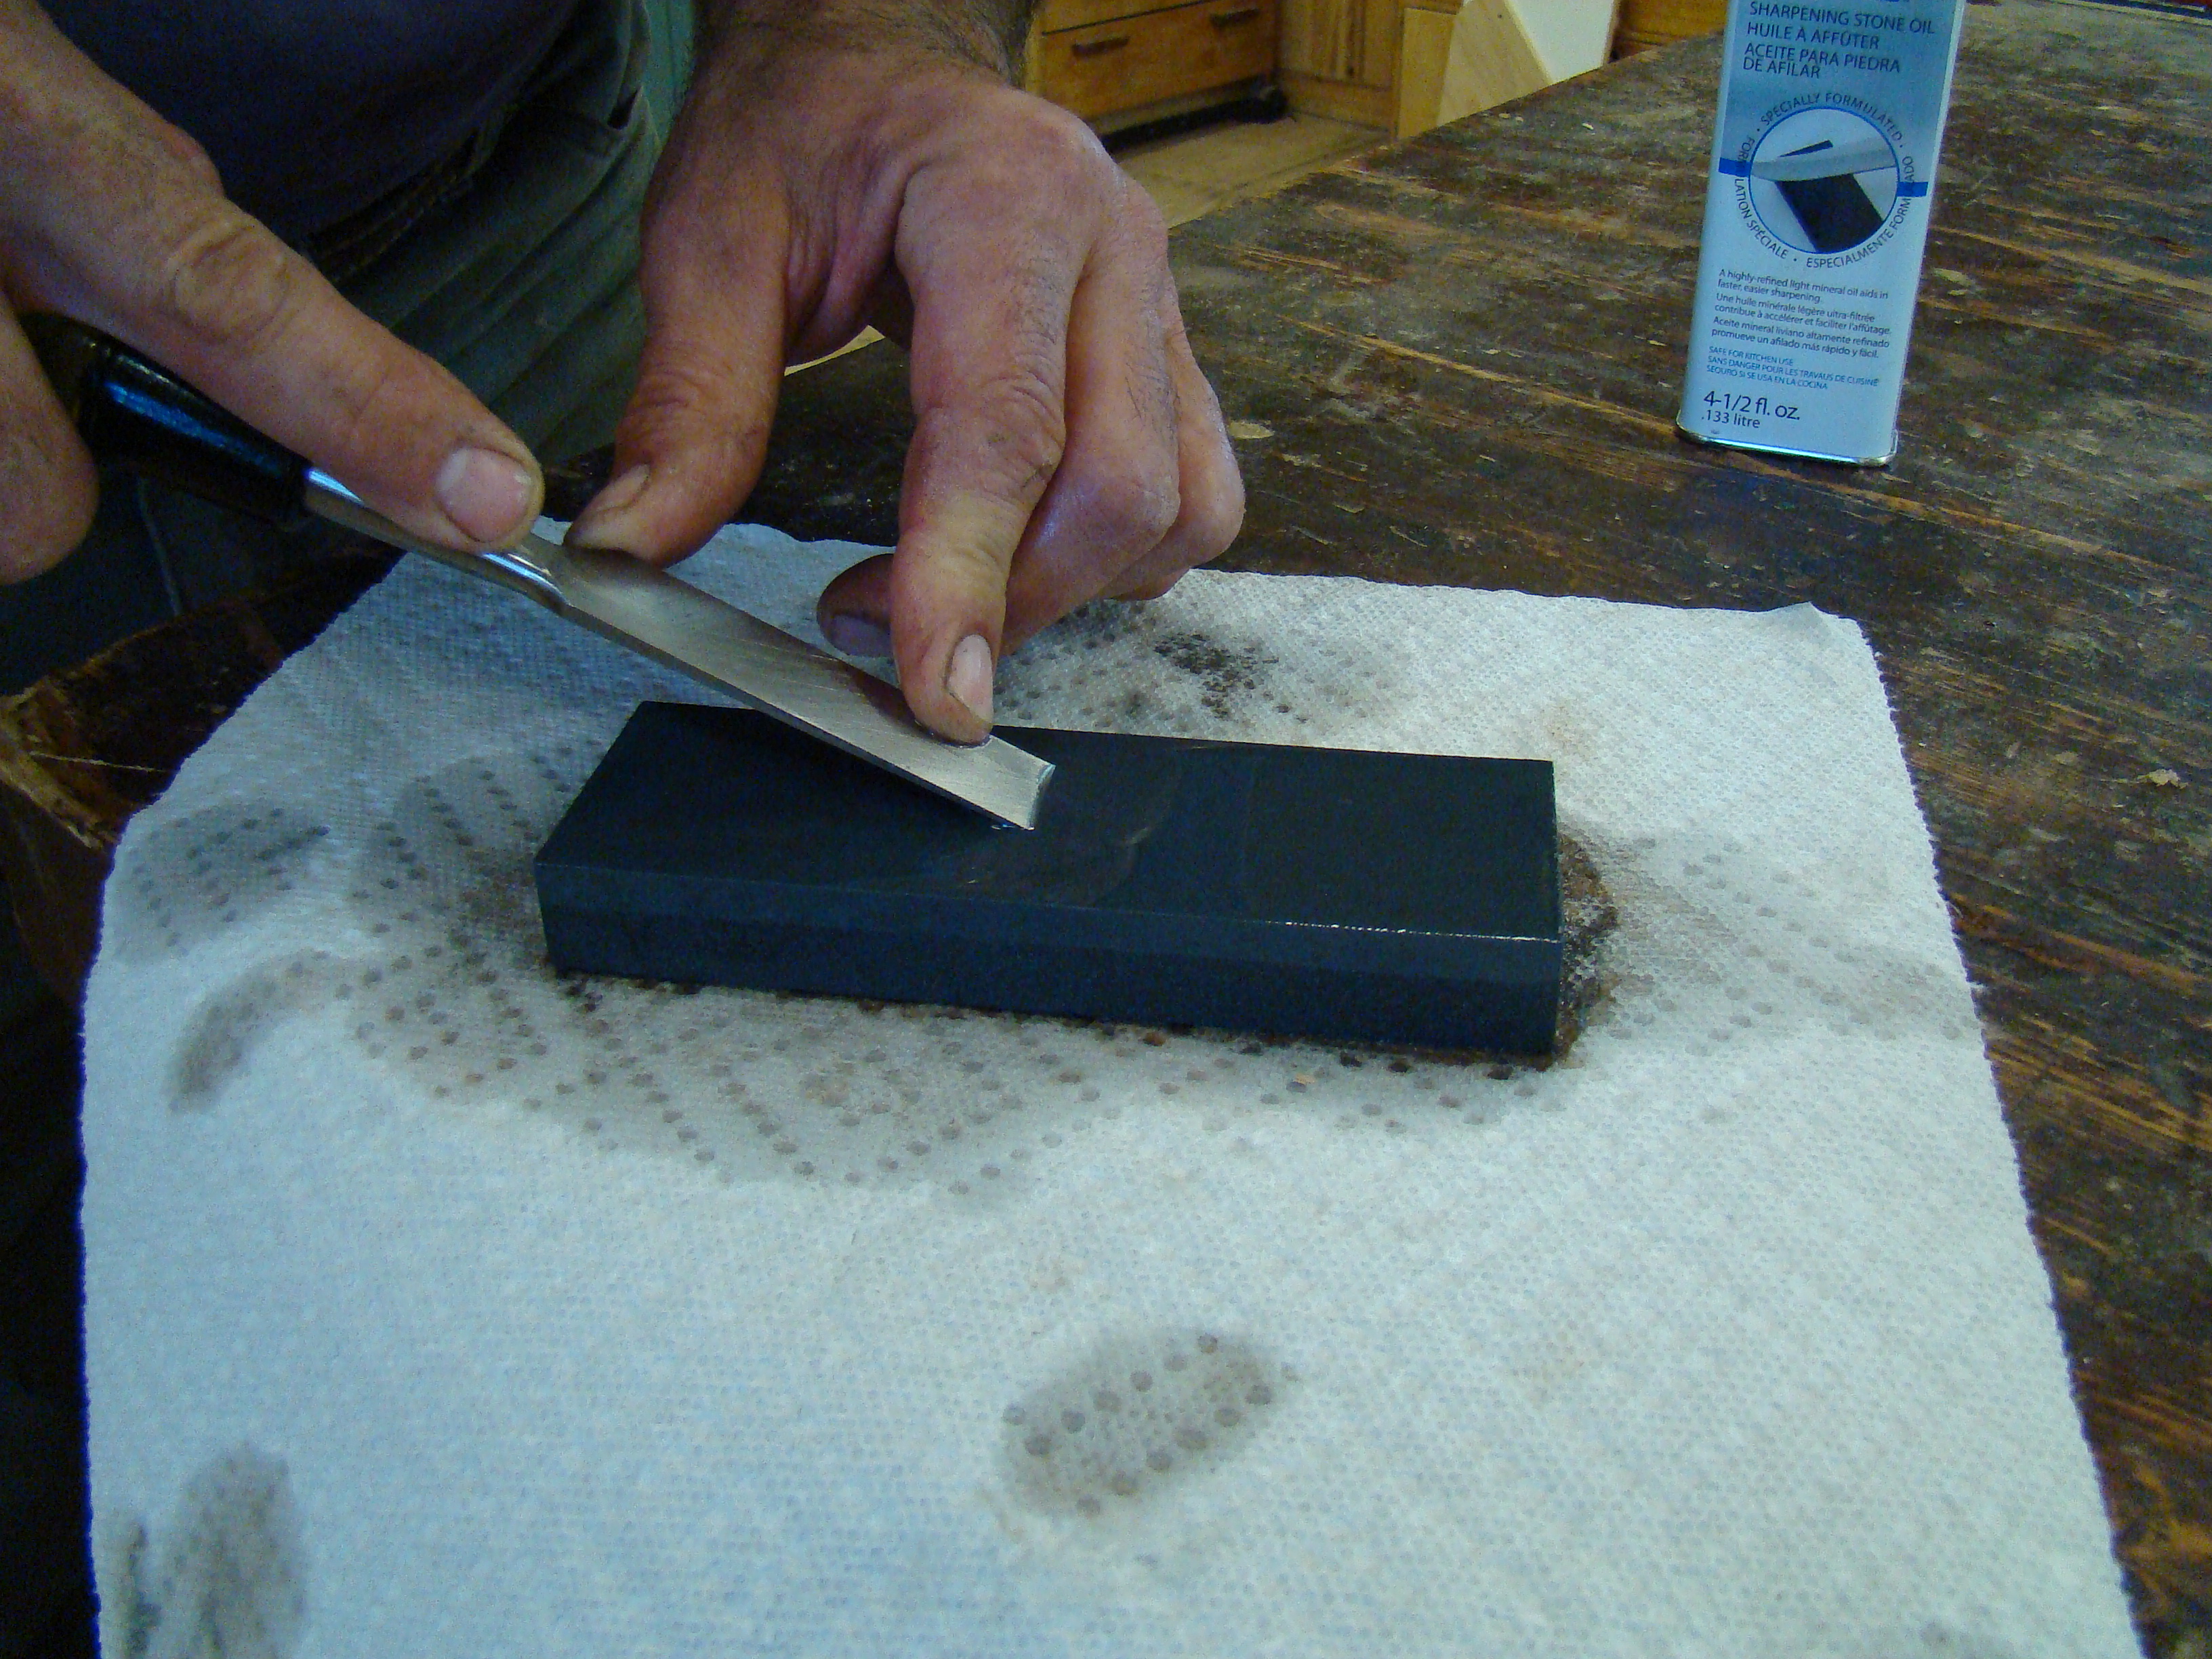
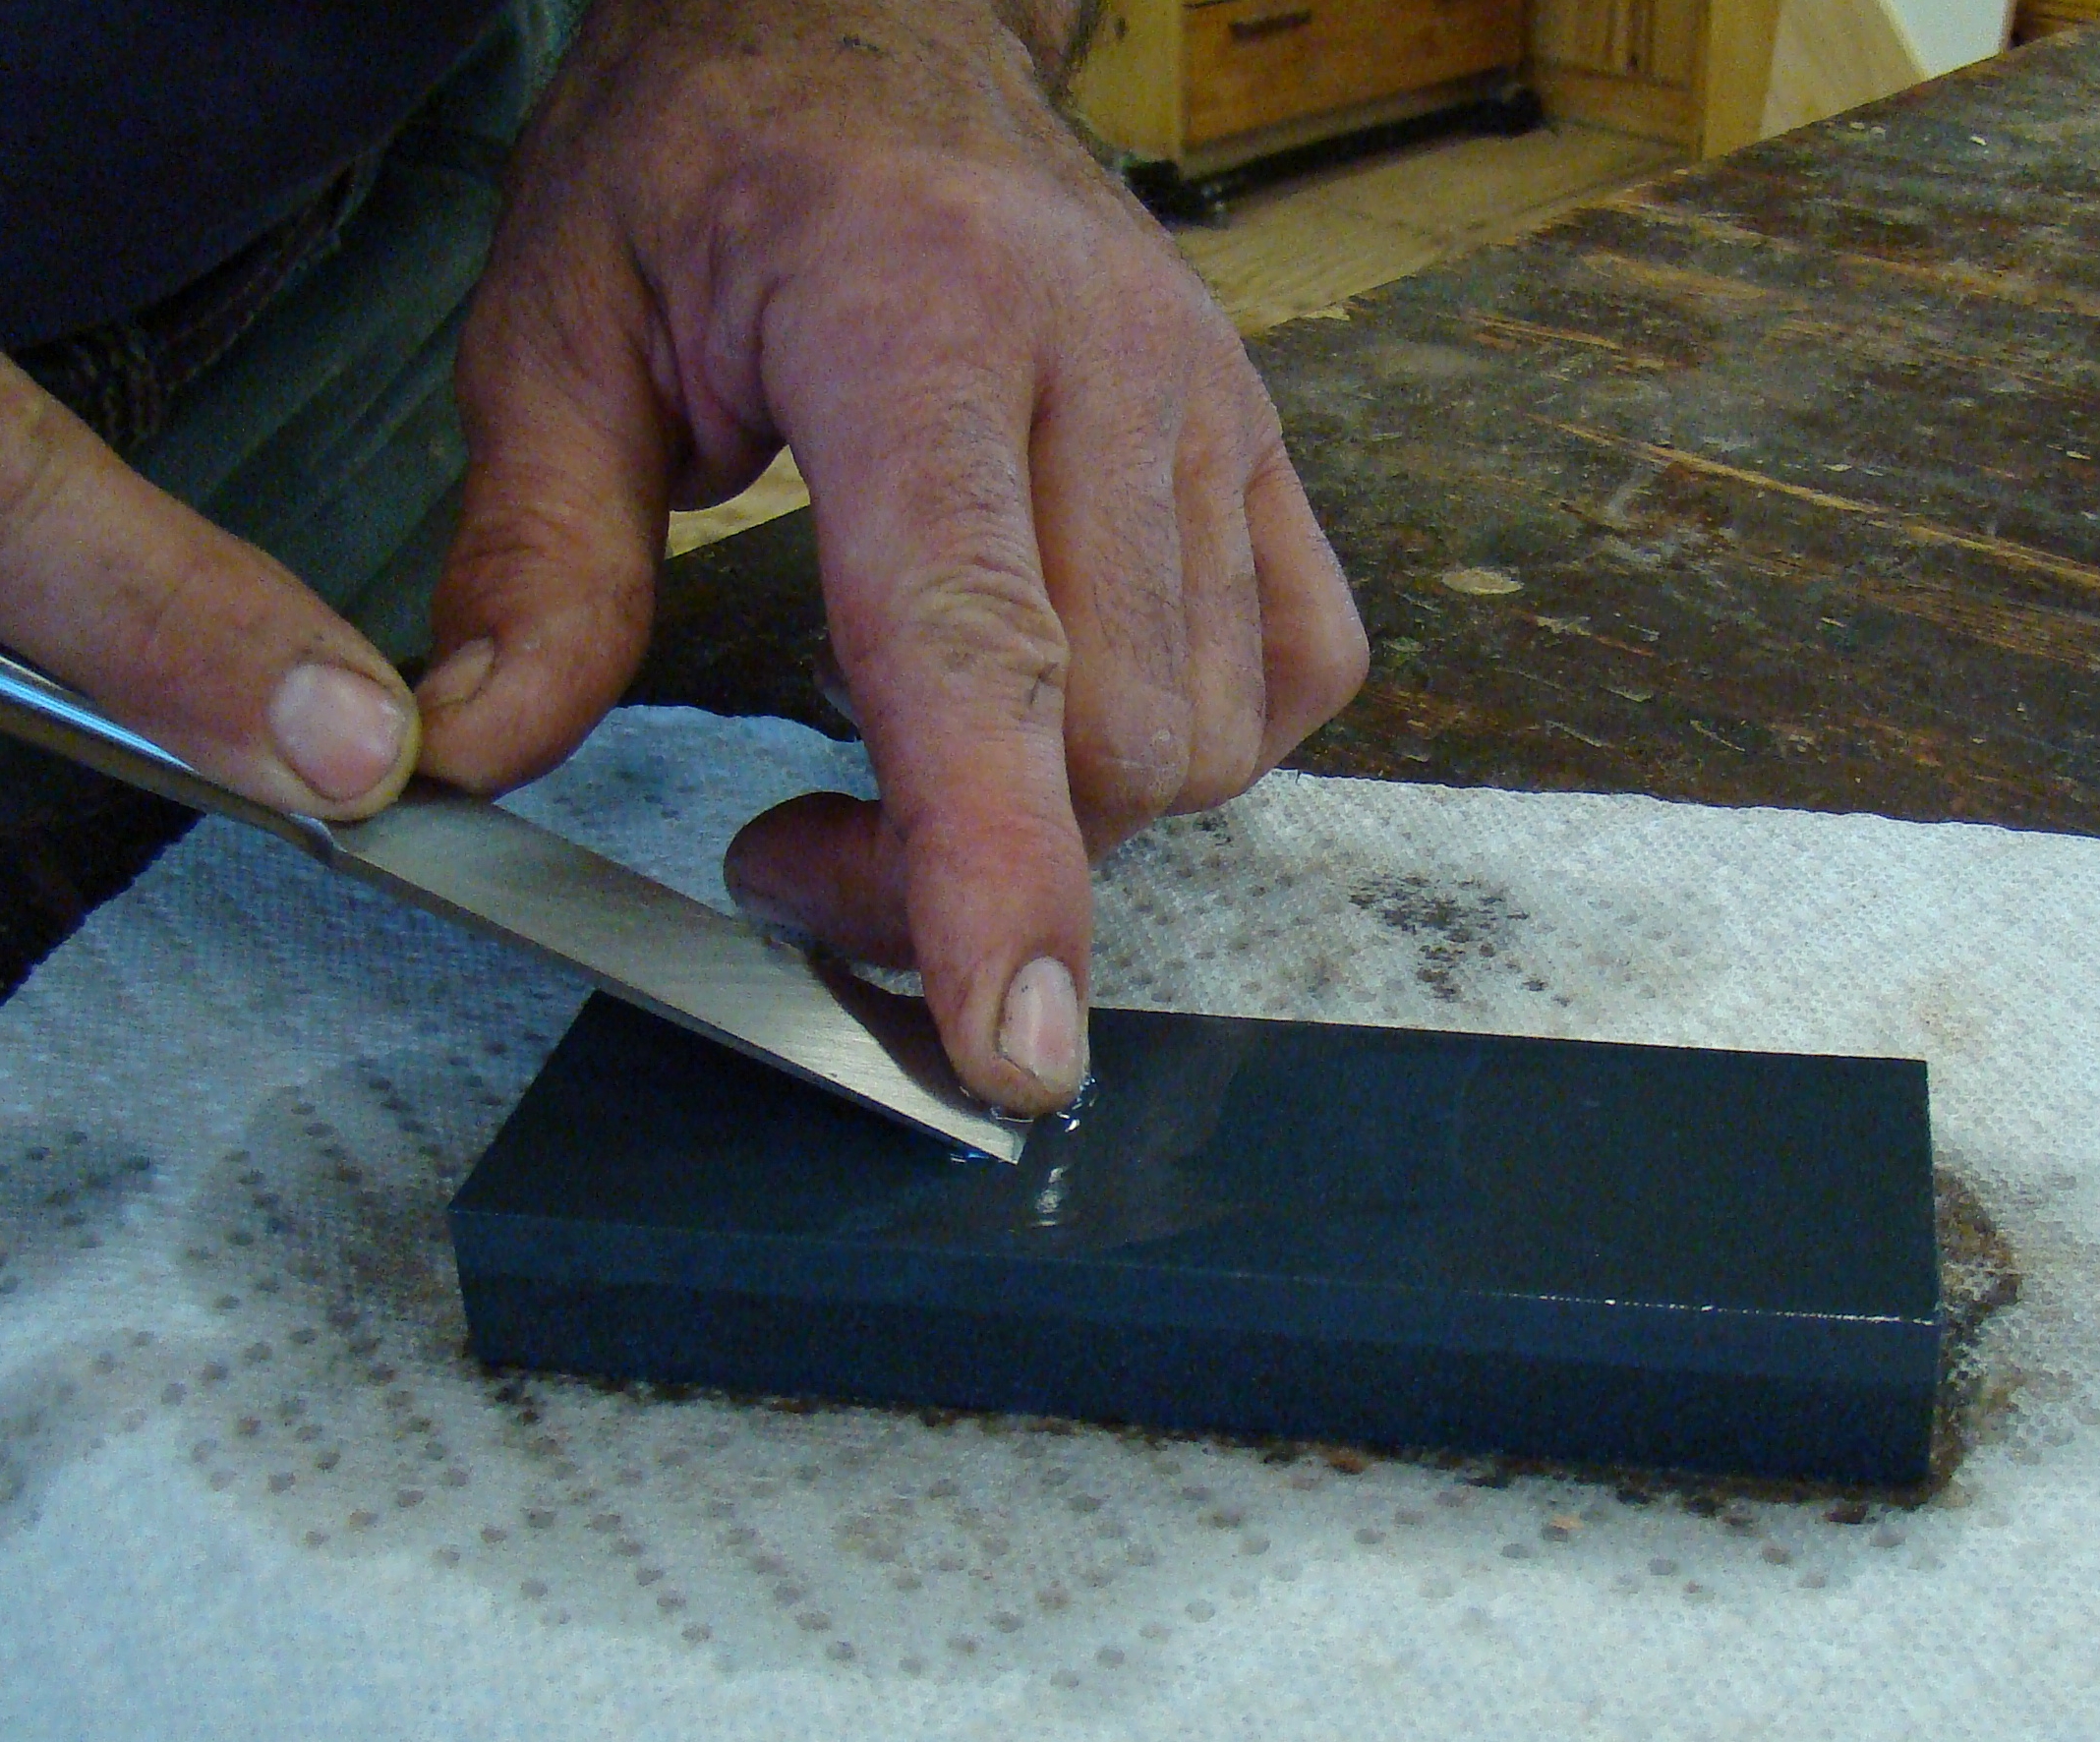
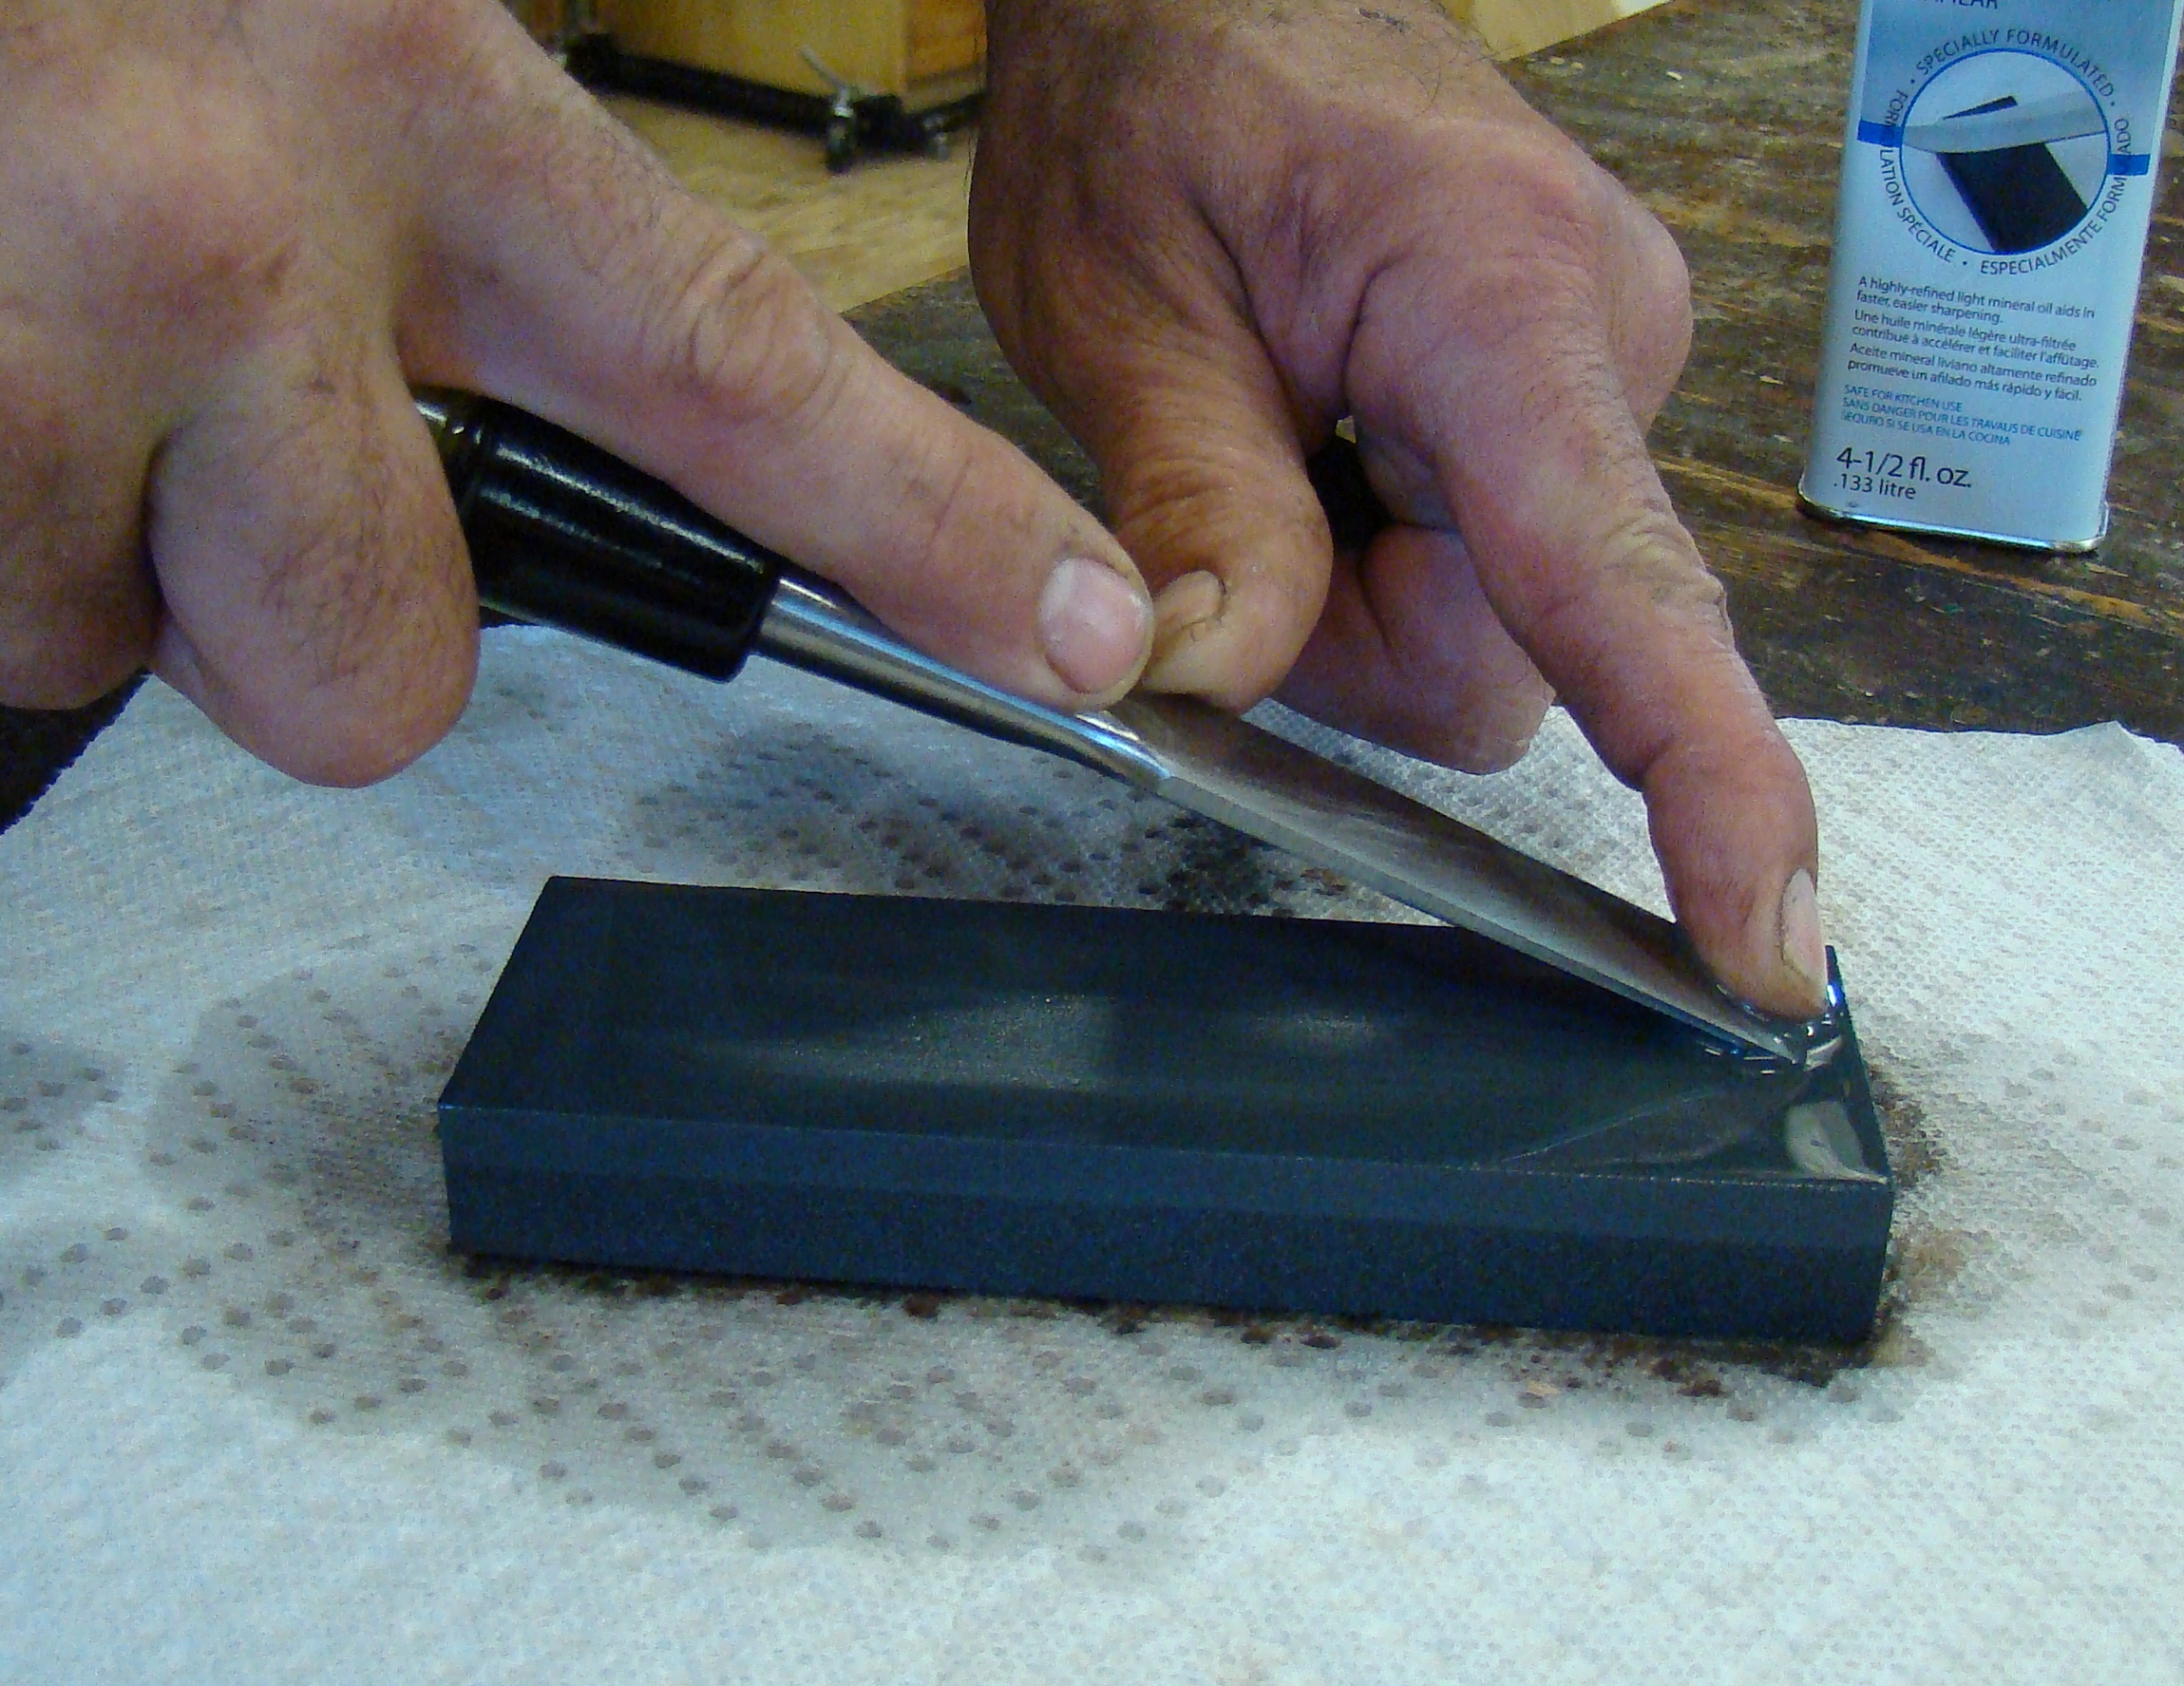
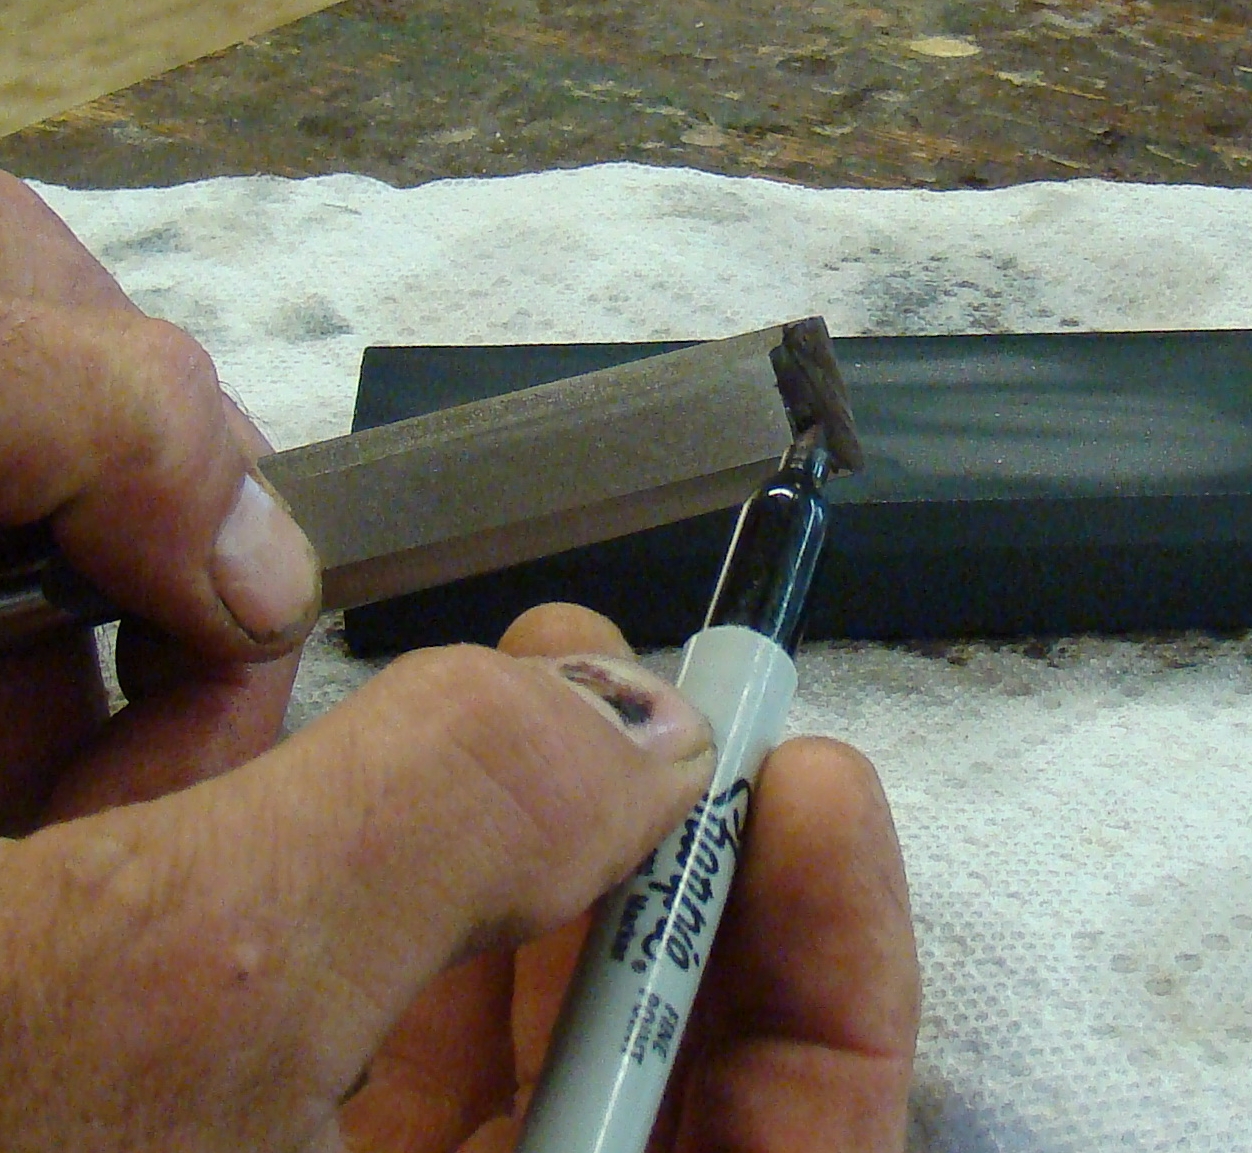
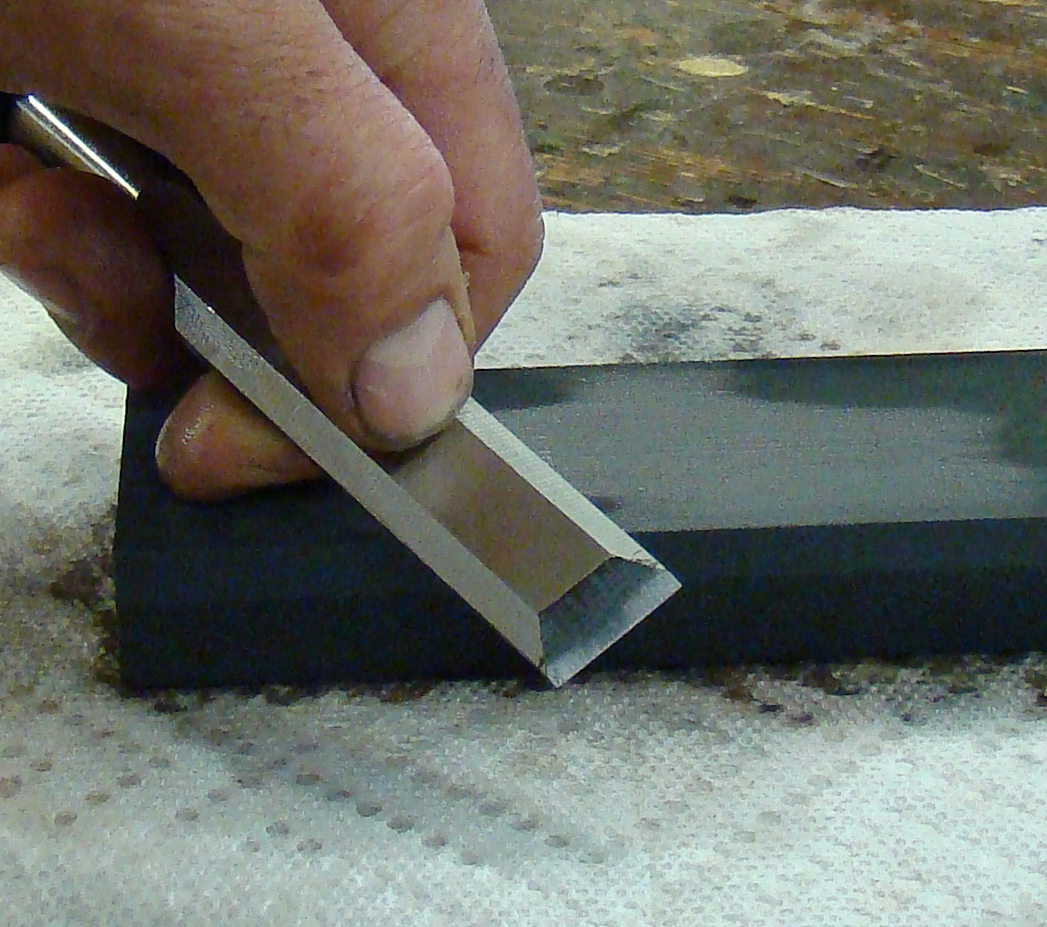
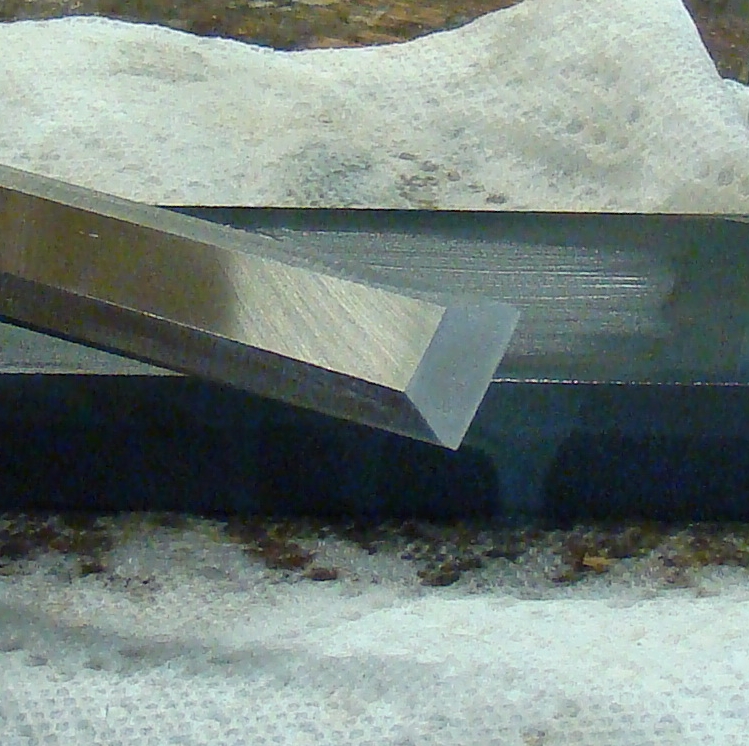
Find the sharpening angle by holding the chisel on the stone with the handle parallel to the bench. Lift the handle until you feel the bevel of the cutting tip go flat on the stone. Just as it goes flat you’ll see a puddle of oil pushed out from under this chisel. This is a good sign you’ve got the angle right. Holding the chisel at the correct angle, slide your index finger down so you can feel the whetstone. Maintaining consistent contact between your finger and the stone will help you keep the angle correct as you sharpen. Stroke the chisel up and down the length of the stone. Be sure to use the entire surface of the stone or you can wear it unevenly, and it won’t be flat. If the stone is slipping and sliding on your bench, put a piece of shelf liner under it to help it stay put. Not sure you’re keeping the angle right? Try this trick. Color in the bevel of the chisel with a felt tip, then… …take a few strokes on the stone. Then have a look at the bevel. If you’re holding the bevel perfectly flat, you’ll be removing color uniformly. In this case it’s being taken off the tip, but not the rest of the bevel, so the chisel handle is too high. Correct the angle and keep going. Remember that your goal is to eliminate all the grinding marks. This chisel is nearly done, but there’s one more step. After you’ve honed the bevel of the chisel to perfection, you need to flatten the back. This is called lapping. A perfectly flat back will make the chisel cut much better.
Once you’ve got the chisel sharp, take good care of it and the cutting edge will last a long time. It’s easier to maintain the cutting edge if you keep it sharp. So don’t wait for the chisel to get dull before you head back to the whetstone. Give the chisel a few strokes on the stone every time you use it, and it’ll always be ready to work.
Photos By Author
Why not illustrate it in a video George !!!!!!
The article talks about a "whetstone" and using oil on it. My understanding is that is used by knife makers. But, most woodworkers in my experience use either water stones or diamond plates. And oil would NOT be used on either one. Please educate me.
I thought the first step in sharpening a chisel was to flatten the back?
Thank you!
Now I know that I can do it right, thank you.
Hi and thanks for your tips. I am wondering what your thoughts are on’ honing guides’ for helping with sharpening . Thanks again . Tony
Thank you! Going down to shop to try this out.
how does one go about sharpening/keeping sharp "Wood" sculpting tools?
Is there a special kind of oil to use? Will 3in1 household oil be adequate?
Thank you I needed that!!!