 Like many woodworkers, I go through a lot of hardwood. Lots, and lots and lots of it. And at the $4-$8 per board foot price that I normally pay at my local premium hardwood retailer, this takes its toll on my family’s budget. I have tried buying lower grade lumber and dealing with the knots and other flaws as a way to save money, but I have found this to be a false economy for most of my projects, since I end up wasting so much lumber when trying to work around the defects. So I decided to stick with higher grade materials (normally Select & Better or FAS), but resigned myself to figuring out a way to lower my material costs. I looked at alternative species that might cost less than cherry, maple and walnut which are my favorites, but I couldn’t quite get myself to compromise that much.
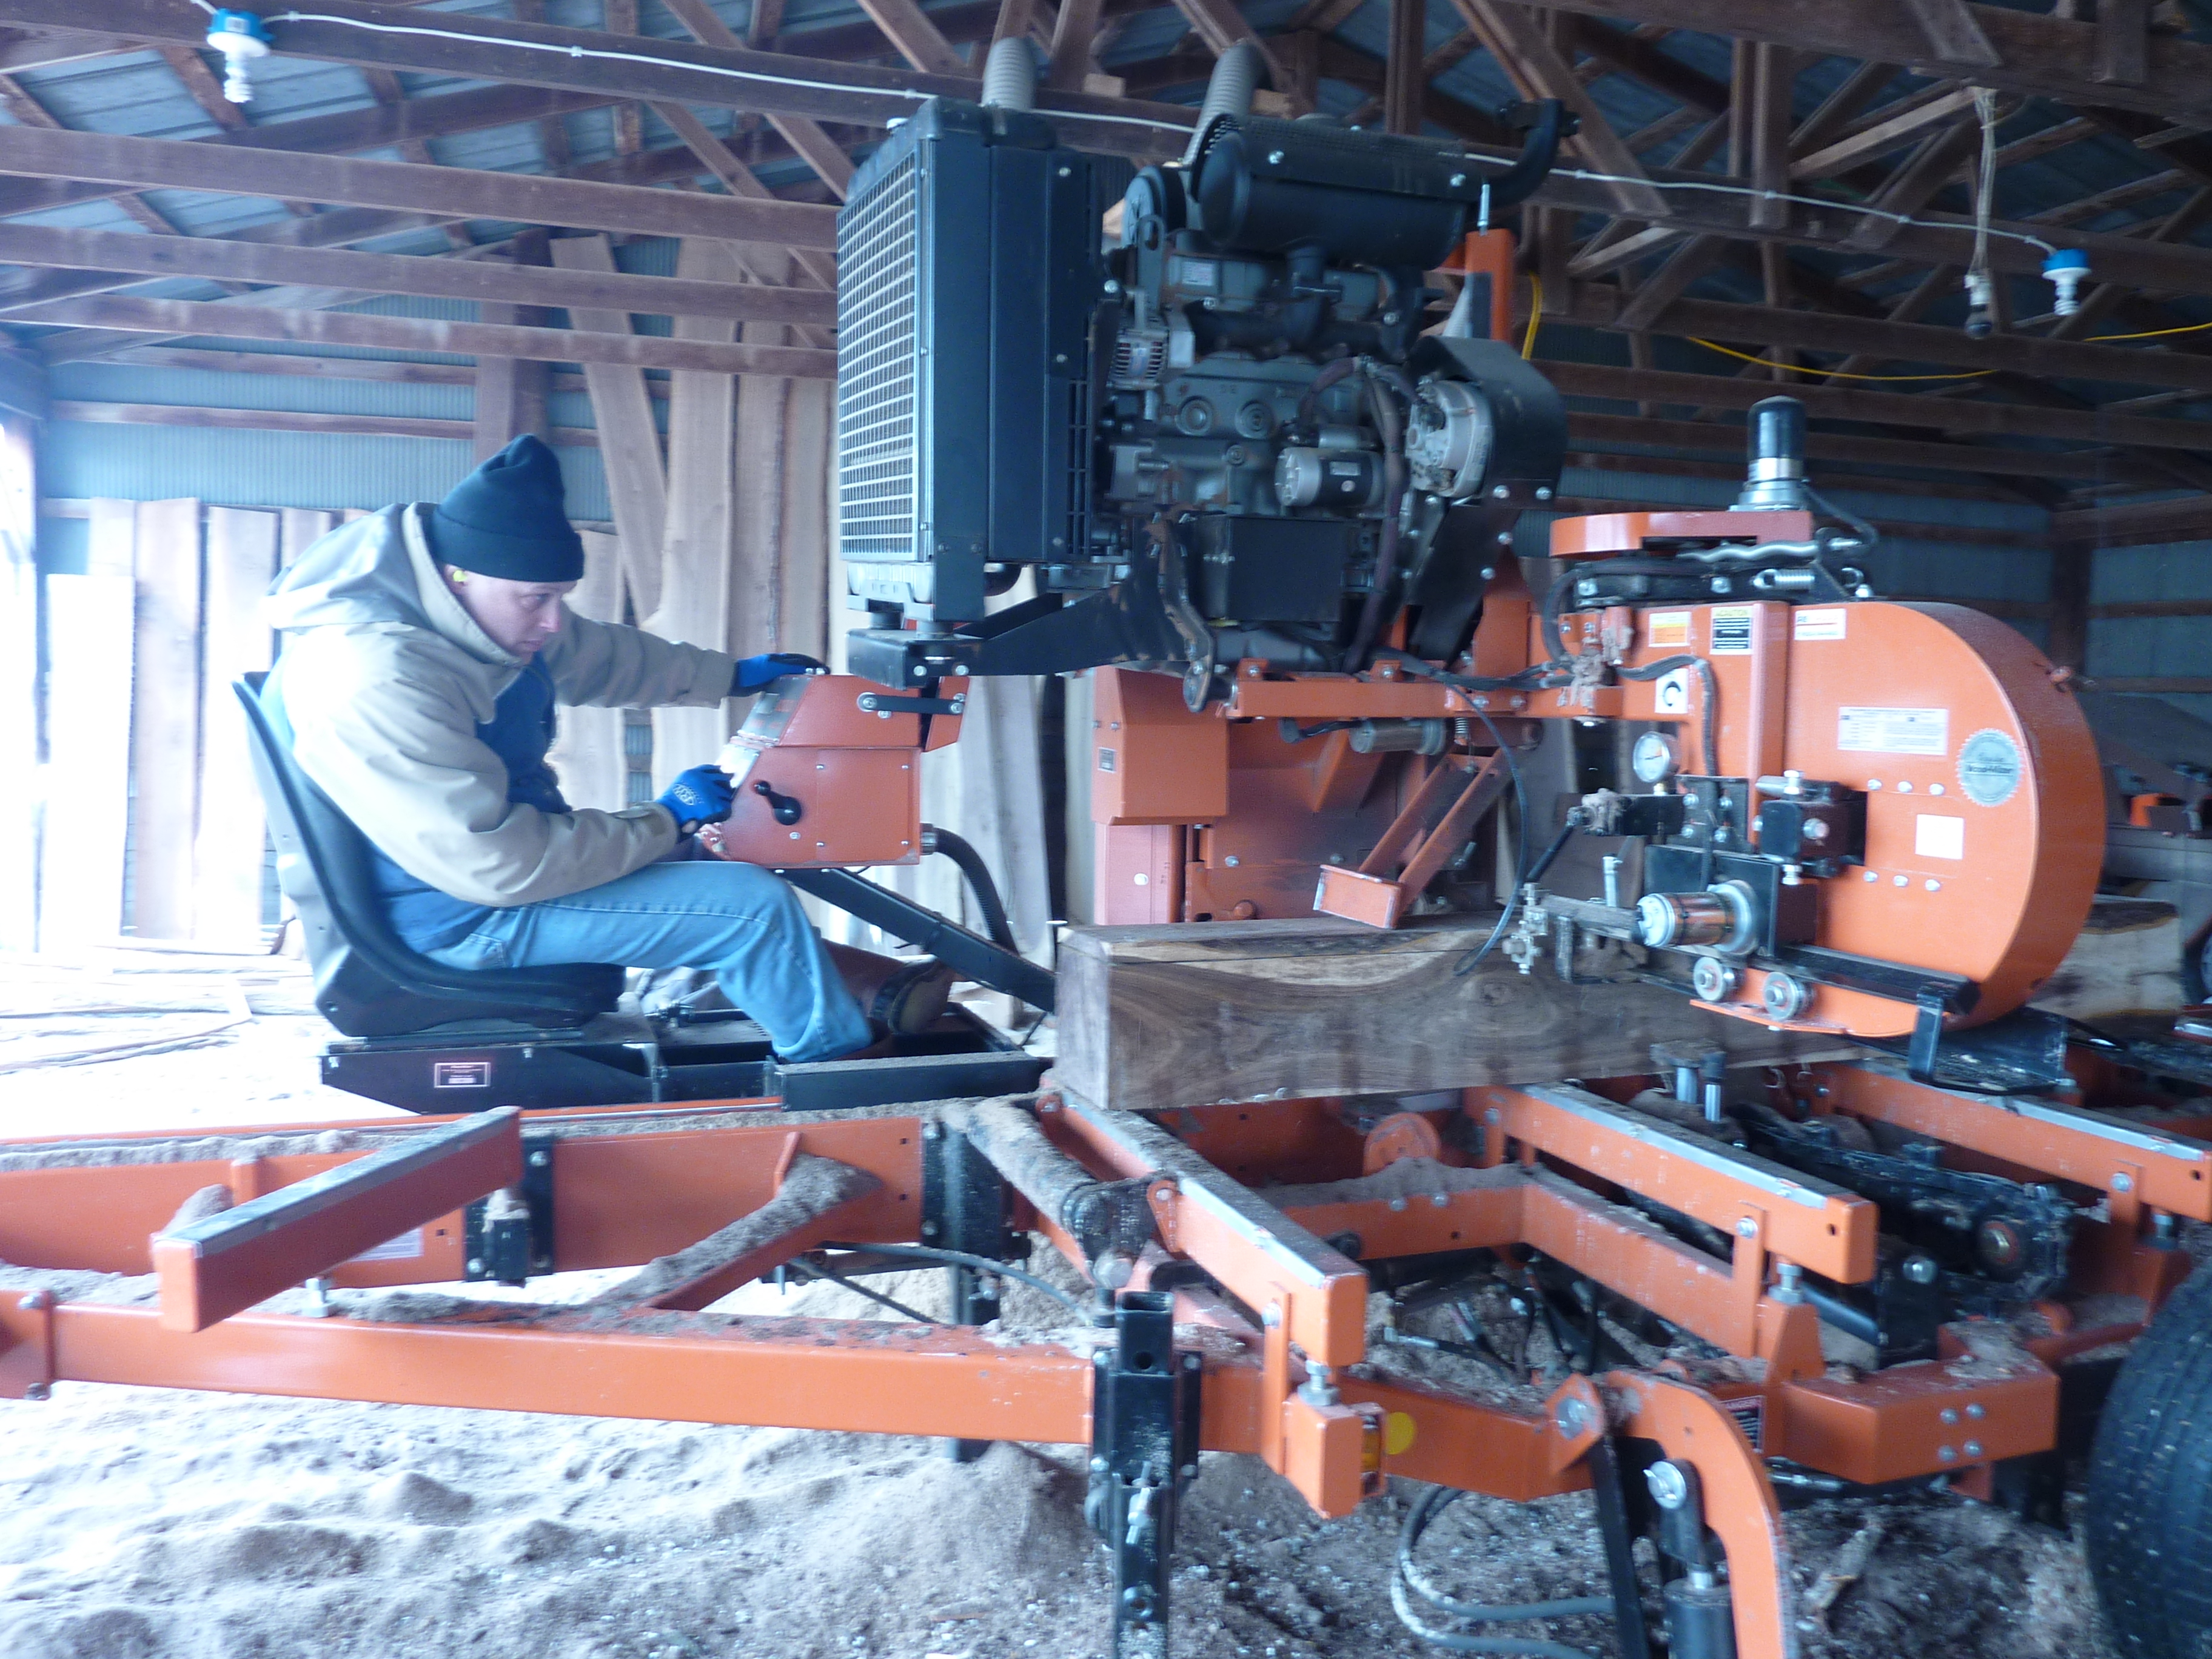 I considered buying a portable sawmill and running around and slabbing up some of the many trees that die in my neighborhood each year, but man, that is backbreaking, time consuming work. So, what is a compromise between one extreme; buying expensive kiln dried, planed, graded stock from the lumber mill, and the other extreme; becoming a lumberjack? Well, my chosen compromise is to buy green lumber from a local sawyer with a portable saw mill, then storing and drying the lumber myself. You could also use this approach for smaller scores of lumber that you get through trees falling in your neighborhood, etc.
The sawyer I work with gets his logs for free or nearly free as part of his tree removal service, and makes a bit more money by turning the logs into boards. I buy in quantities that are larger than I normally would for a single project, allowing me to get better pricing. Buying this way, I normally pick up quantities of 150 – 200 bf of walnut or cherry for $2 per board foot. The grading system that my sawyer uses is not standard, but for the most part I would say that the boards are typically select, with an occasional score of FAS for the same price. He sells lower quality boards for a lower price, but if I can get premium material for $2/bf, I don’t feel compelled to consider the lower grade.
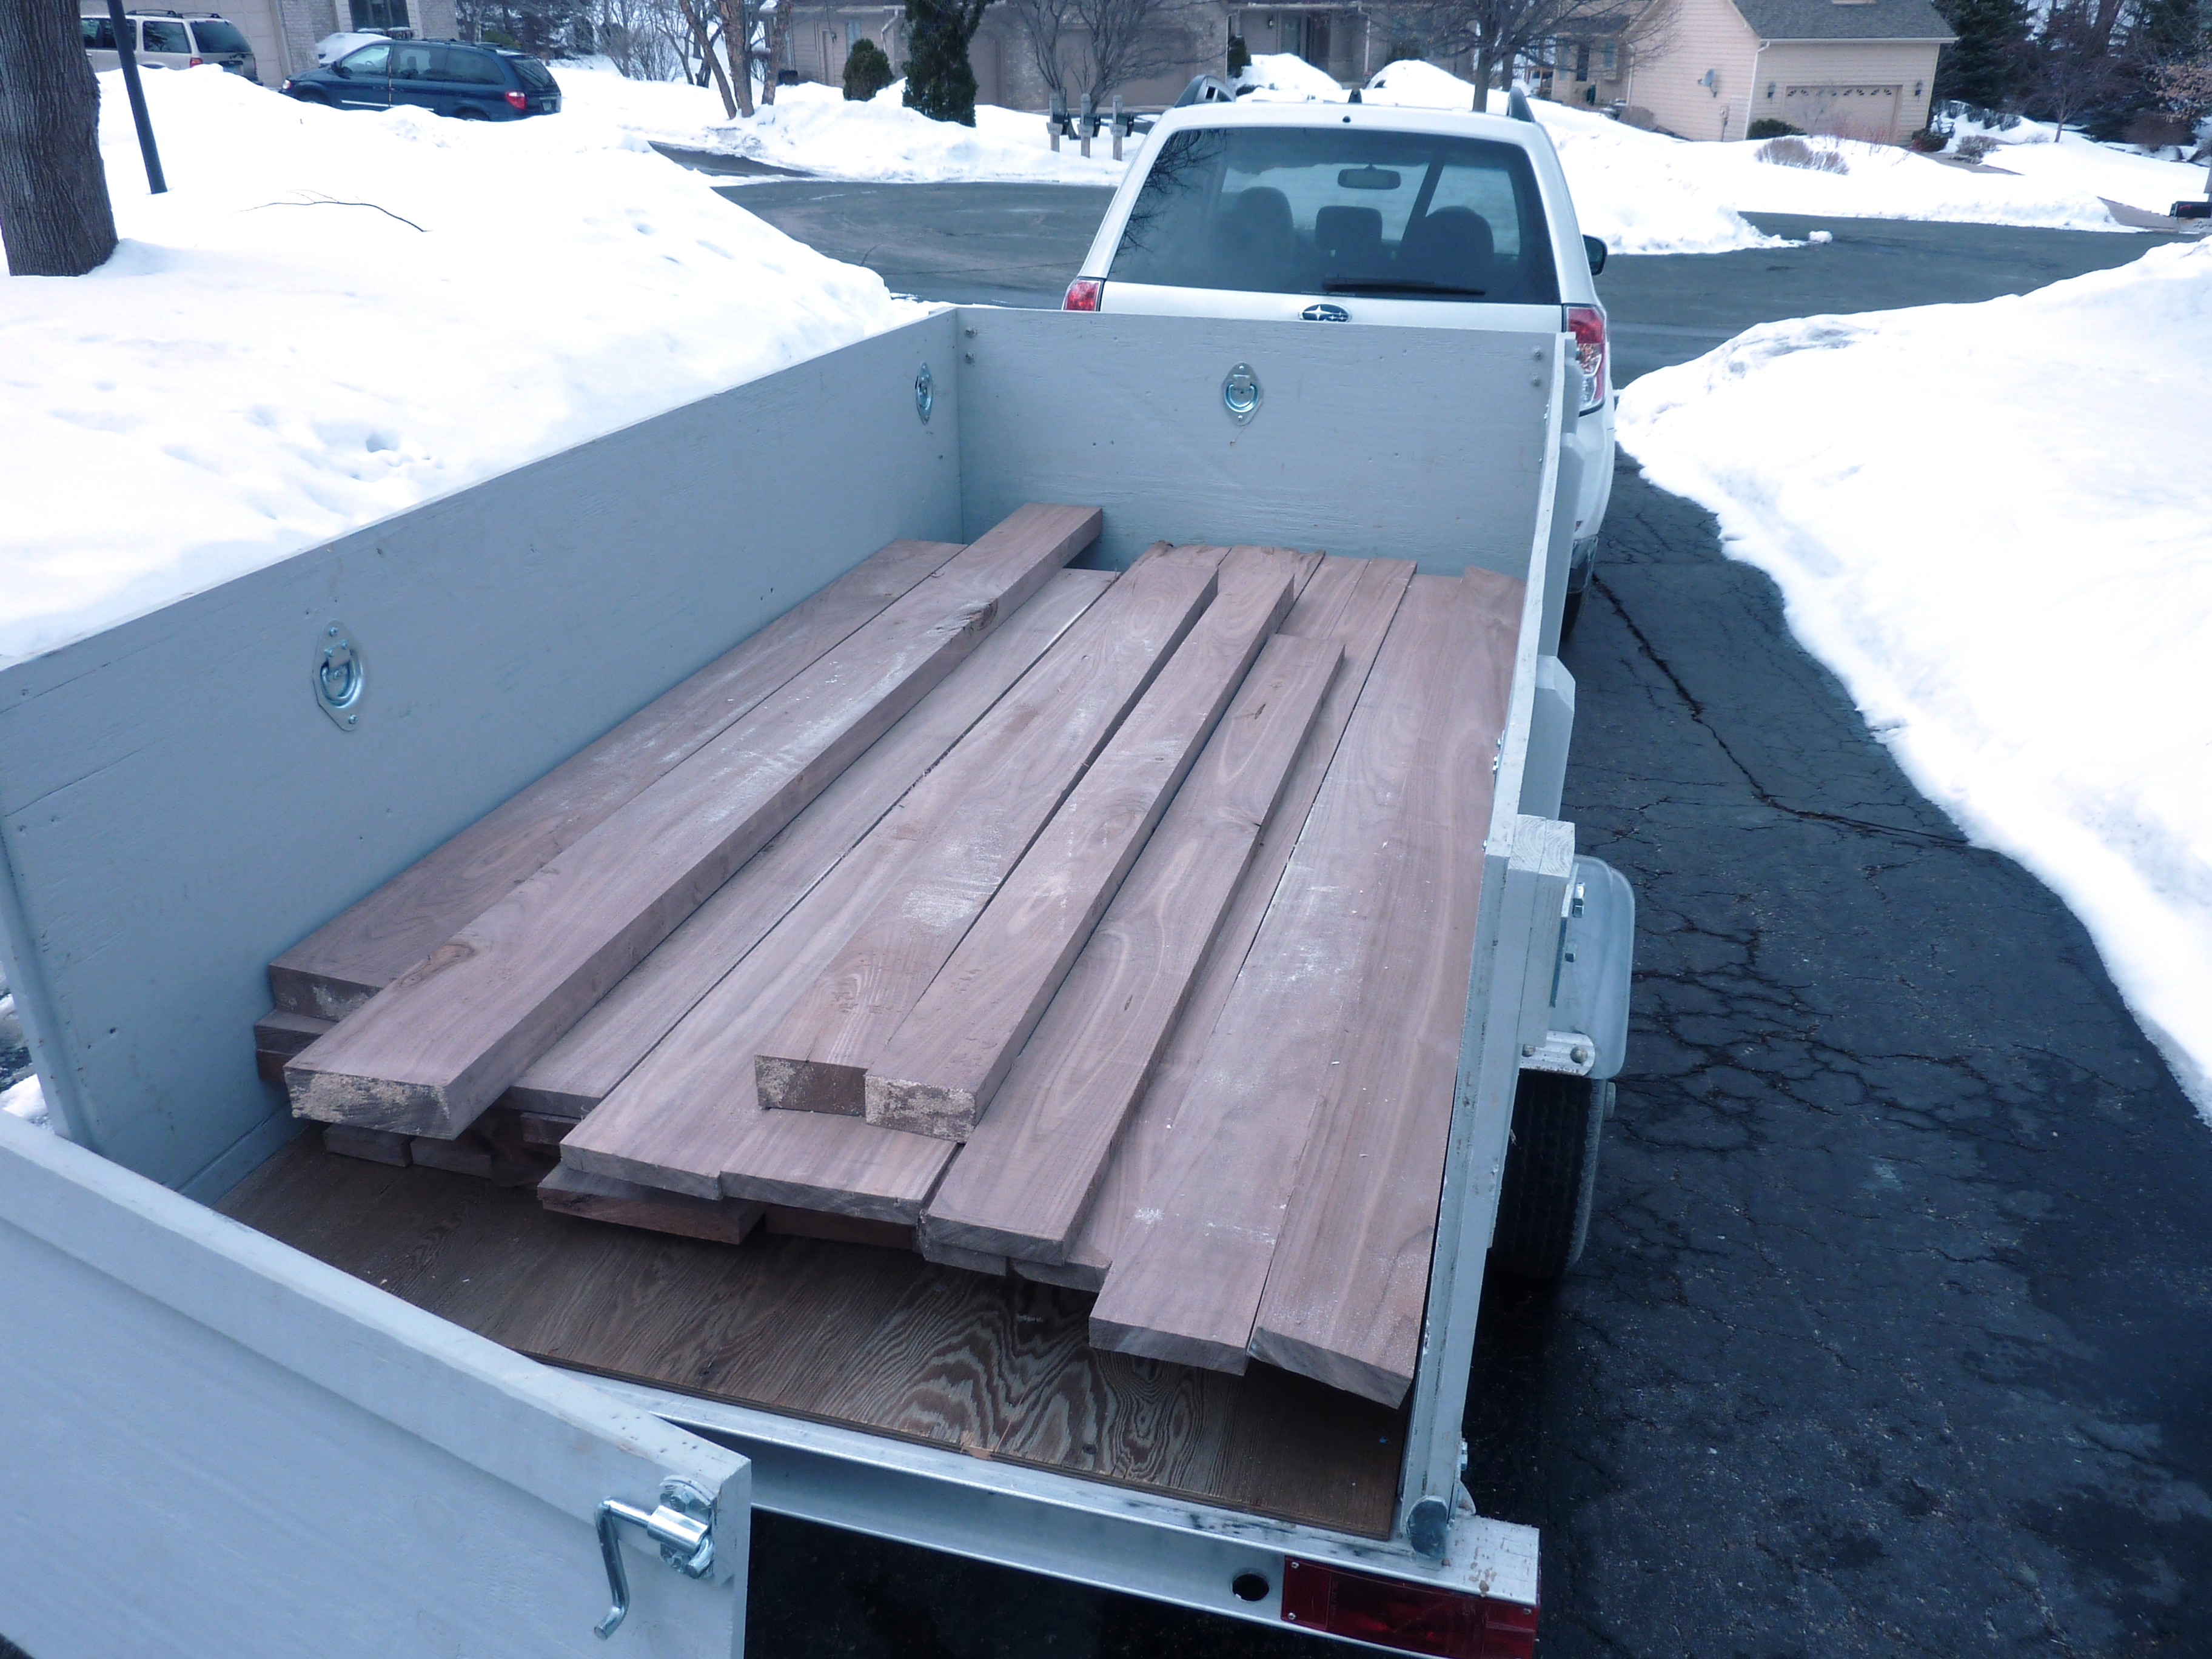 The load of lumber in the photo is 150 bf for which I paid $300. The current price for kiln dried Select and Better walnut from my local retail lumber yard is about $5, which would put the price of this load at $750, for a savings of $450. Then your next thought has to be; ‘now what am I going to do with an extra $450?’. (My better half has trained me well on the ‘black belt’ art of shopping!)
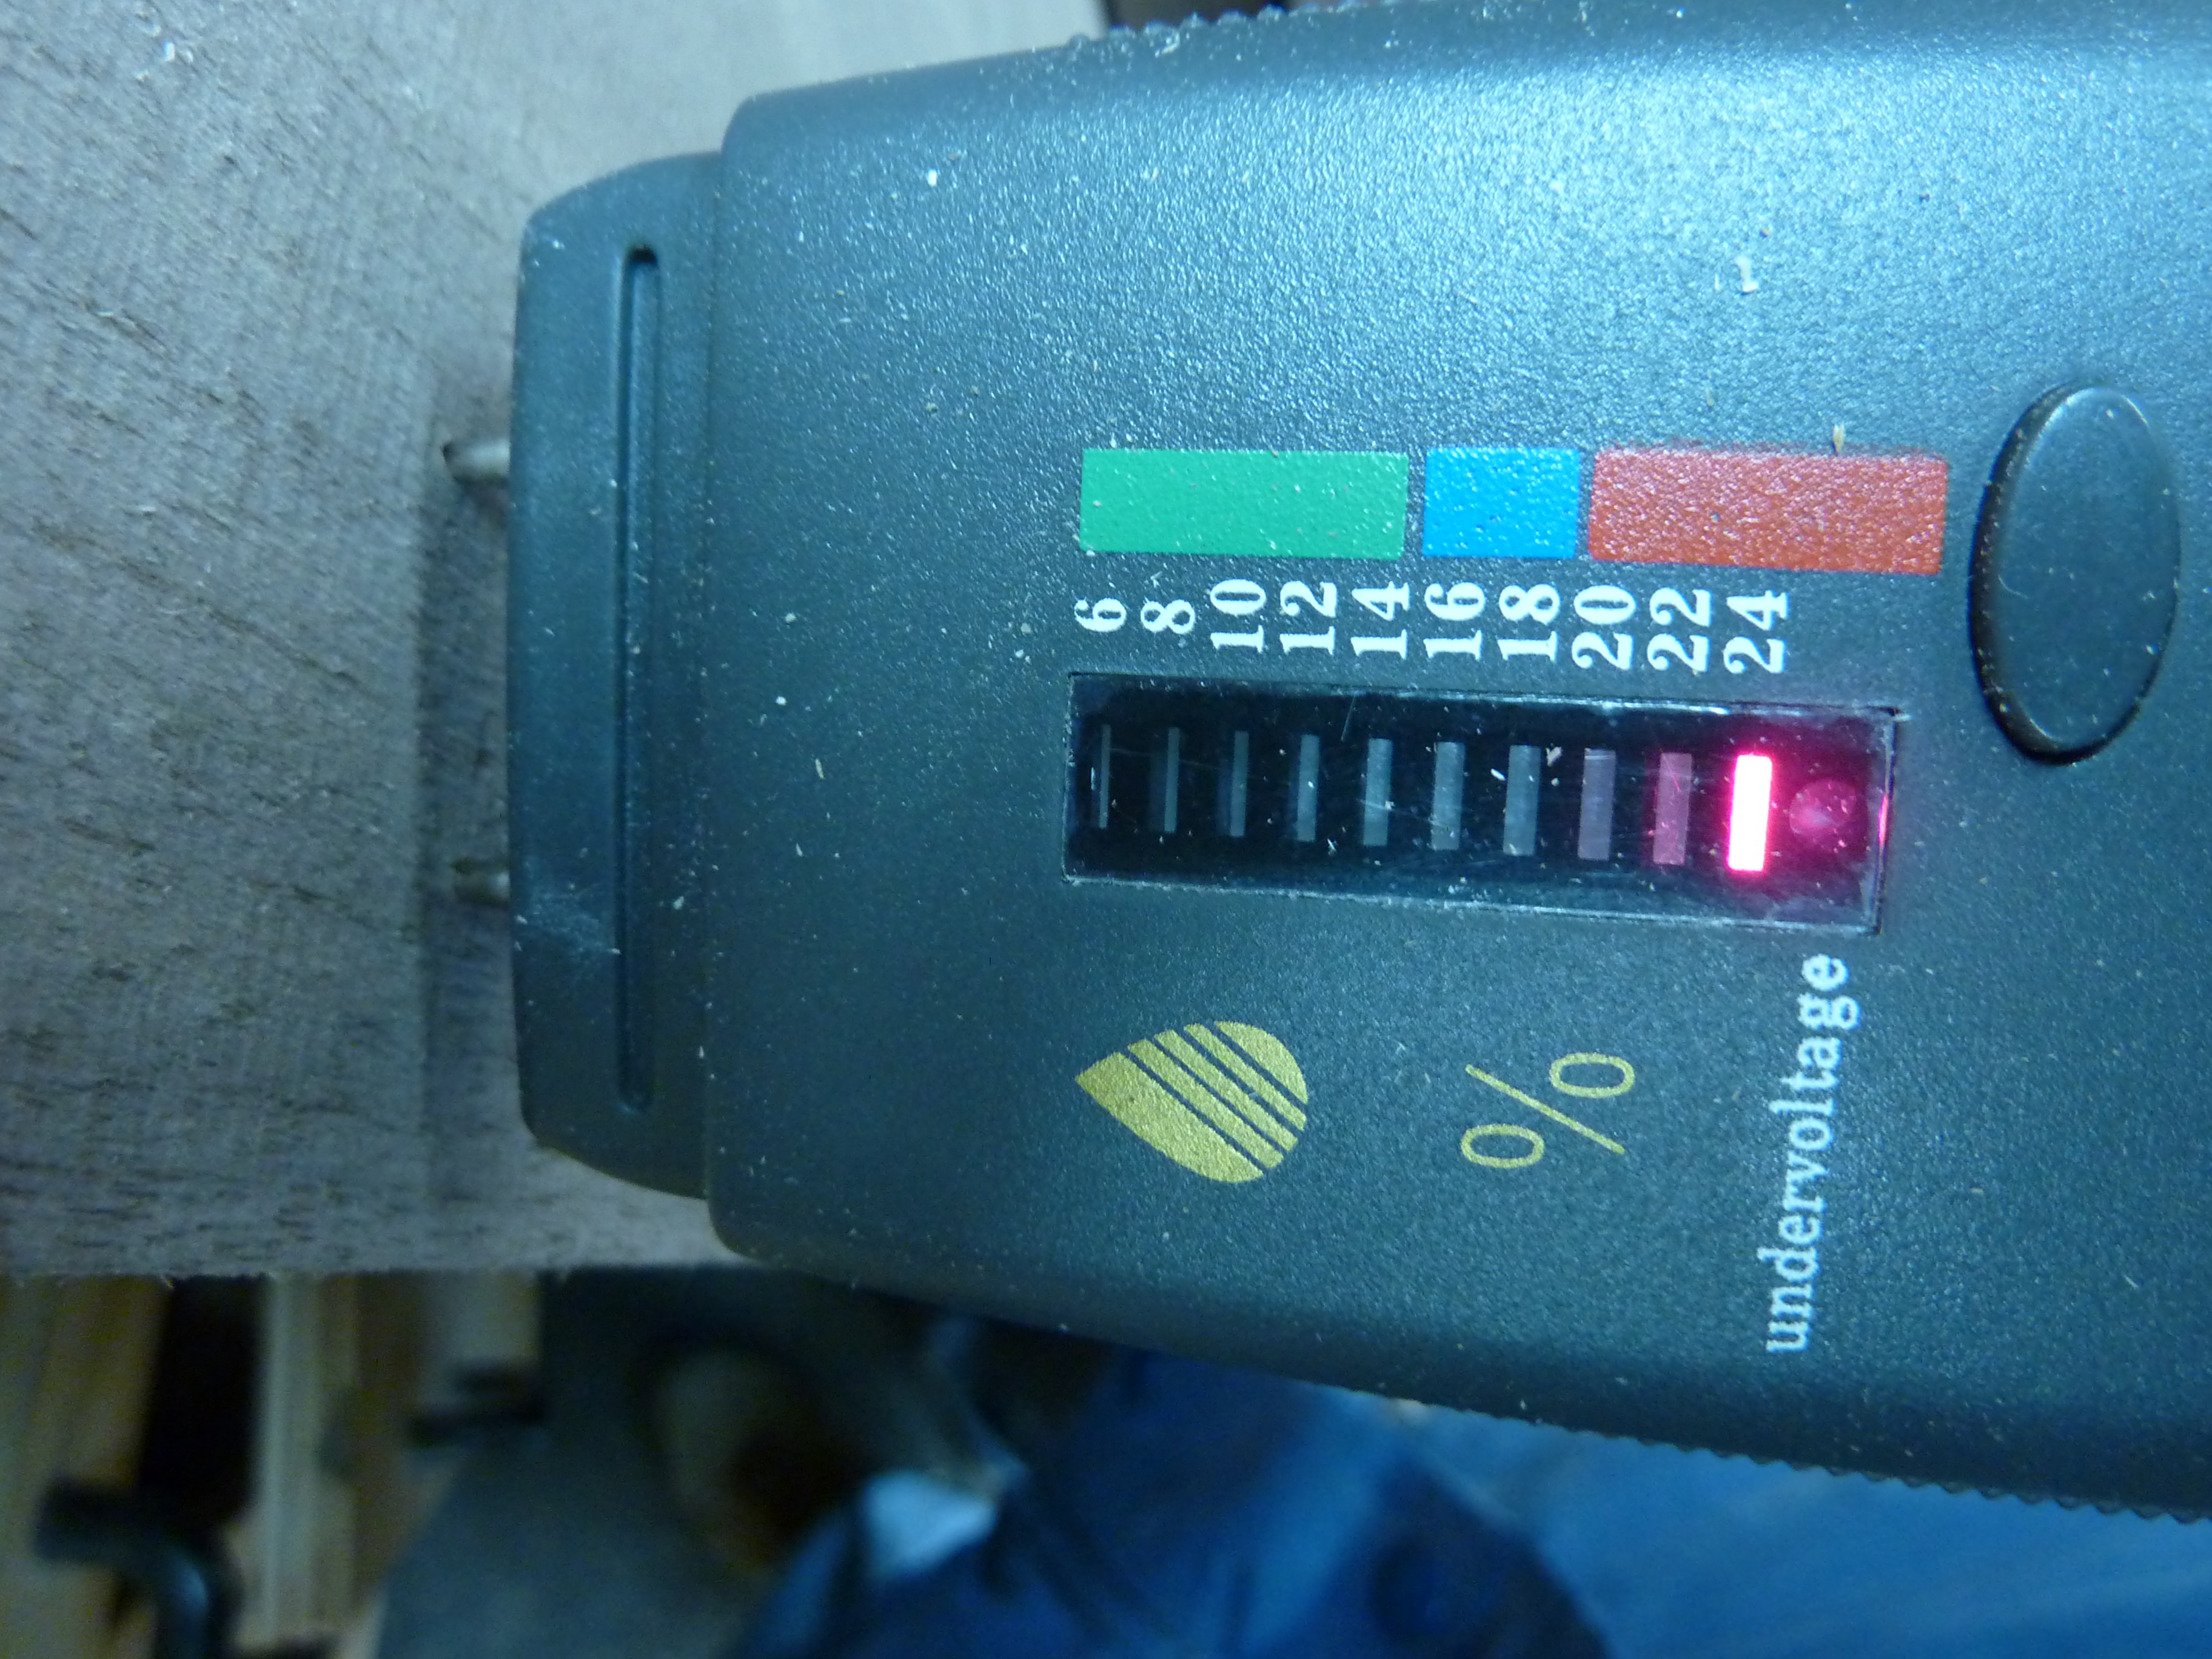 So, what’s the catch? The boards come off the sawmill carrying about 40 – 50% moisture content. So high, in fact, that it is well off the chart of my moisture meter, which tops out at 24%. And lumber is not stabilized until the moisture content reaches equilibrium with the air in your shop which, here in Minnesota is about 10%. The common practice for drying green lumber to a usable state is to store it properly for approximately 1 year per inch of board thickness. Since I normally purchase boards in 4/4 dimensions, this means that I generally need to wait about one year before I can work with the wood. In my mind, it is worth the wait, and buying green lumber actually adds a fun element to woodworking for me.
In the text below I will explain some best practices for buying, hauling, and drying green lumber, but first let me list a few reasons why I enjoy this so much:
– Saves money. This was why I started doing this. The load pictured above is 150 bf of premium walnut that I paid $300 for. To buy this at my local hardwood retailer would have cost nearly $750. It was like getting the trailer for free with my lumber purchase.
– Closer to the source. It’s kind of fun to see your material in tree form before it is slabbed into lumber.
– Urban lumber is ecologically smart. The sawyer I work with refers to his product as organic, free range lumber. No sustainability concerns or deforestation stigma associated with this lumber.
– Air dried lumber is a treat to work with. If you use hand planes, chisels, carving tools, or other hand tools to any extent, you will notice the difference right away. It shears easier and fights back less than case hardened kiln dried lumber. I am not a full blown snob about this, because I can appreciate kiln dried lumber as well, but air dried has its advantages.
–Anticipation! I like having a pile of beautiful wood that is “in progress”, as it gives me time to think of cool things to build with it. I even enjoy “paying a visit” to the lumber to check the moisture content, and visualize the boards appearing in a future project.
How to air dry lumber –
Find a knowledgeable sawyer. I like to work with someone who has a passion for trees and lumber, and if he or she is also a woodworker and understands what I am looking for, that is a plus. A good sawyer can offer you options on how the wood is cut. The sawyer that I commonly work with allows me to designate thickness of cut, amount of sapwood, and will quarter-saw the wood if I prefer. These requests can increase the cost, but overall this is still a great way to get the wood how you want it at a fraction of the cost of buying retail.
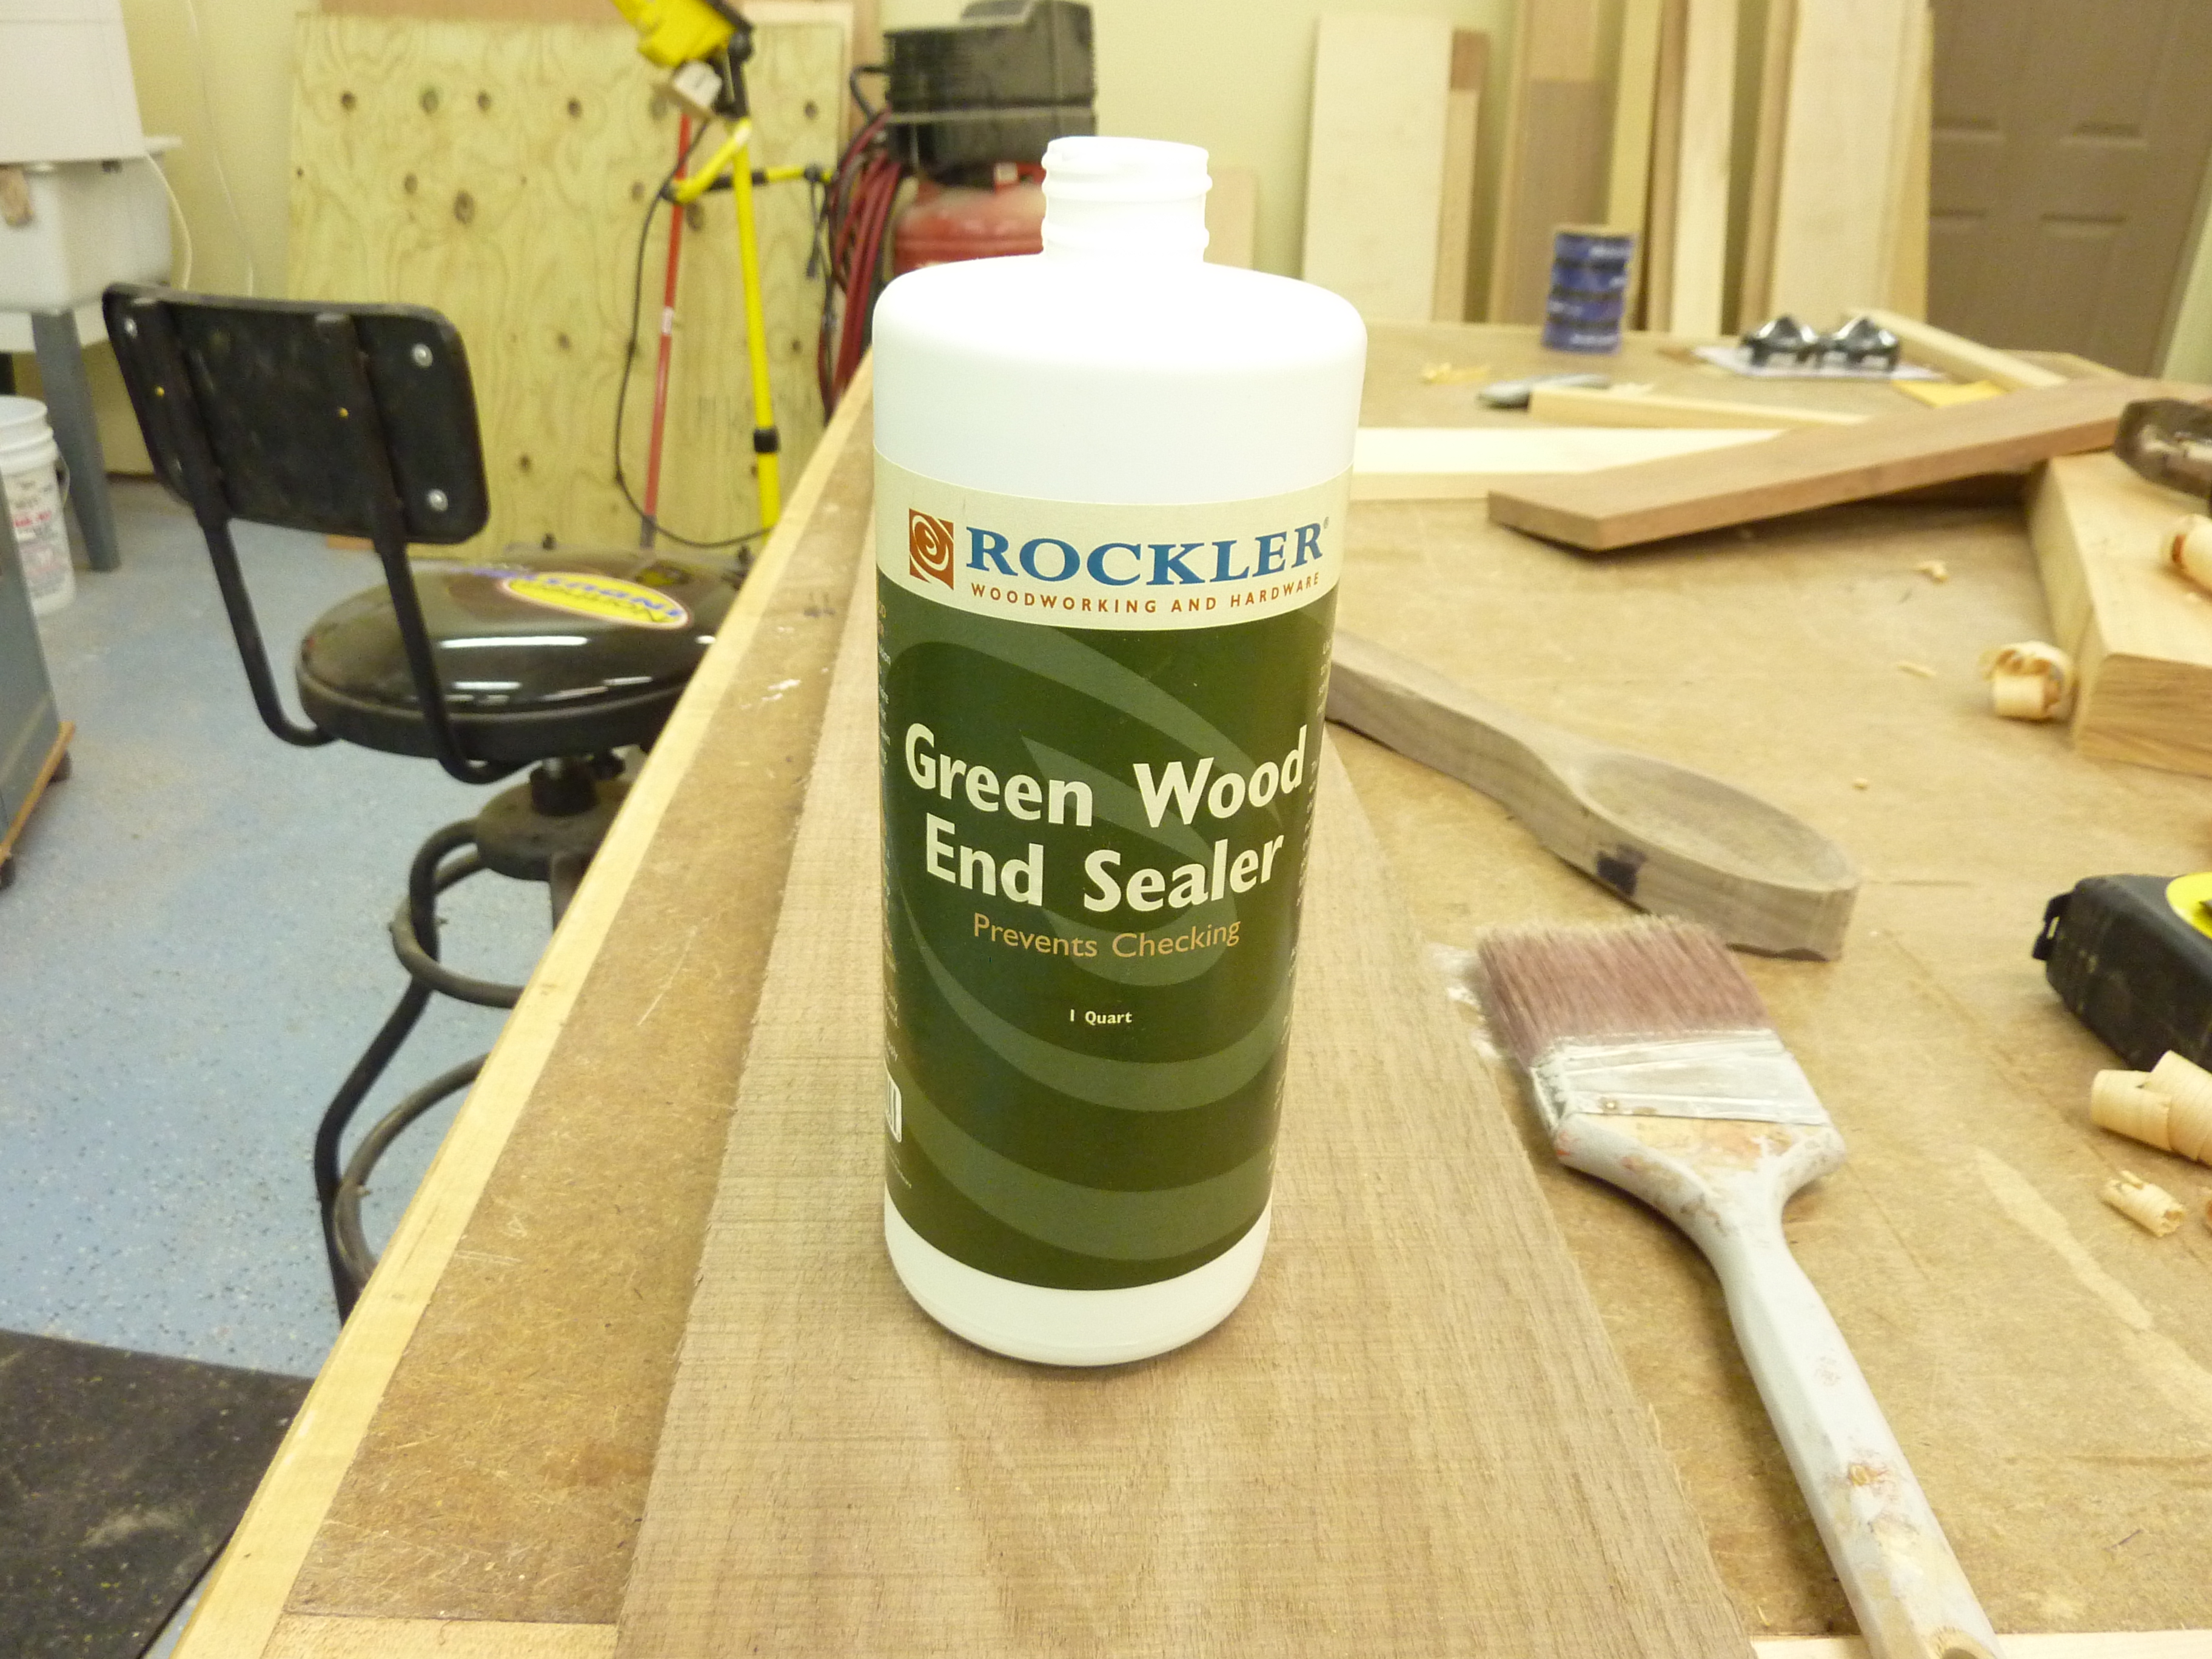 Seal the ends right away. The sooner you seal the ends after the cut, the less likely you are to experience splitting at the ends. Splitting occurs at the ends because moisture escapes through the end grain more easily than side grain, causing the ends of the board to shrink at a more rapid rate, and therefore splitting. You can simply coat the ends with latex paint, or apply a liberal application of end grain sealer such as the product shown.
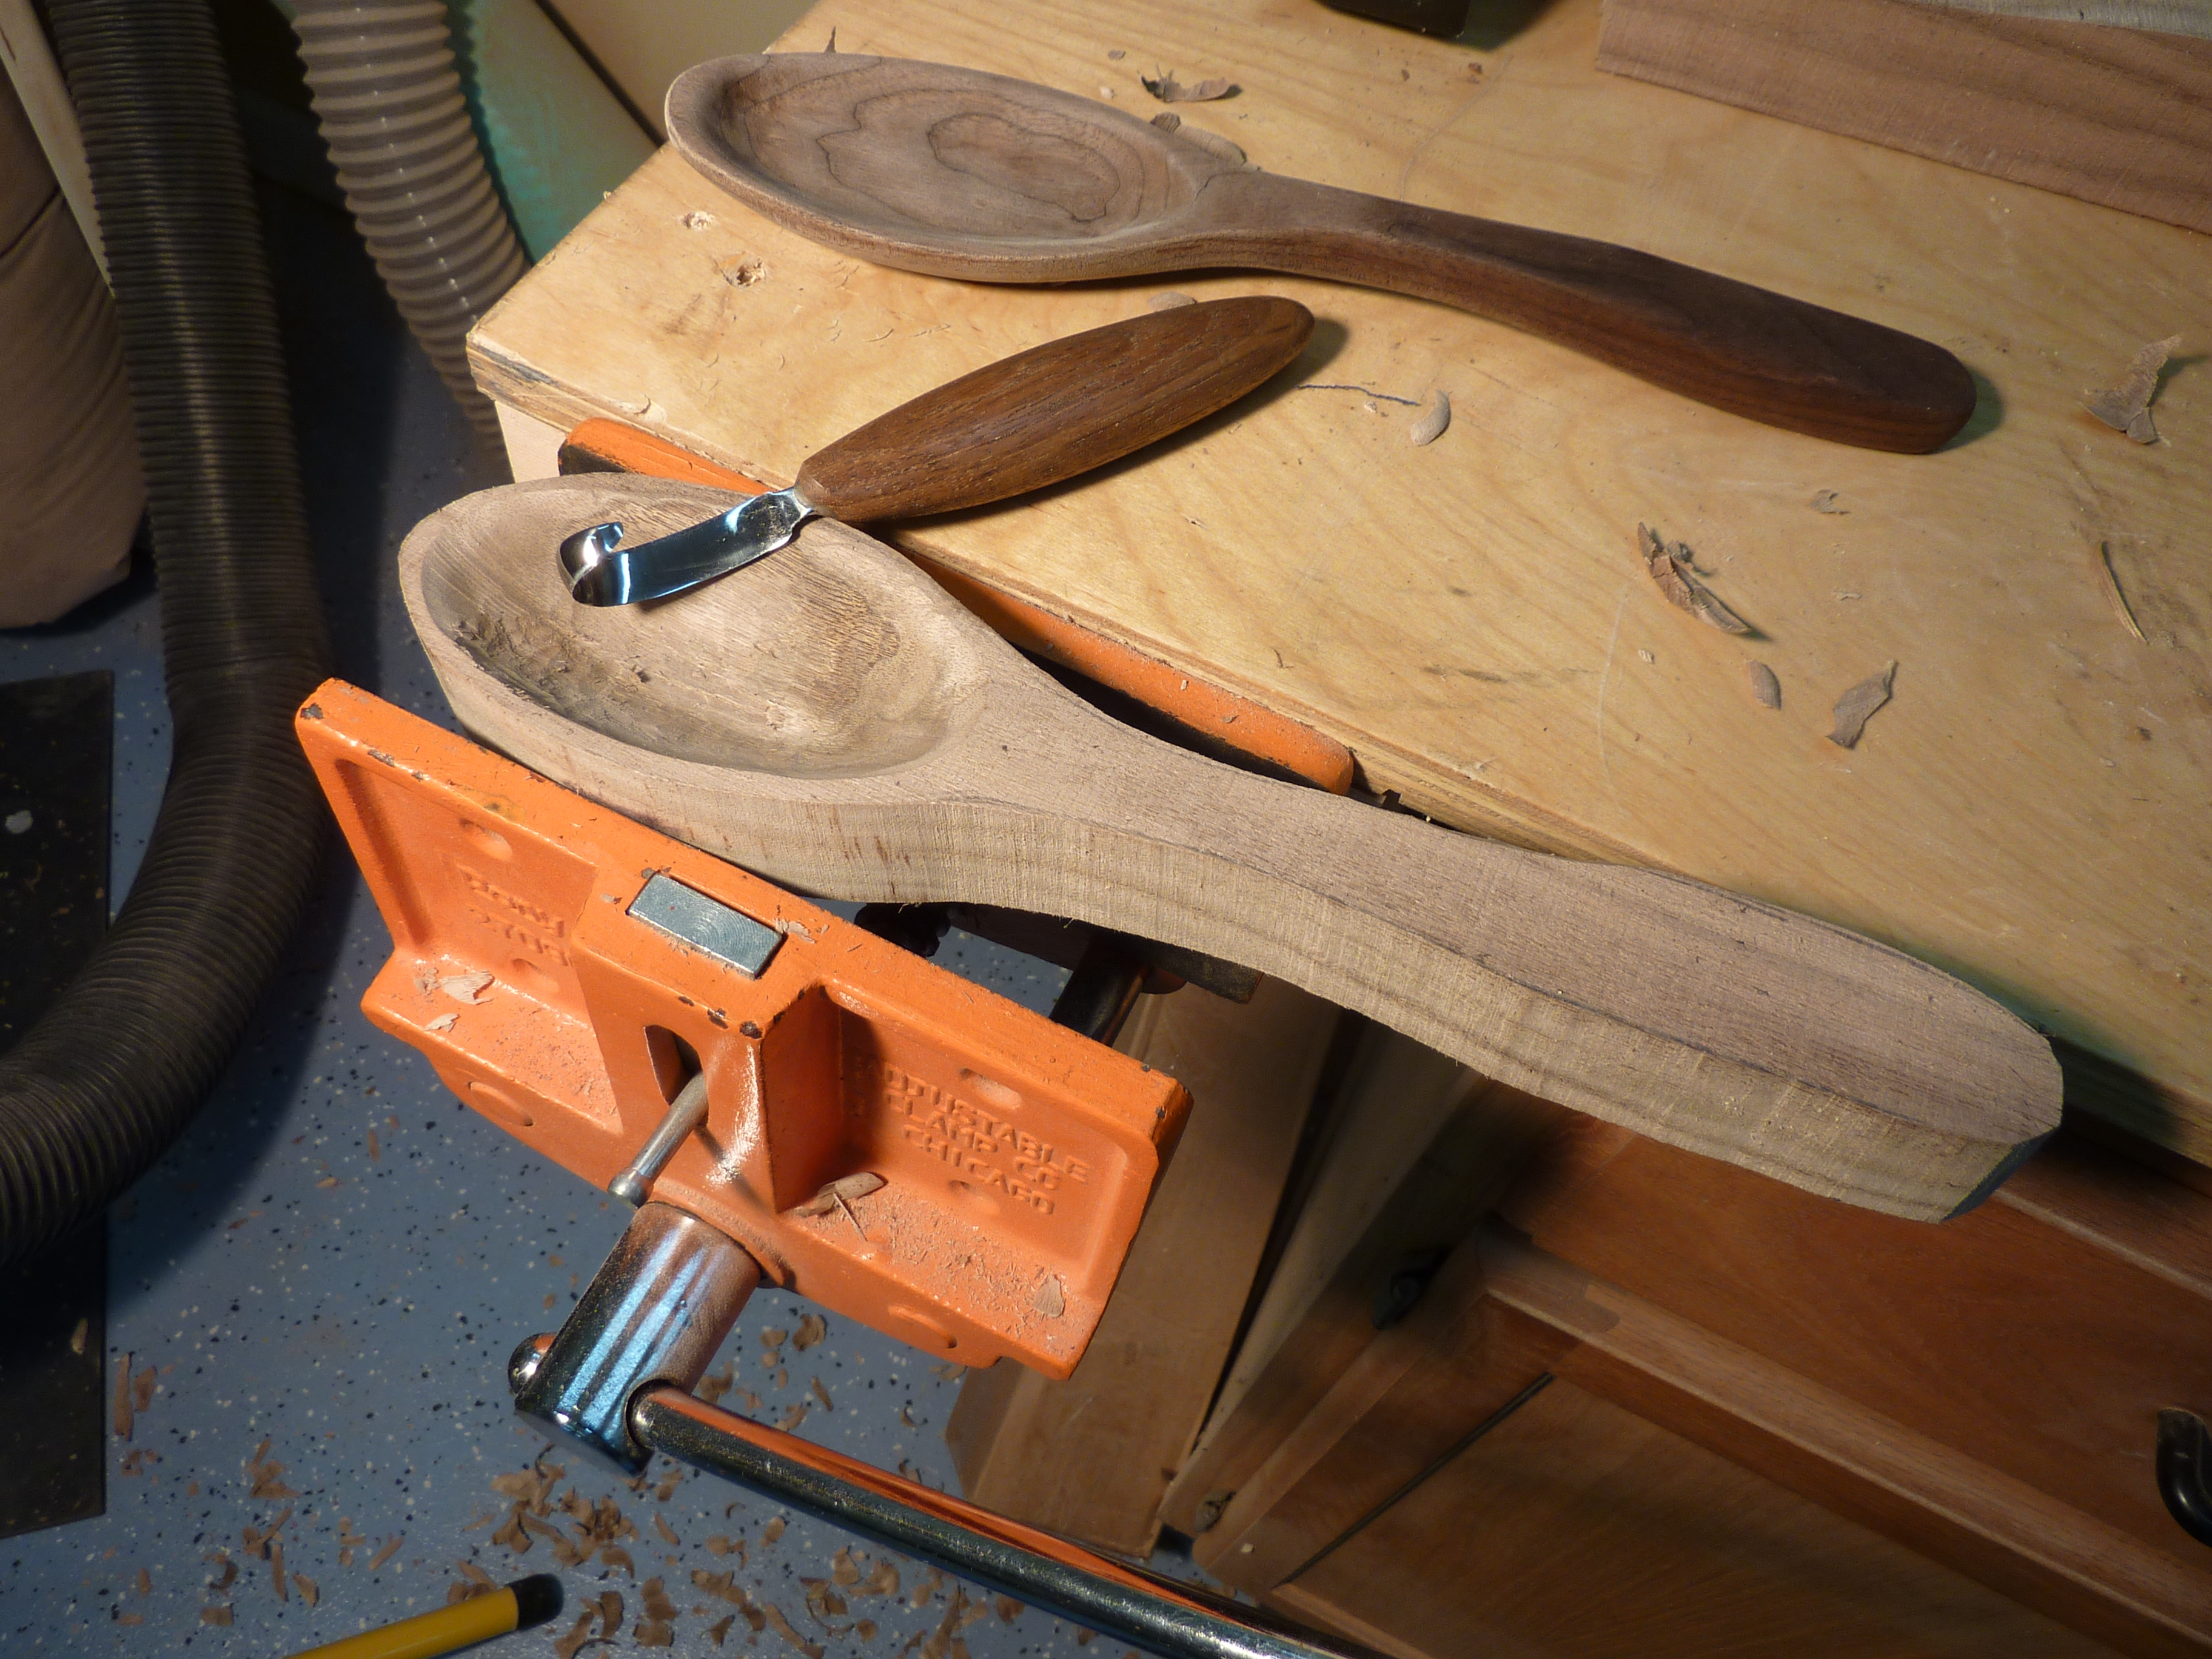 Carve a little something. OK, this is not a mandatory step, but rather my personal way of celebrating a new pile of green number that I bring home. I have carved lots of spoons from dried lumber, but it is so much easier with green material. Simple spoons are a great project for a non-carver like me. It also satisfies the overwhelming urge to start working with the wood right away, instead of suffering for a year. Can you imagine buying a brand new car and parking it in the garage for a year without a test drive?
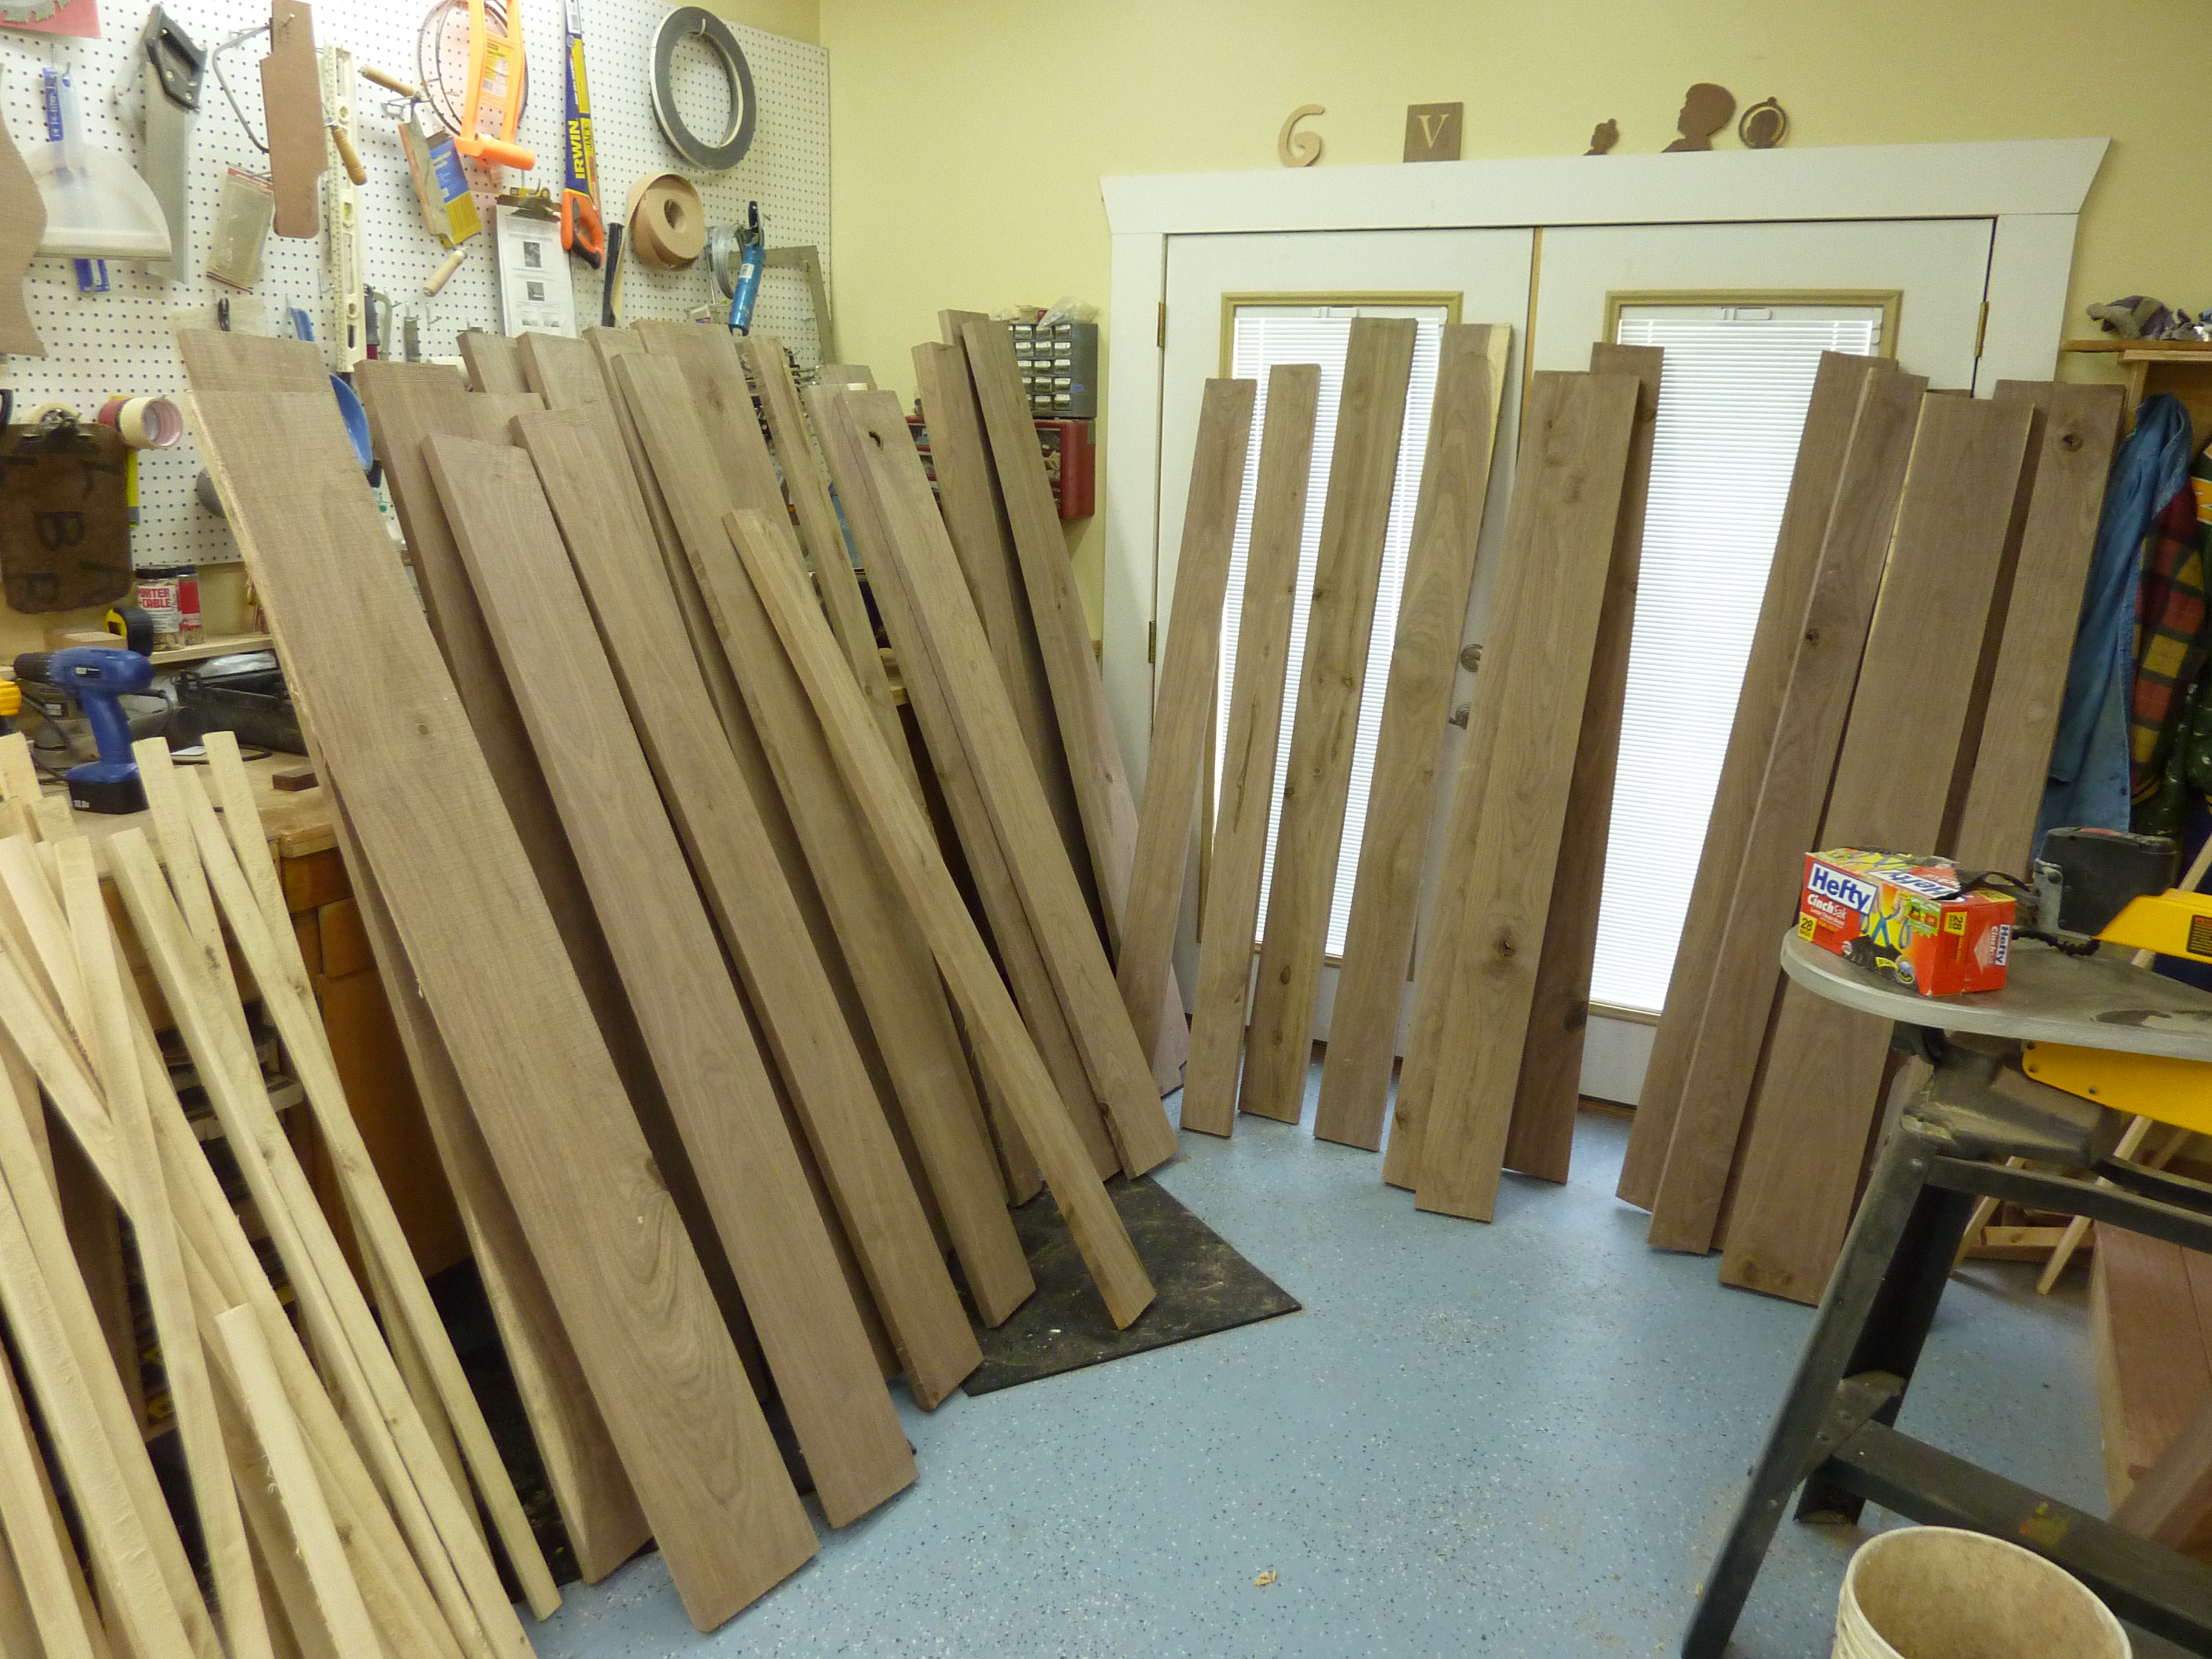 Store vertically first. This is not critical, but I store boards vertically (leaning against a wall or other structure) until the moisture content drops to 20 – 22%, which generally occurs within a few weeks of milling. The reason that I do this is to avoid sticker stains, which occur when there is excessive moisture trapped between the sticker and the boards, causing mold and discoloration. If you use stickers cut from a white wood species (maple, cottonwood, etc.), and use stickers that have been dried, then you shouldn’t have a problem with sticker staining, but storing vertically at first greatly reduces the chances. I got a “good deal” on some boards a few years back that were severely sticker stained. I thought I could plane it out, and on some boards I could, but on others it ran extremely deep into the stock.
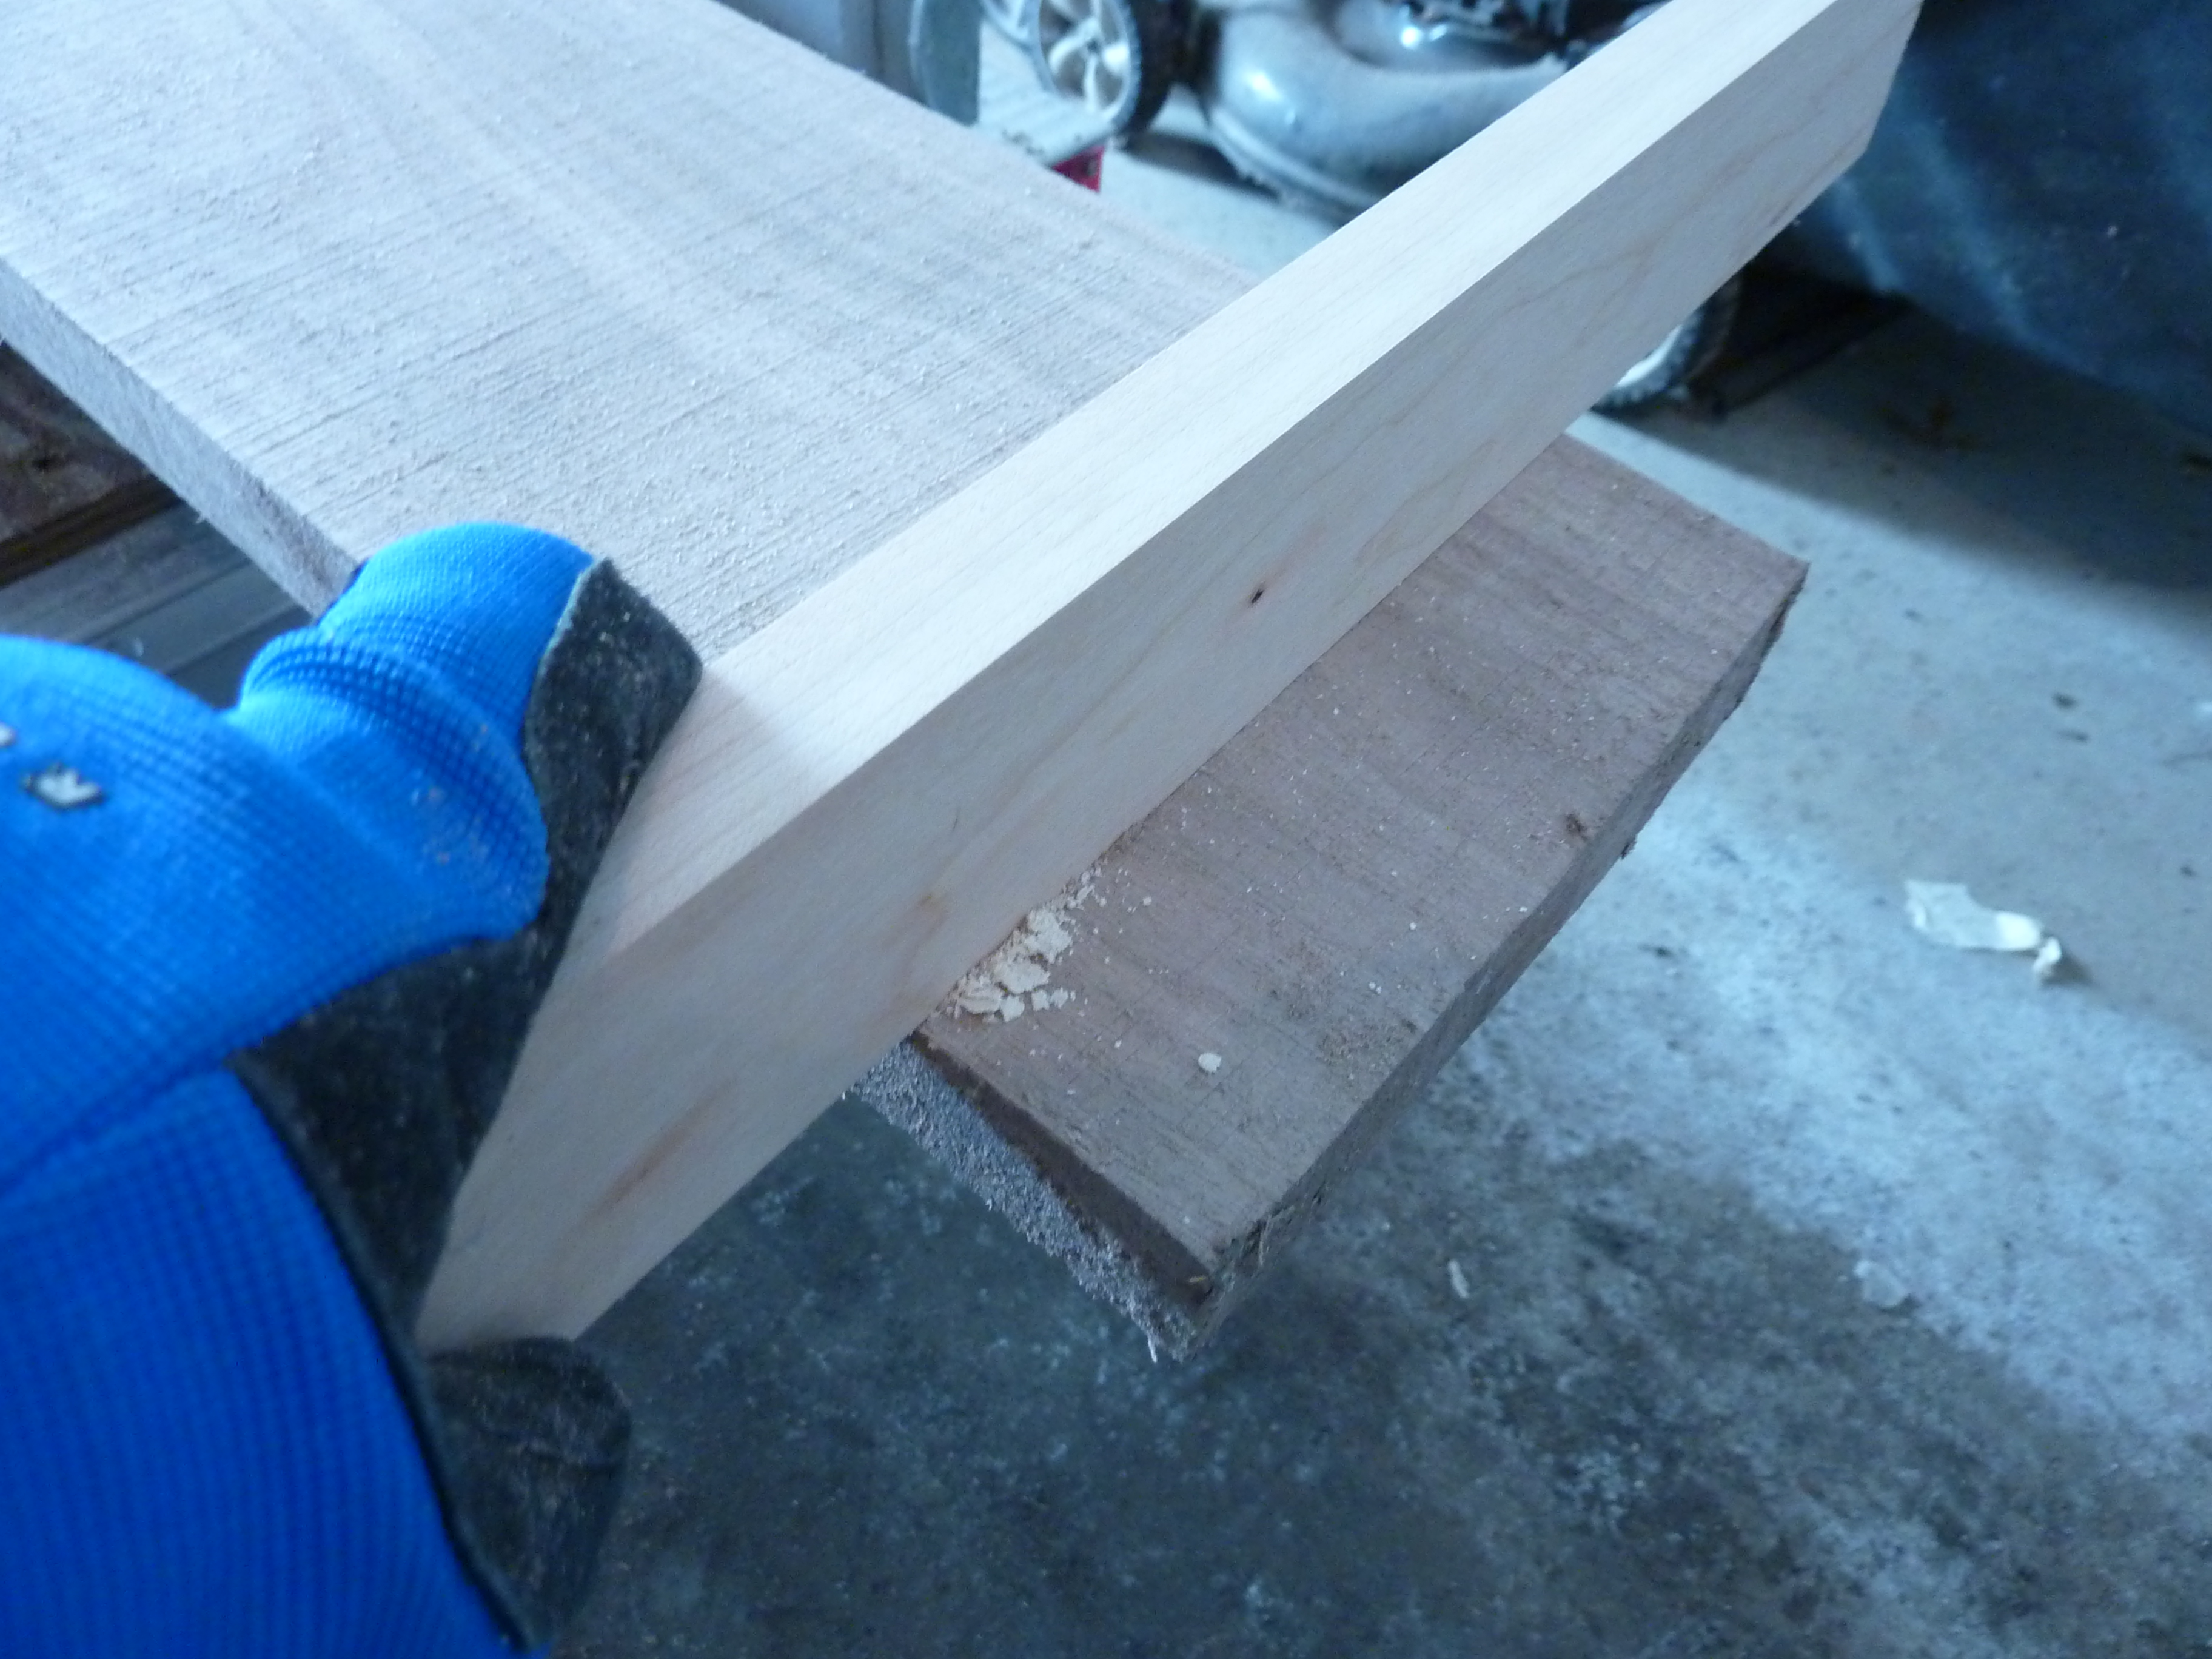 Scrape the sawdust. Be sure to remove any sawdust, as this will hold moisture against the boards and encourage mold, which can stain the wood and pose health hazards.
<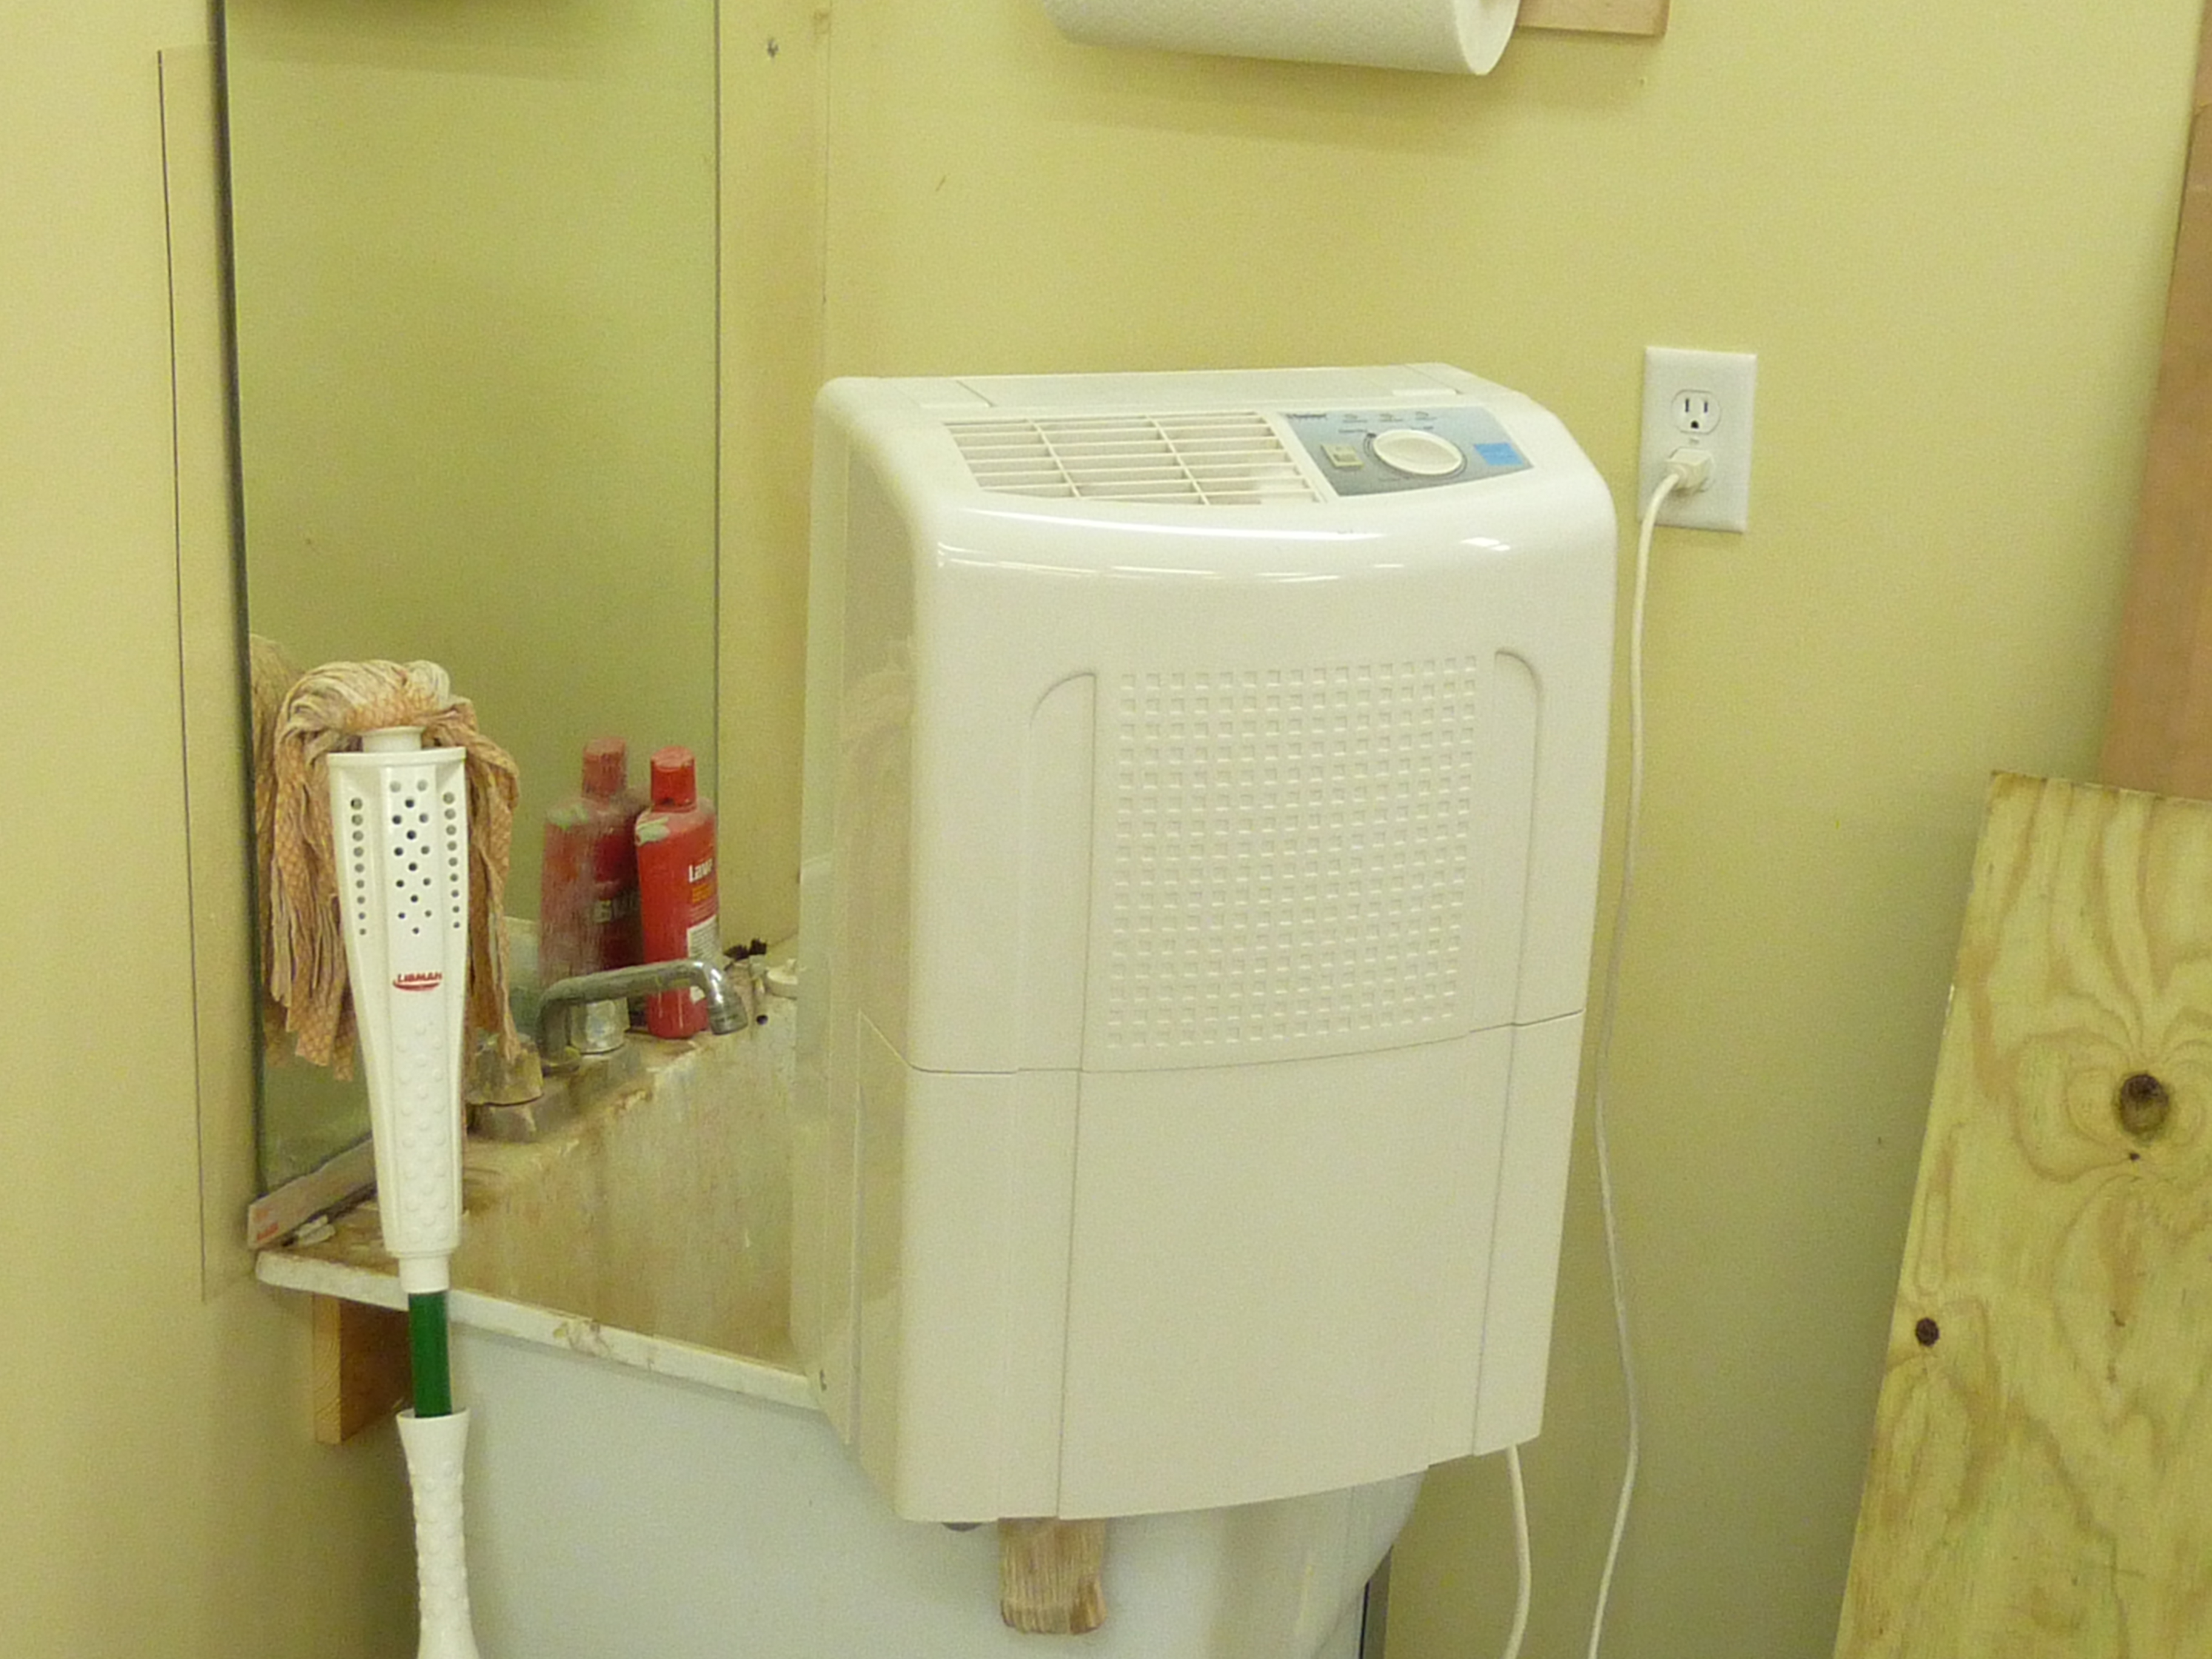 Dehumidify. I run a dehumidifier during this period to lure the moisture out of the boards, and capture the water so that it doesn’t accumulate on your windows (or cast iron tools!). Without this, excessive moisture can build up in the room if you are drying a sizeable quantity of wood. Pointing a fan at the lumber at this stage is a good idea as well, although you should quickly reach a moisture content that is safe for stacking with or without the fan.
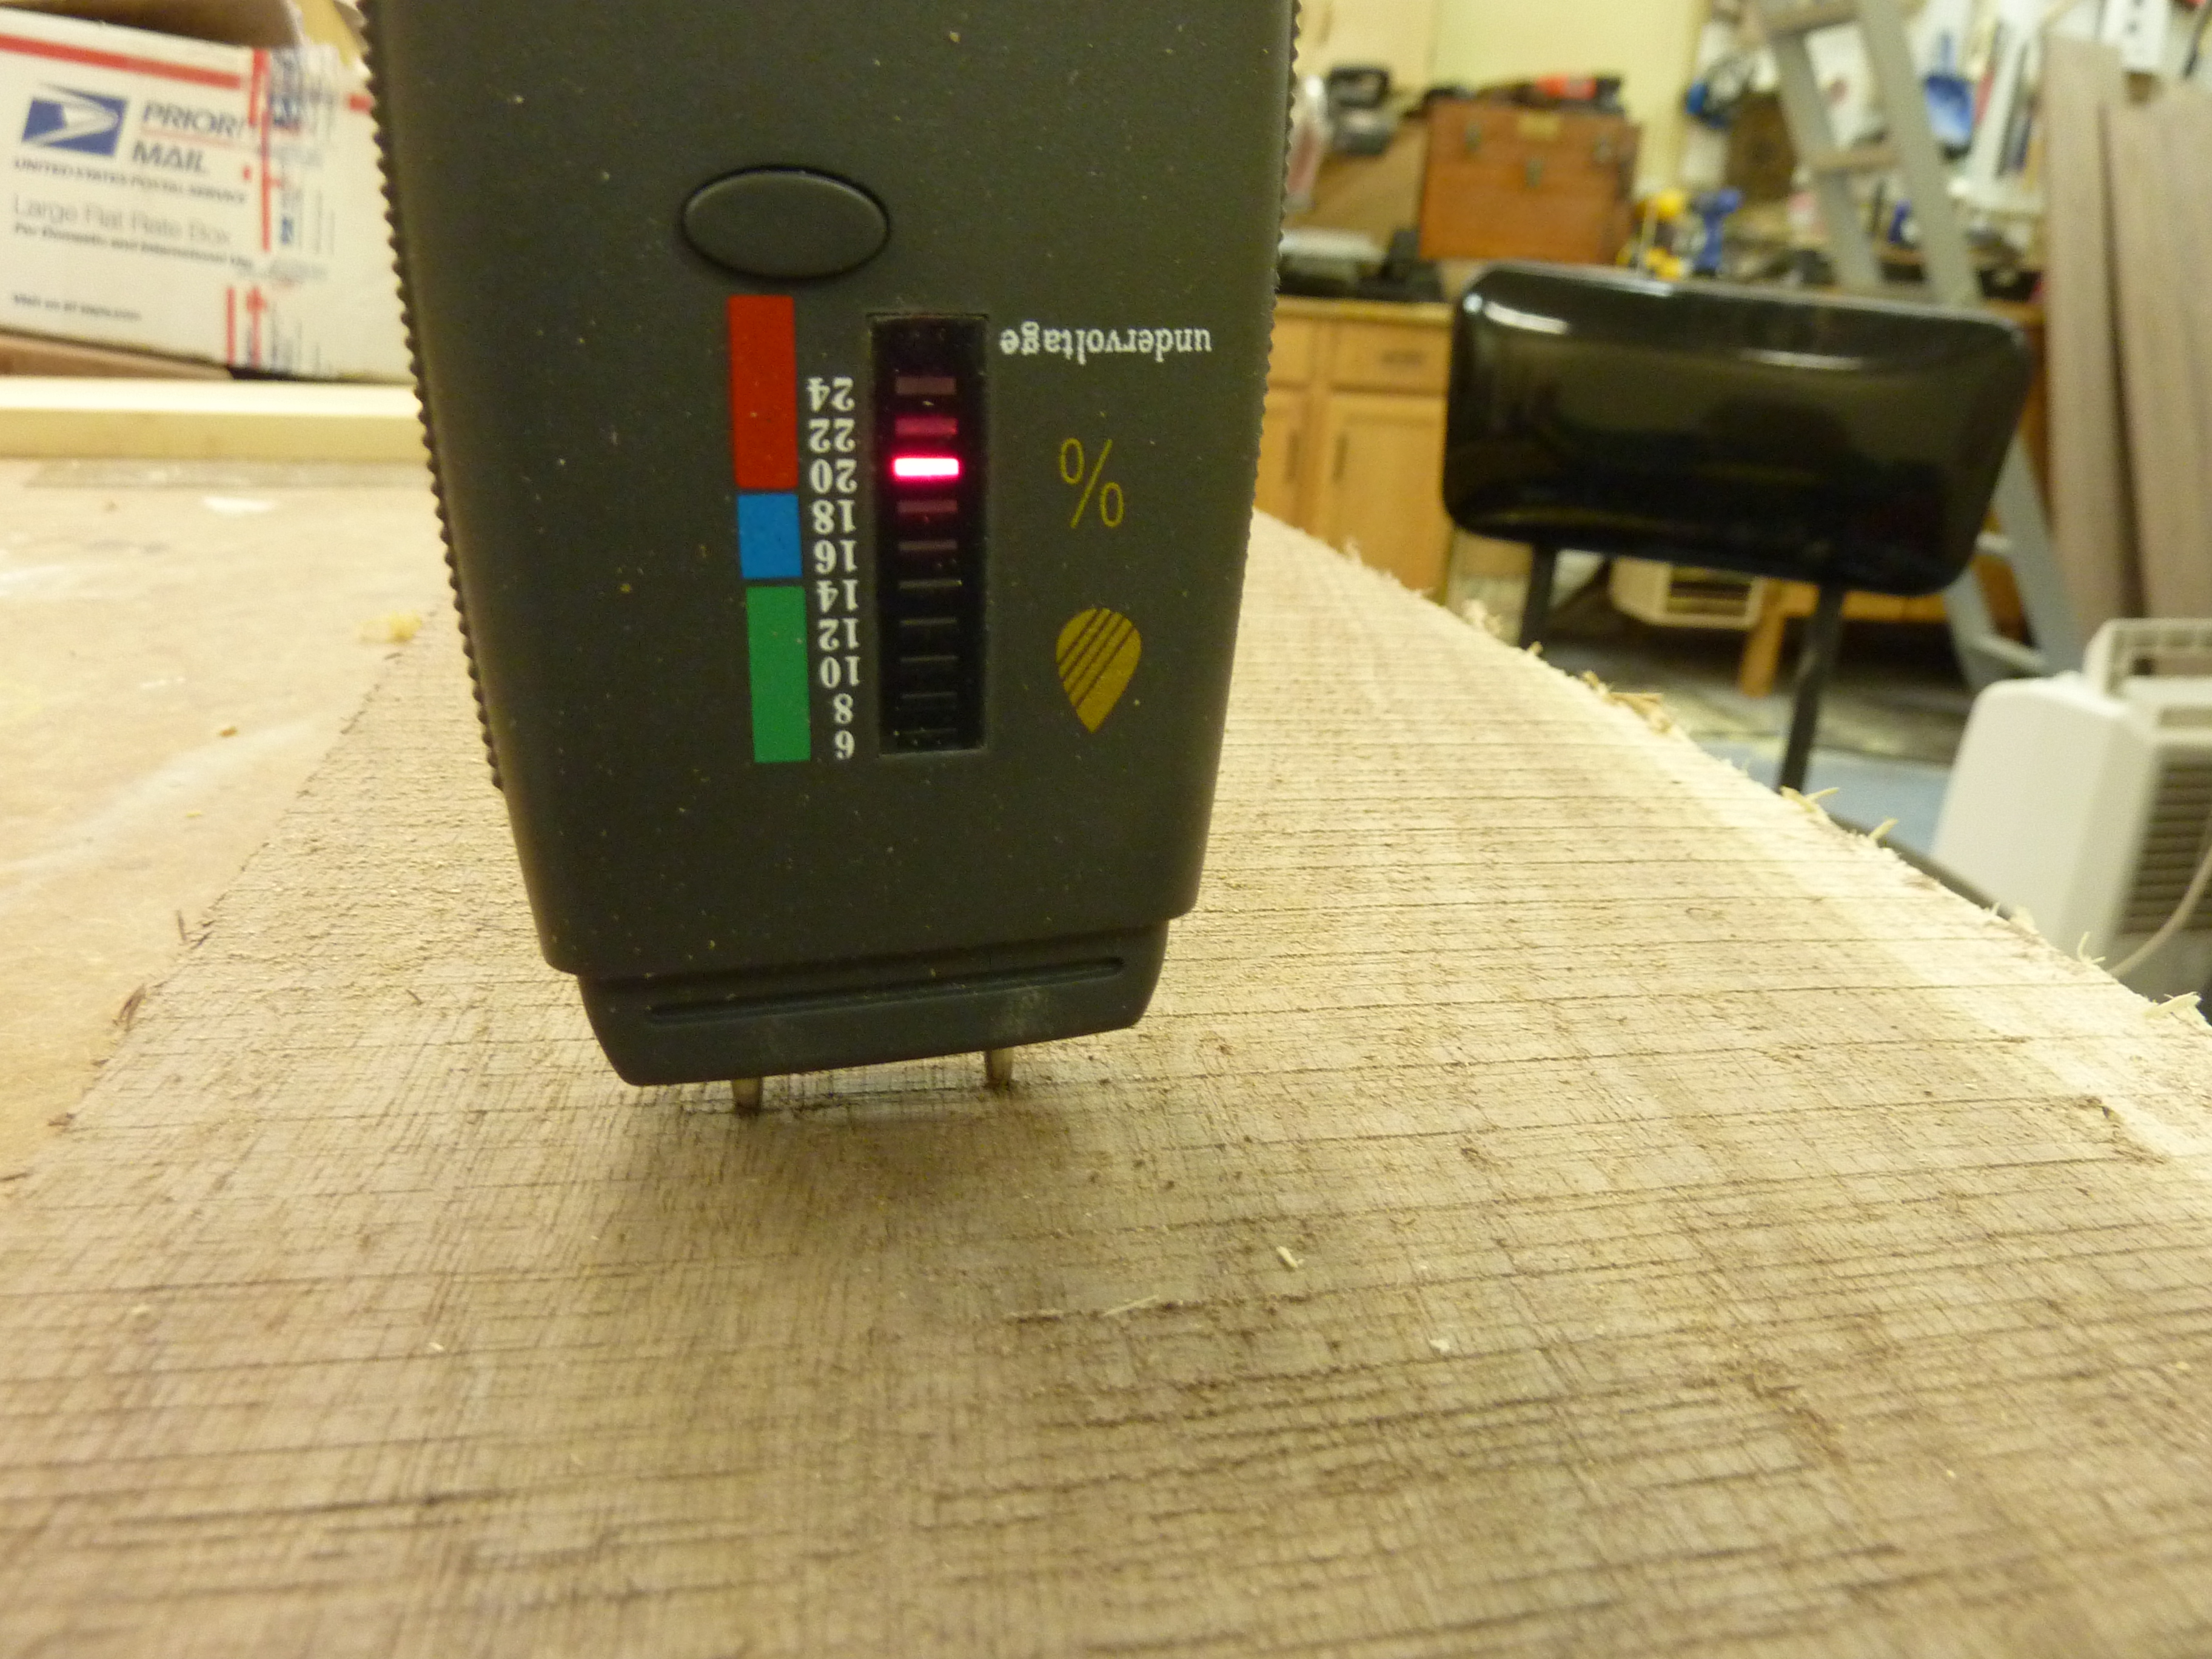 Check moisture level periodically. At 20-22%, you’re ready to stack and sticker the wood. At this point, you’re safe from mold and sticker staining. In Minnesota, it typically only takes a couple of weeks to reach that point. You’ll notice that your boards are MUCH lighter, too. I weighed a sample board from this batch on day one, and it weighed in at 26 pounds. By day 10, it lost 5 pounds, or 19% of its weight! That made it much easier for me to hoist all of those boards into my attic for longer drying time and storage.
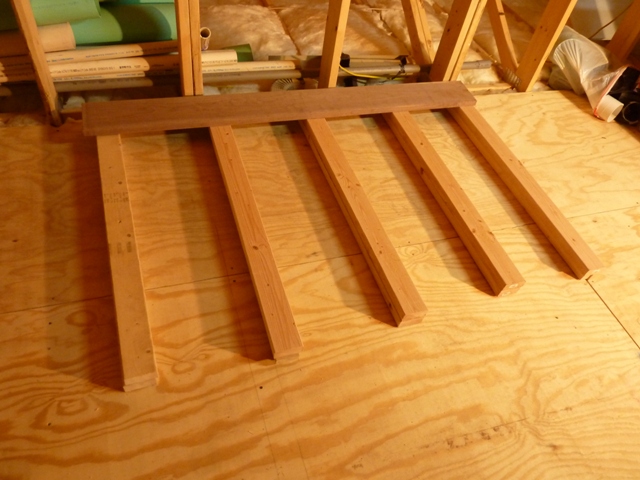 Set the foundation. After reaching 20% moisture content, stack the lumber in a place where it can remain for an extended period of time until it reaches a point of equilibrium for your area. I like to set a bottom row of spacers about 2″-4″ off the floor to allow good air movement underneath the lumber. Be sure that the foundation is level so that the boards do not warp to conform to the contour of your floor.
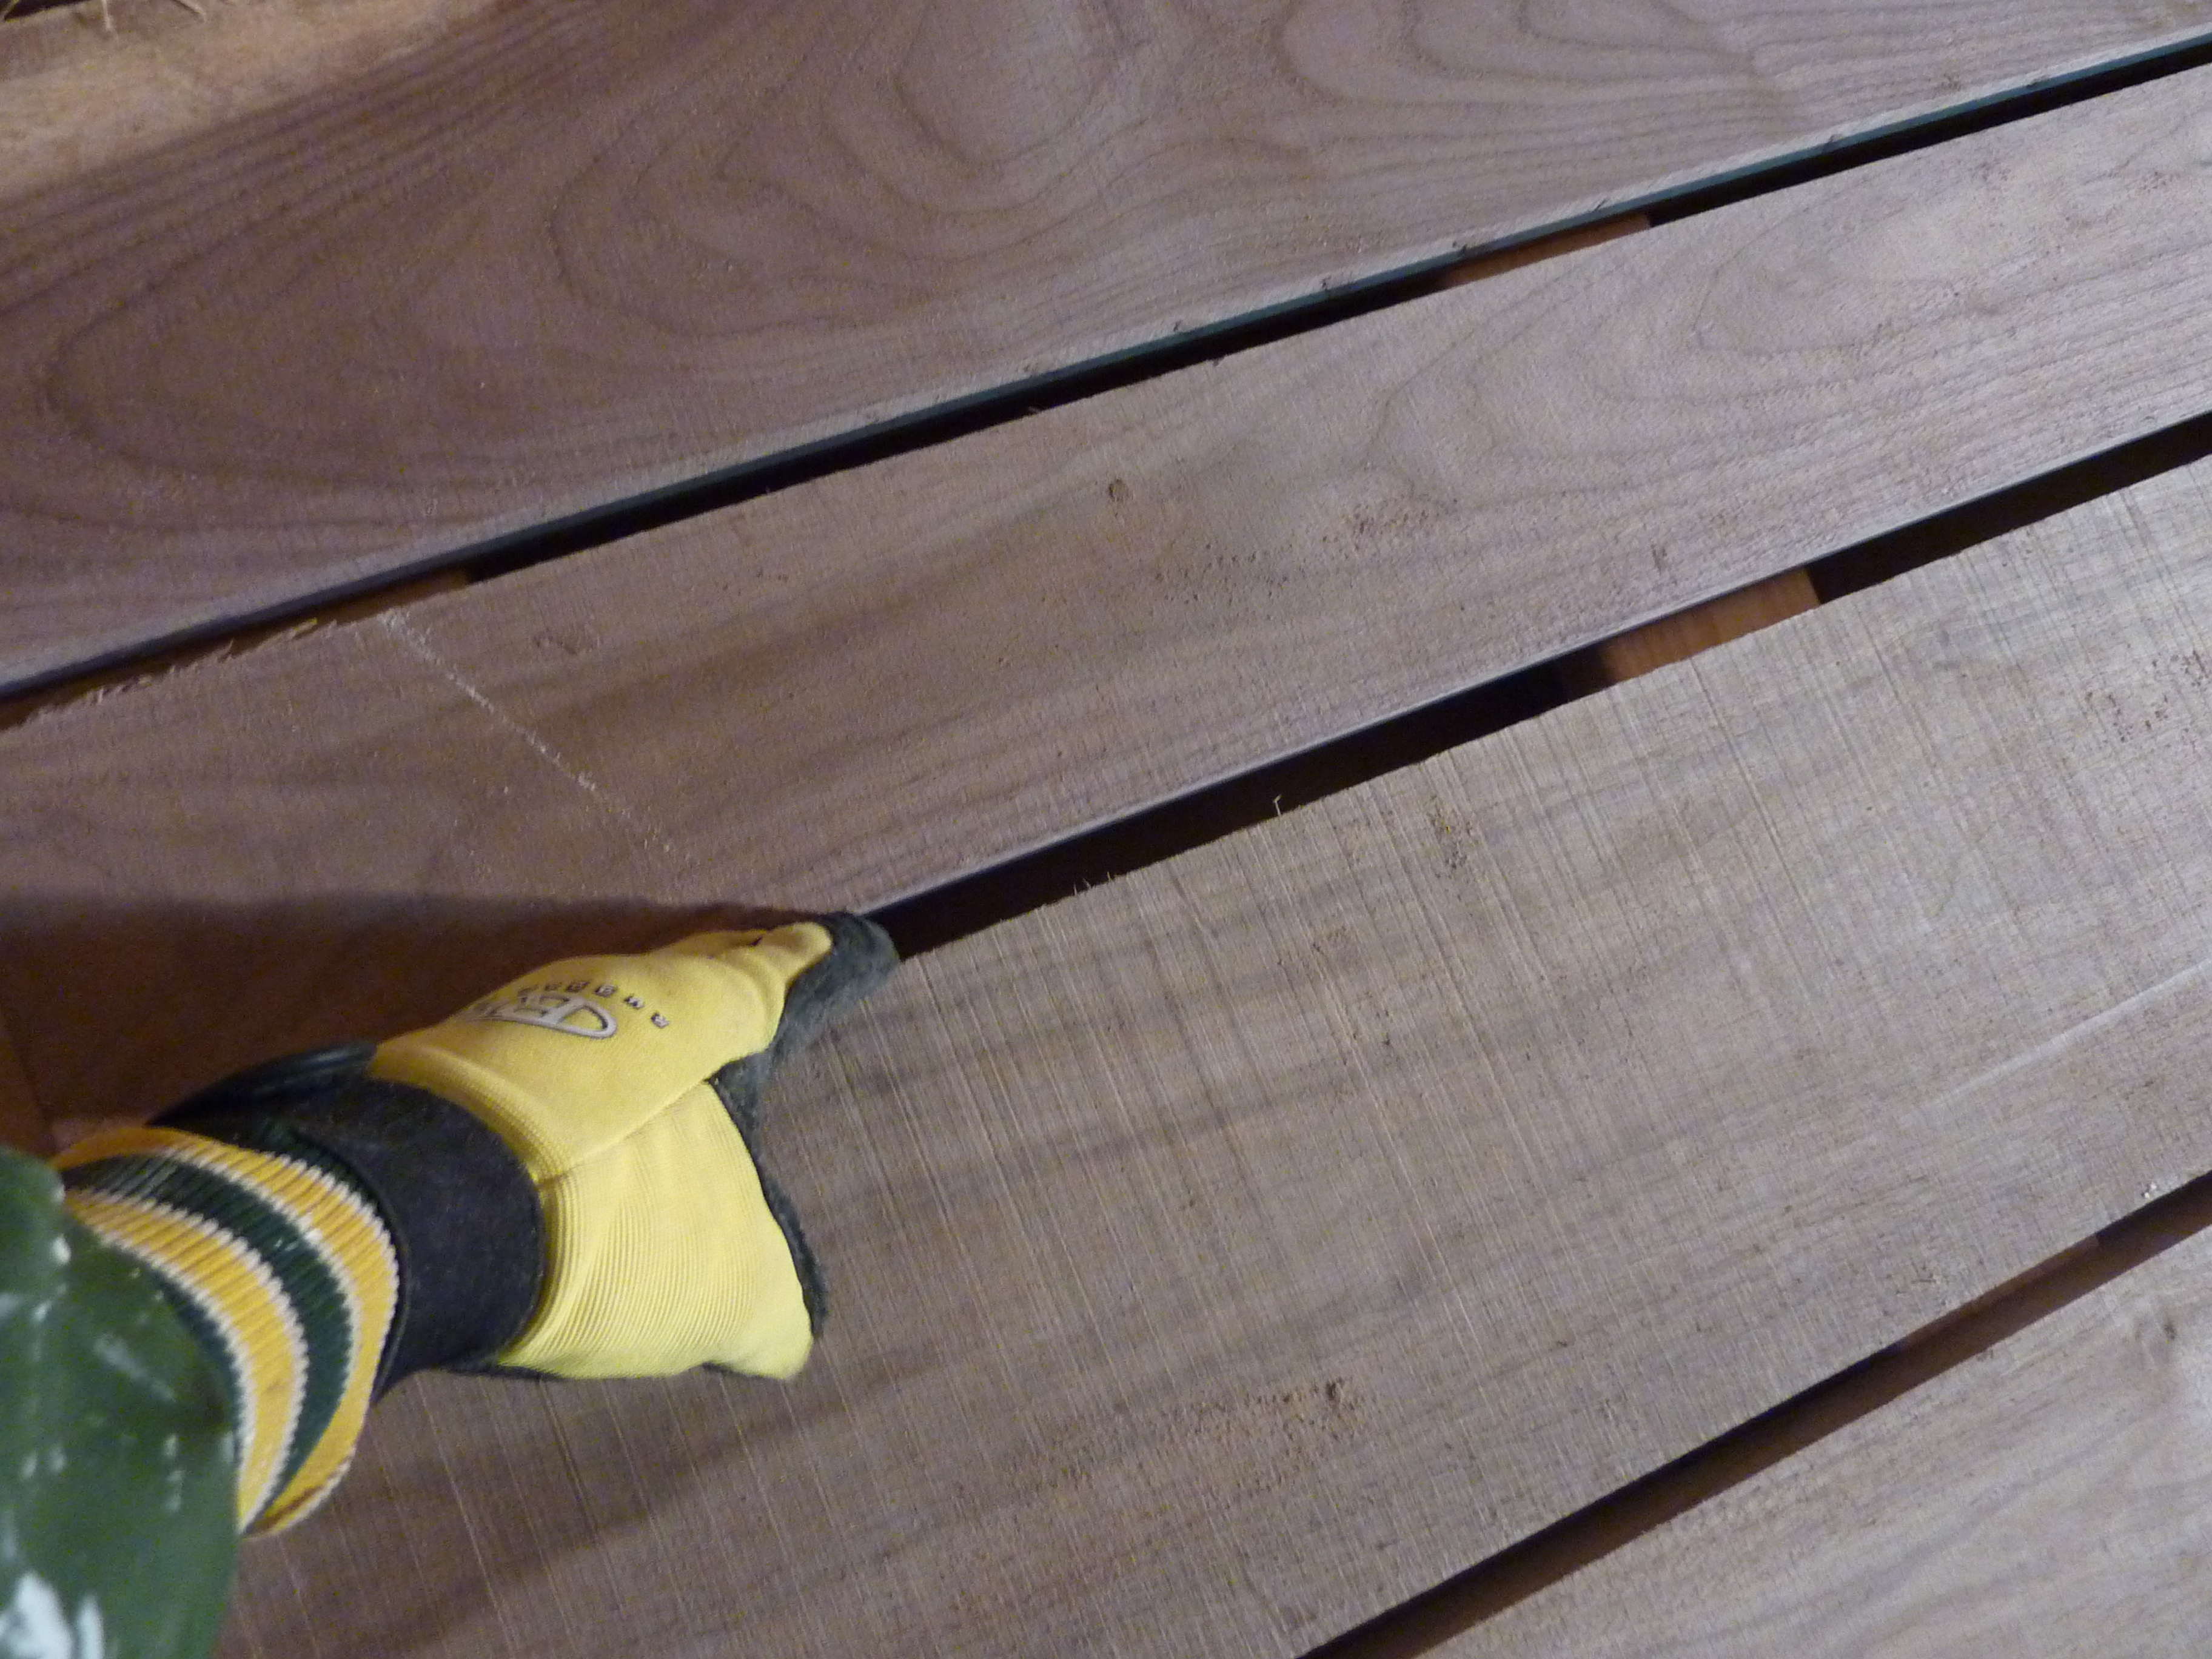 Stack it. Lay your first row of lumber on top of the foundation. Leave about 1″ space between boards to allow for air circulation.
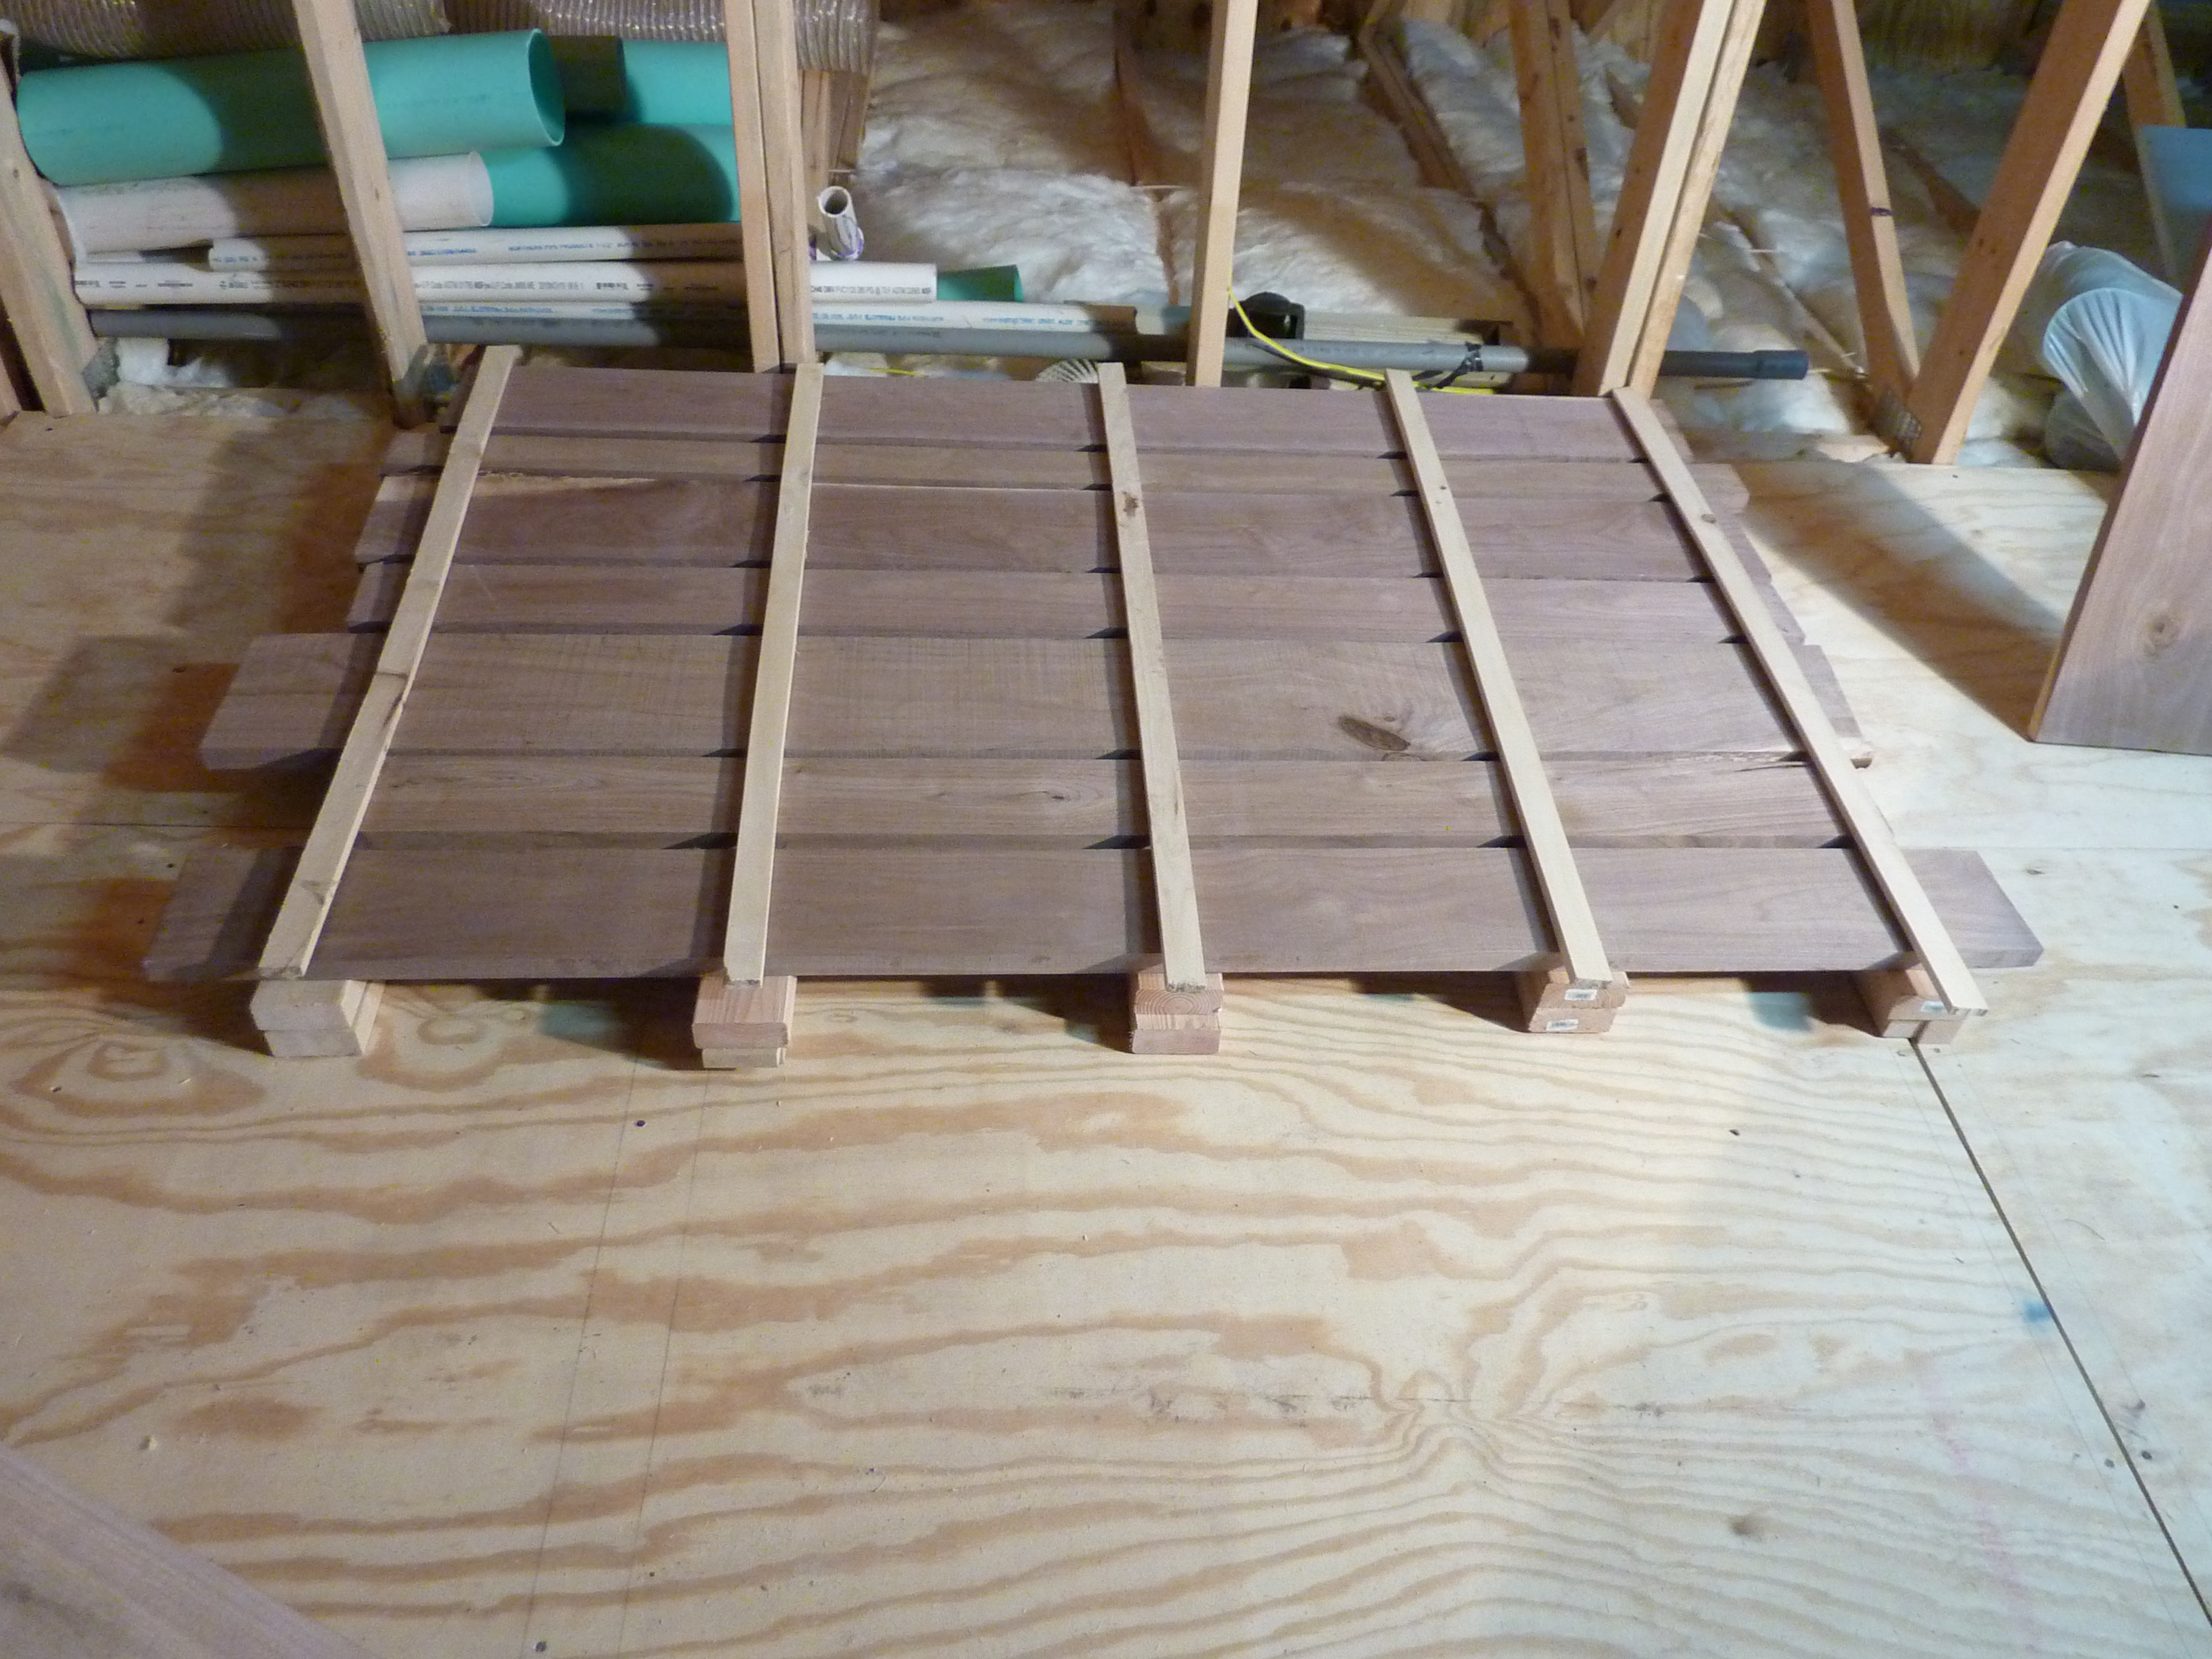 Place stickers between each row of lumber. Then, add a row of stickers on top of your row of boards, placed perpendicular to your lumber, parallel and directly above the 2 x 4s on the floor. Stickers should be at least 1/2″ to 3/4″ thick to allow ample air movement throughout the stack. It is important to align all of your stickers vertically to reduce stress on the boards that would result from having the stickers offset from one another. Stickers should be cut from dry, white wood. Don’t use oak or darker woods which can cause staining to occur where the stickers make contact with the boards.
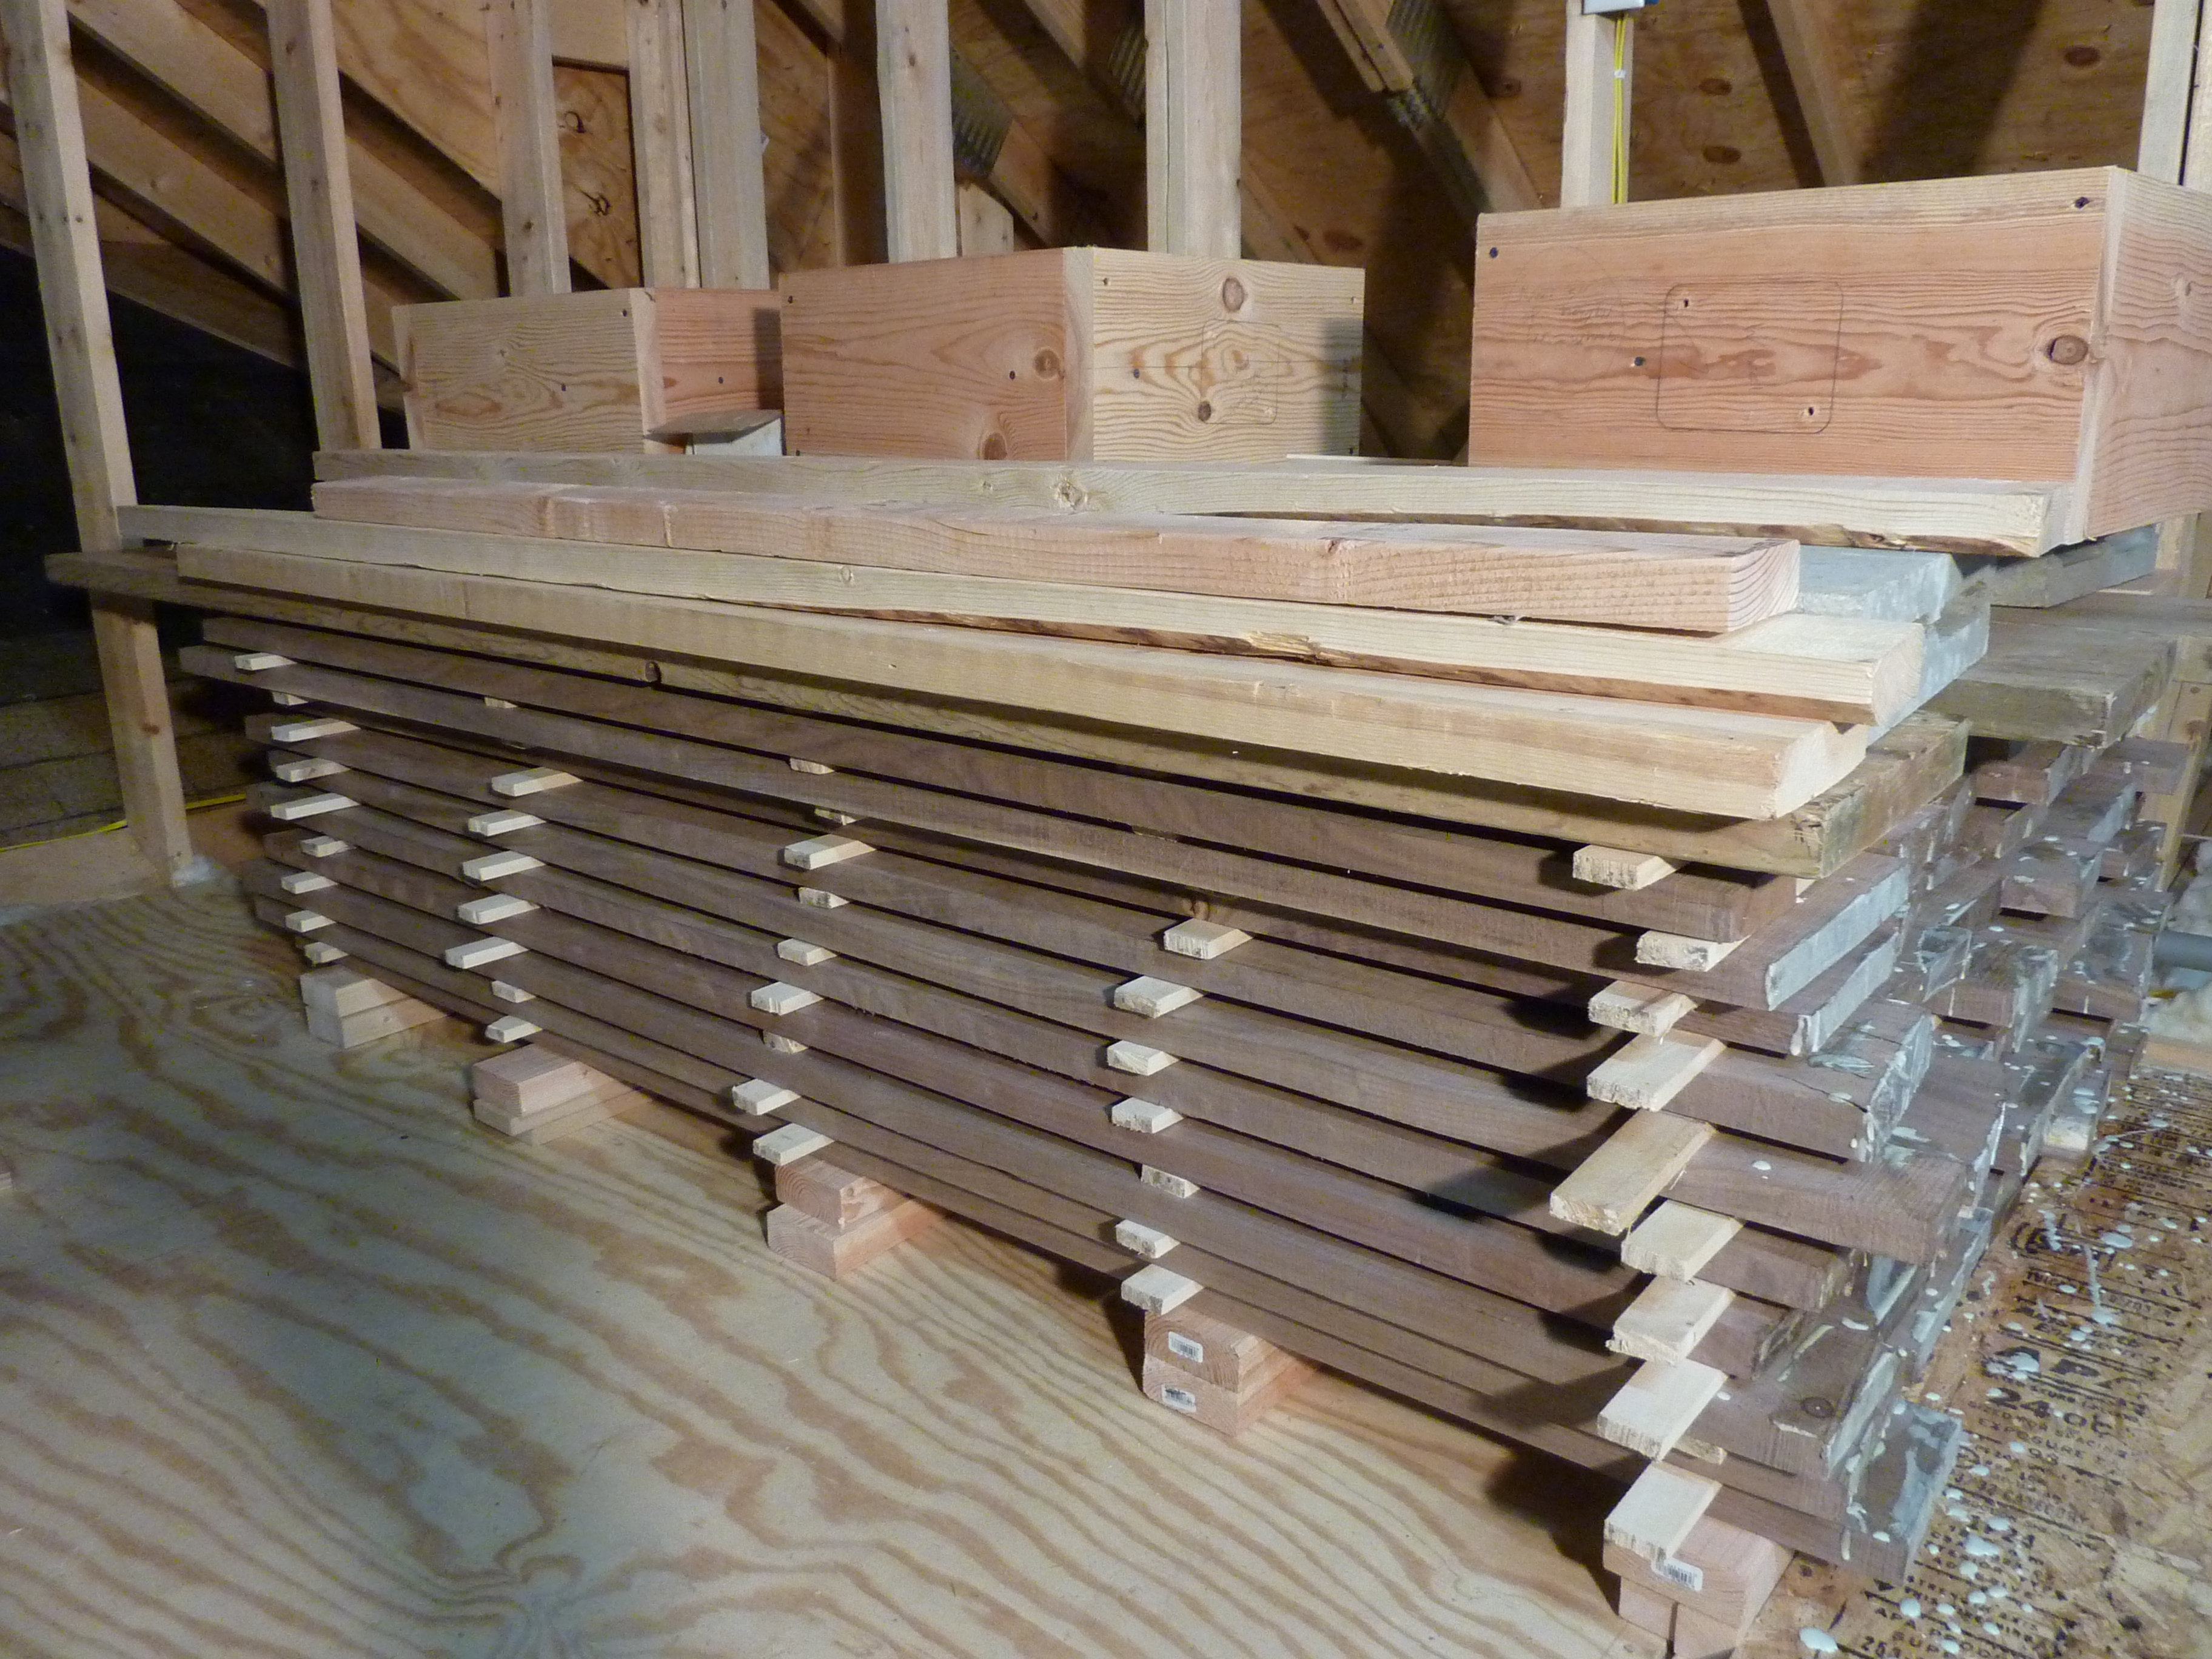 Weight on top. Put a final row of stickers on your top row of lumber, and then place a sheet of plywood over the top of the stickers. Then put some heavy weight on top of the plywood. Cinder blocks work great. I use some smaller cinder blocks because I don’t like hauling the full size ones up into my attic, but in general the more weight the better, and keep it evenly distributed across the lumber pile.
 Fan. Keep a fan circulating air around the pile until it reaches your desired moisture content. This will accelerate the drying, and keep it more even throughout the lumber pile. As long as the air temperature remains above freezing, then the wood can make progress on drying. Lower temperatures and higher humidity mean slower drying times, but in general the fan will speed things up.
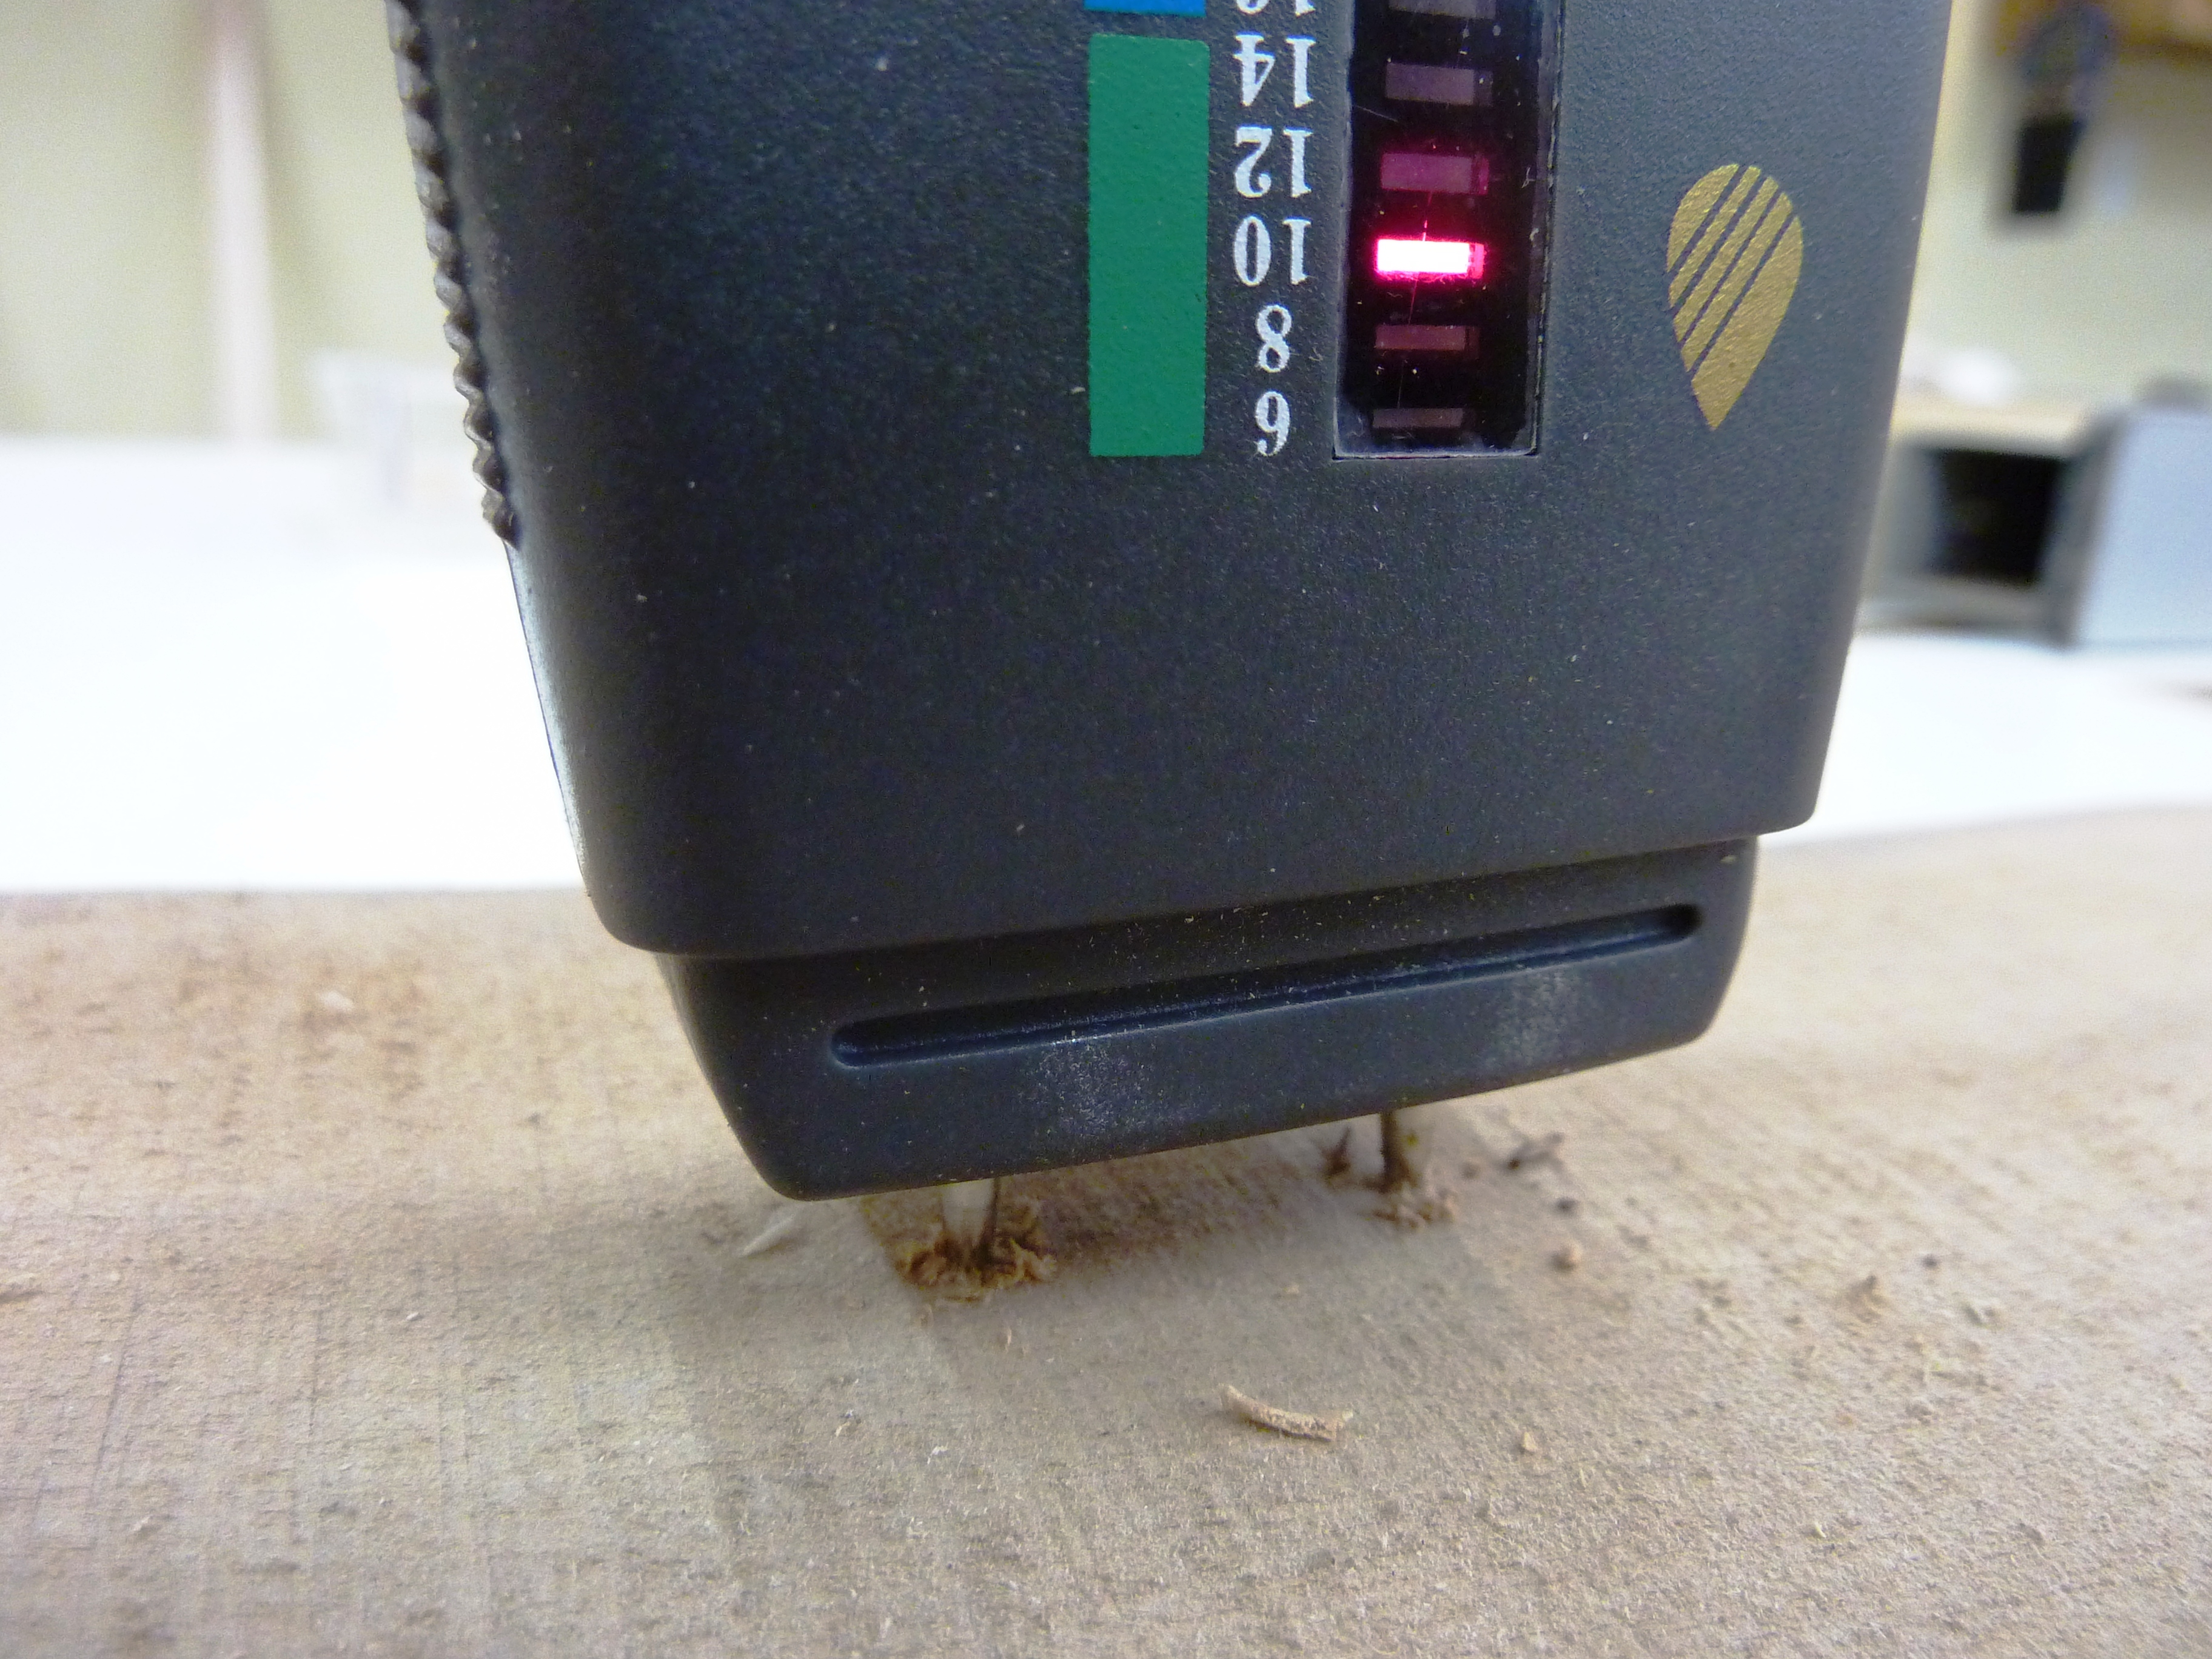 Check moisture periodically. Watch closely to see how the moisture reduction is progressing. Check in various locations throughout the stack, and if you see extreme unevenness move the fan to the area that is lagging in reduction. When you think the lumber is ready for use, check a few boards in the middle of the pile to be sure. It is not uncommon to find the boards in the middle of the pile running 6% higher moisture content than those on the outside. Be sure that you have good air circulation on the pile, restack it and be patient! When the moisture content has stabilized for 4-6 weeks, and you have even levels (+/- 2%) throughout the pile, give the wood a try. I generally wait for consistent MC in the 10% range before I work with it, which is about as low as it will go with air drying in my part of the country.
When you use this material for your first project, you will be hooked, especially when you think about the cost savings you have enjoyed. Start small with a single tree or large limb, and progress to a larger load once you are comfortable with the process.
Photos By Author
Is there a way to straighten dimensional lumber that has been storm damaged? It is the remnants of a 1930 era galvanized building destroyed during the 2020 Derecho.
Great article explaining it from an average woodworker like yourself - limited budget and resources, etc.. Thanks for posting. BTW, I bought an electric chain saw 16 inch bar to manually mill some short logs that I may find near where I live, to make live edge slabs. And then apply your manual drying method. Thanks again.
just got some large 12' x 2" x14" ash boards from a mill that have been cut for almost a year. They were stored outside with stickers as you described, covered and weighted. Southeastern PA mountains. do they have to be stored inside? I plan to use them for exposed shelves.
After the recent storms, my son wanted to cut up an oak tree for an end table with hairpin legs. We have several "disc" about 4 inches thick, so will this process work. Everything else I have read says use pentacryl. Any guidance would be much appreciated
Thanks Paul! -
Good info. I'm in the Ozarks and can get oak and cedar at ridiculous prices. I sticker and build a chamber from tarps and put my dehumidifier in there with another fan. Takes about 6 weeks or less to get the lumber down to working moisture level.
"Use stickers cut from a white wood species (maple, cottonwood, etc.)" Here in the Pacific Northwet, "white wood" means spruce, hemlock, or douglas fir.
good info like you i try to save money on wood by cutting and processing the wood my self i`have cut oak , cherry ,walnut ,but only short lengths its a lot of work but worth every step.more woodworkers should try it. one thing i did not know was about sealing the ends thanks.
Thanks for the information Paul. I have about 300 bd ft of ash that came from trees in my own yard that I am just starting to work with now. Some of the grain has turned out beautiful. I have a local sawyer as well in south central MN