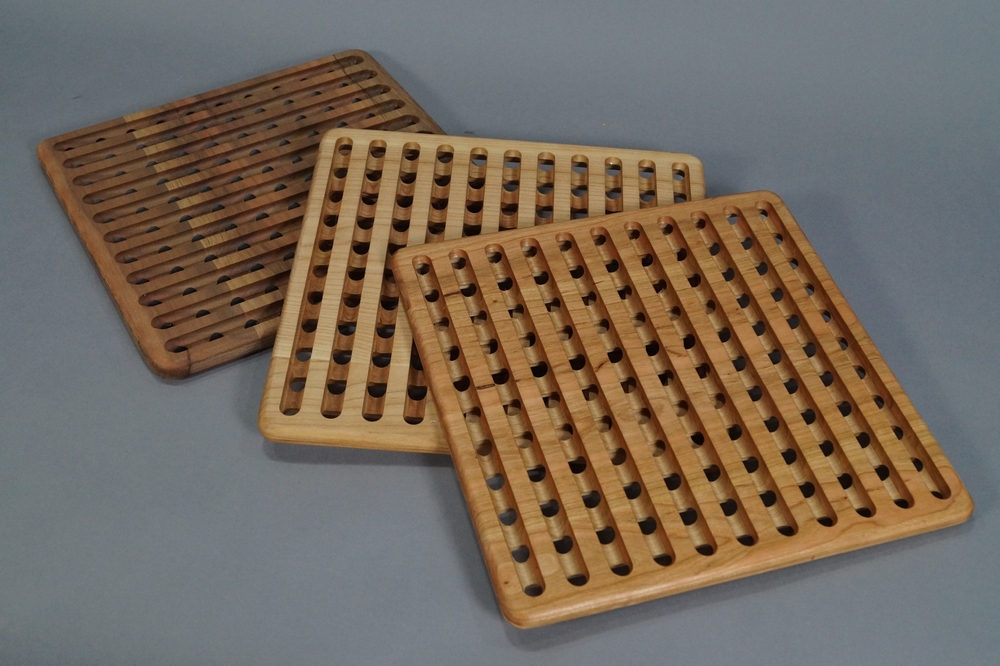
I recently built a table for my daughter. The phone call telling me she had ruined the finish by putting something hot directly on the table wasn’t good. That got me thinking about trivets. This is a great CNC project; an example of accurately cutting from two faces. This article includes step by step VCarve Pro design info, plus how to set up the trivet blanks on the CNC.

Router bits
Two router bits are required to make the trivets; a 1/4″ bit will be used to create registration holes and cut the trivet to its final shape and size, and a 1/2″ core box bit will be used to cut the slots. See Sources.
Make the Blanks
I made two styles of trivets. One is nothing more than boards glued edge to edge to create the blank. This approach is simple and fast. The other style consists of two layers of contrasting wood, in this case cherry and maple. The contrasting colors are exposed when you make the CNC cuts. Although it’s more labor intensive, this approach creates a more dynamic look.
My design uses a 13” x 13” blank to create an 11-1/2” x 11-1/2” trivet. Once you understand the technique you can scale your trivets to whatever size you need. The simple glue up is 3/4” thick. The contrasting blank is 1/2″ thick. I wouldn’t go under 1/2″ thick for these, but anything from 1/2″ to 3/4″ will work fine.
Create the simple trivet by edge gluing enough material to yield a 13” x 13” blank. After the glue is dry, plane or sand the blank flat.
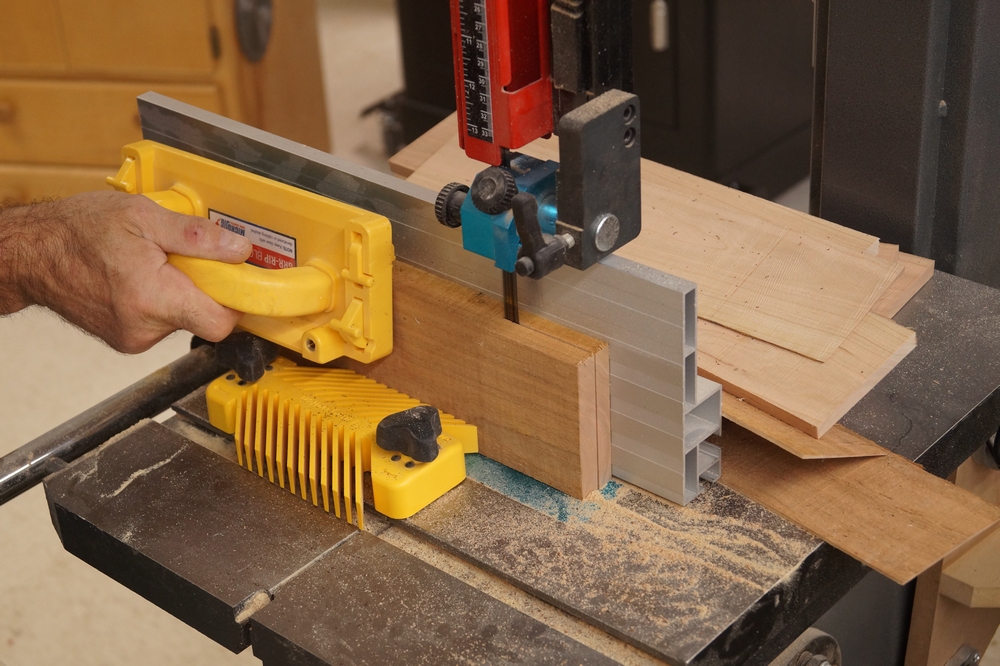
To create the contrasting wood blank, start by resawing contrasting woods. It’s best to stick with hardwoods. A resawn thickness of 3/8” works fine.
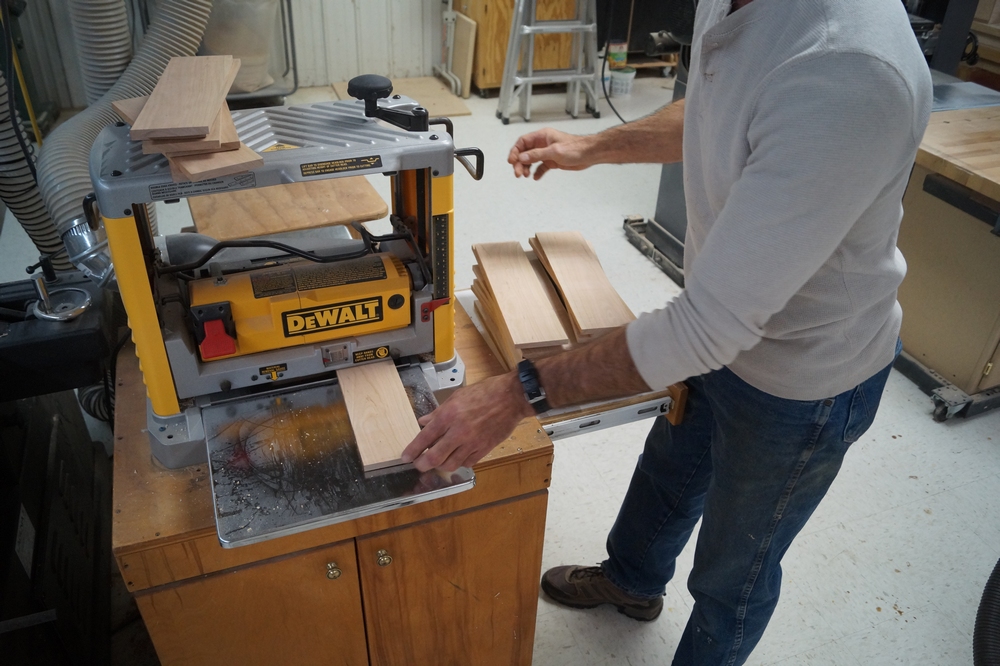
Plane the resawn stock to remove the bandsaw marks and get it to uniform thickness. Yep, there are a lot of pieces laying on my planer. I made enough for four trivets. After planing, joint the edges of each piece, getting them ready for an edge-to-edge glue up.
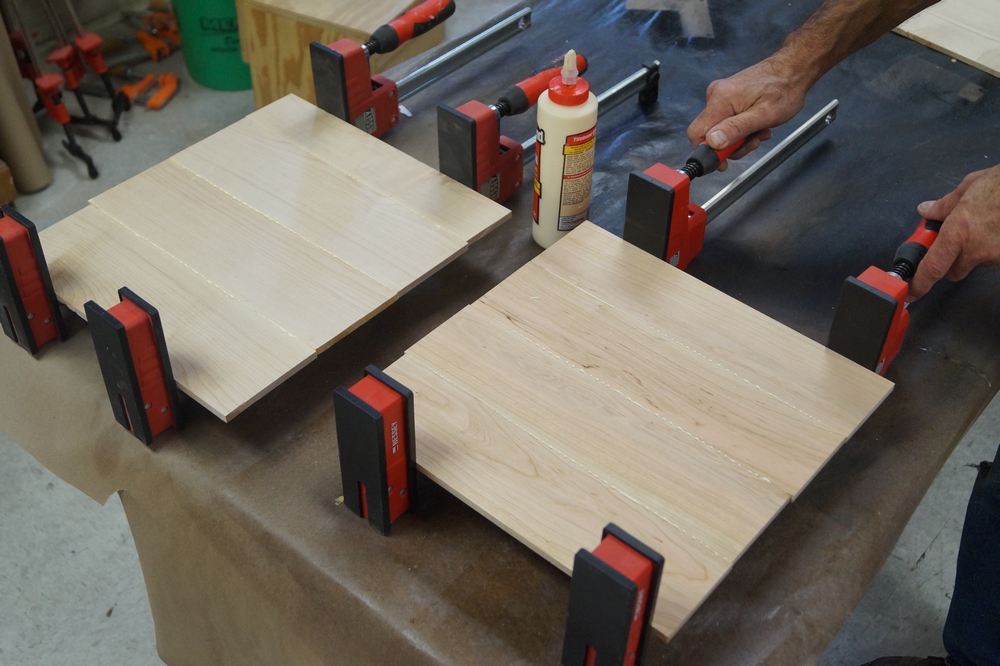
Glue up the individual panels. Thin stock can be hard to clamp flat. Take it easy on clamp pressure. After the glue is dry, plane or sand the panels flat.
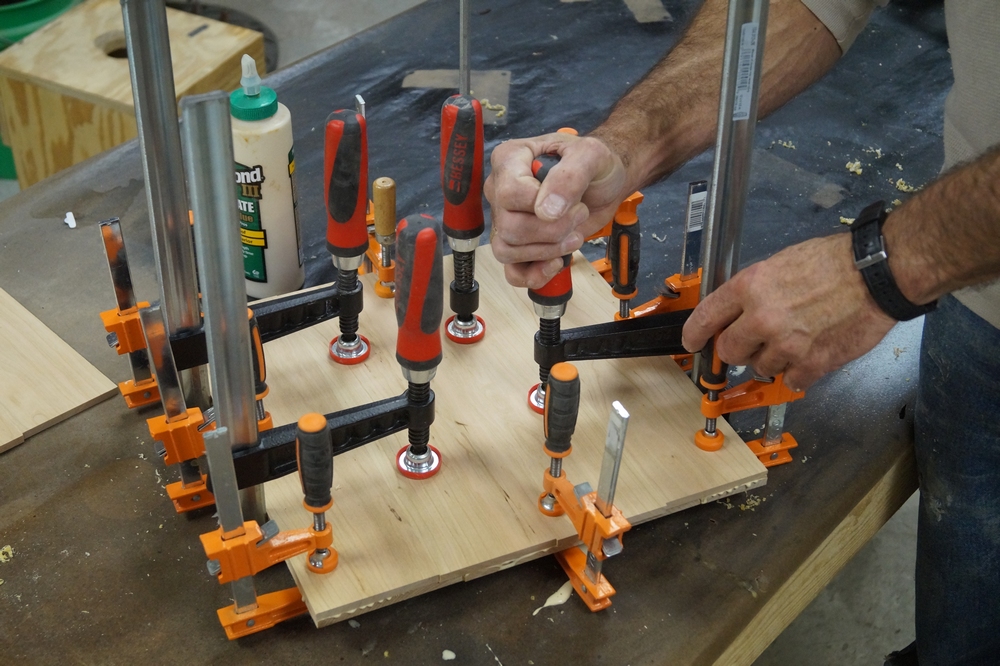
Glue the panels face to face to face to make up the final thickness of the blank. Use enough clamps to ensure you’ve completely closed the face to face joint of the glue up. Once the glue is dry, cut the blank to its final size; 13” x 13”.
Designing in VCarve Pro
Follow this recipe, step by step, to create the design and toolpaths.
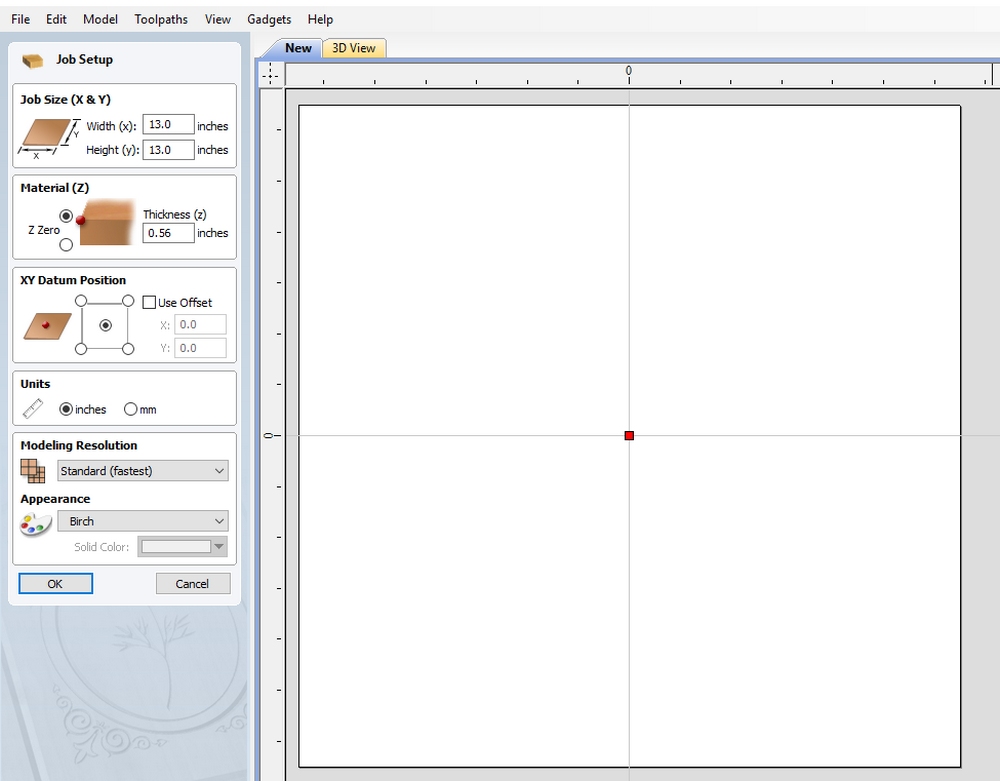
Create a new file. Enter the thickness, width and length of the blank. Be very careful measuring the thickness to make certain you’re accurate. The best way to measure this is with digital calipers. (See Sources) XY 0,0 should be the center of the panel.
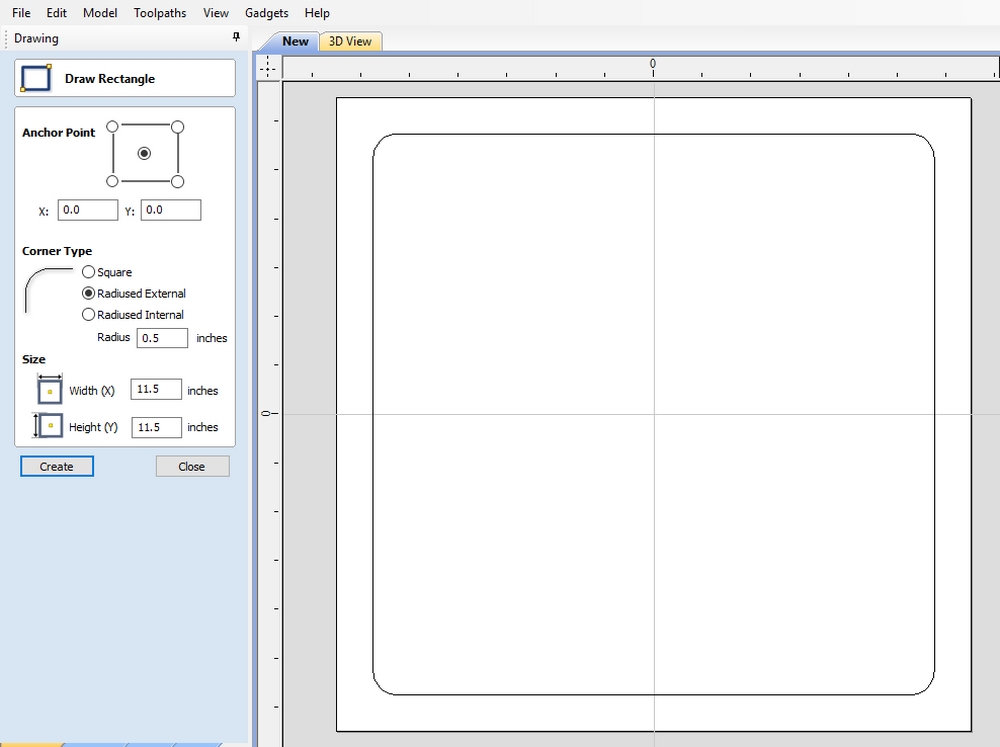
Use the Draw Rectangle tool to create an 11-1/2” x 11-1/2” square with a 1/2″ external radius on the corners, centered on the origin.
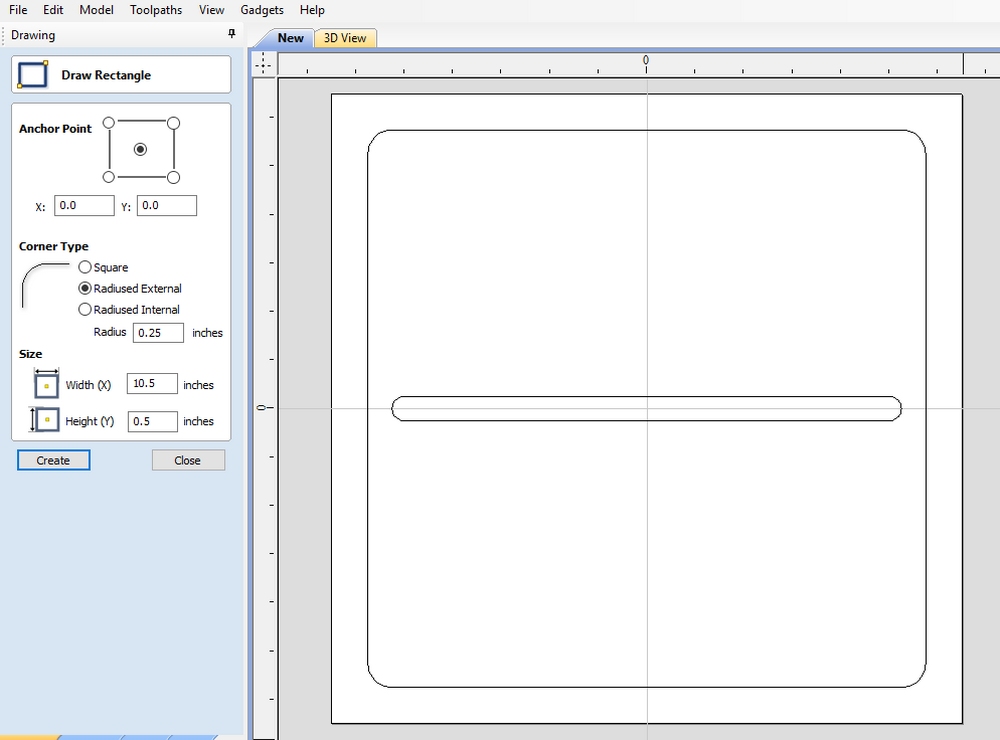
Use the Draw Rectangle tool again, this time to create a 1/2″x 10-1/2” rectangle with a 1/4” external radius.
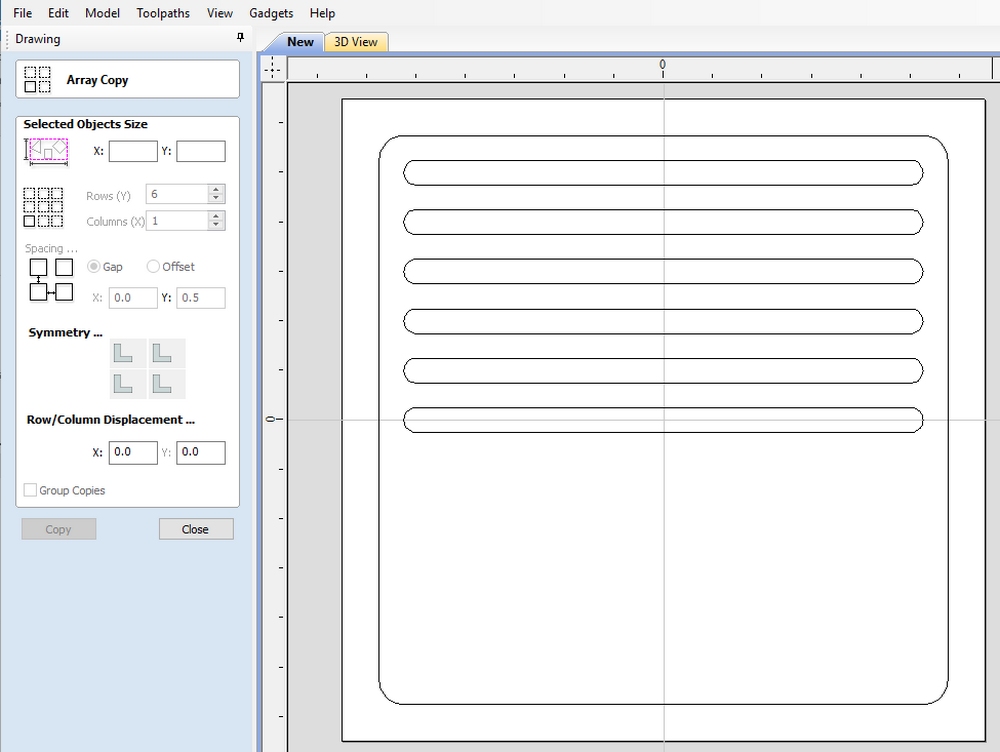
Now we need to duplicate the slots. The easiest way to do this is by using Array Copy. Select the rectangle you just drew, create 6 rows and 1 column with a gap of 0 in the X direction and .5 in the Y direction. Click Copy and the slots will duplicate. Repeat the process using -.5 in the Y direction, and the rectangles will again repeat, filling the lower part of the square.
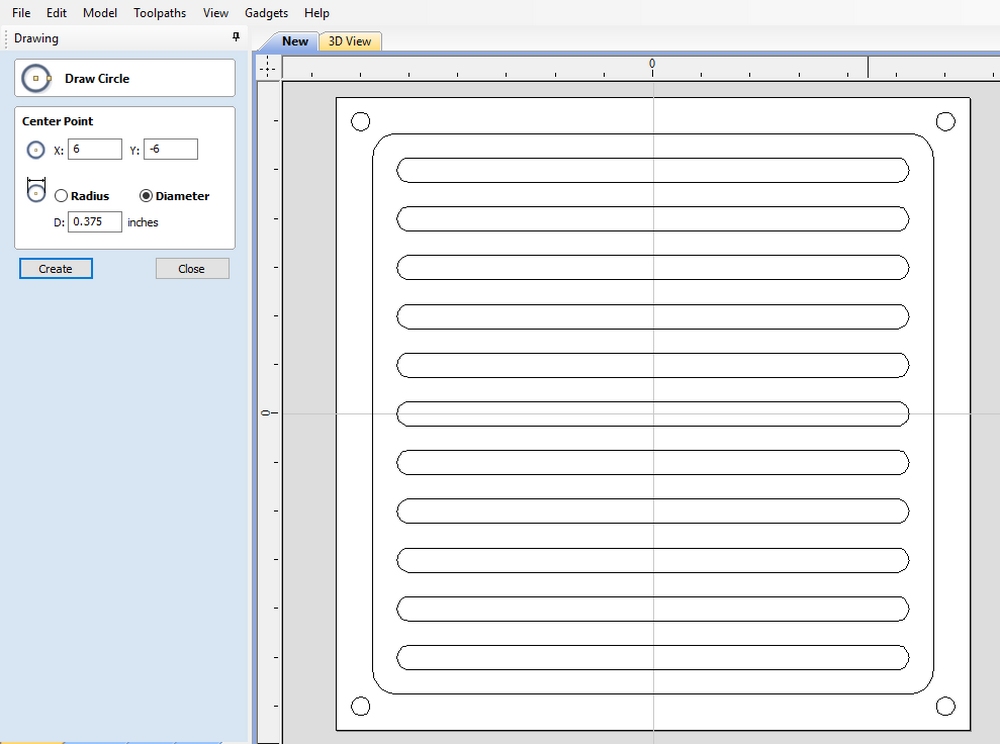
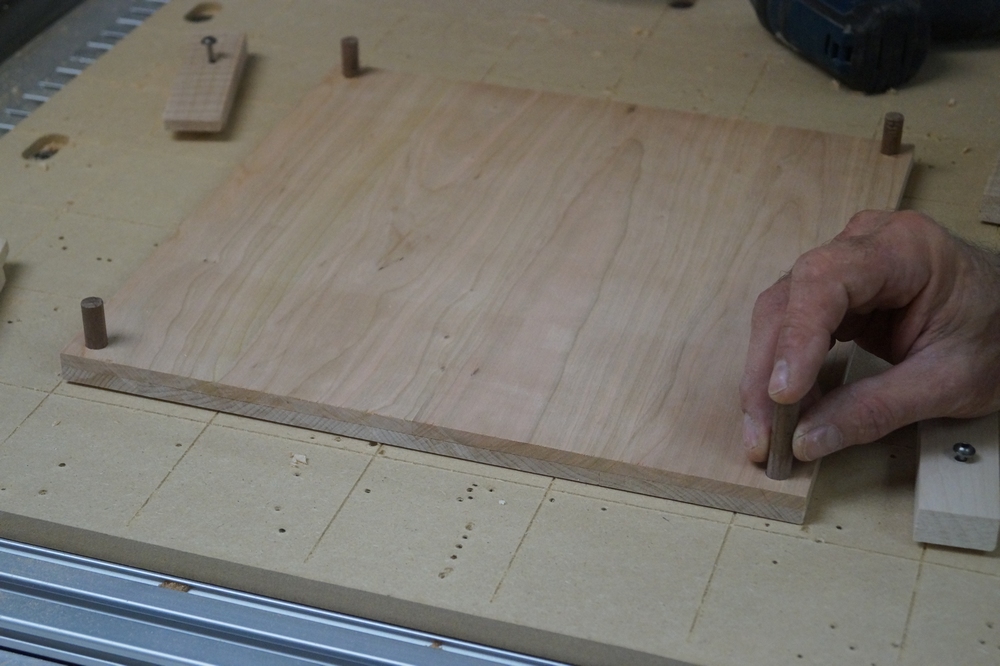
Create registration points so the trivet can be accurately cut from both faces. I used 3/8” dowels for the registration pins, but 1/4″ would also work. Use the Draw Circle tool to place a hole on each corner, 6” from the center line. Note that to get the holes in place on the bottom half you’ll use -6 in the X,Y Center Point boxes. Before cutting your project, it pays to test the registration hole size in scrap. Variations in router bit and dowel diameter can lead to the pins not fitting. I had to make my pin hole size .395” to get my pins to fit.
Toolpaths
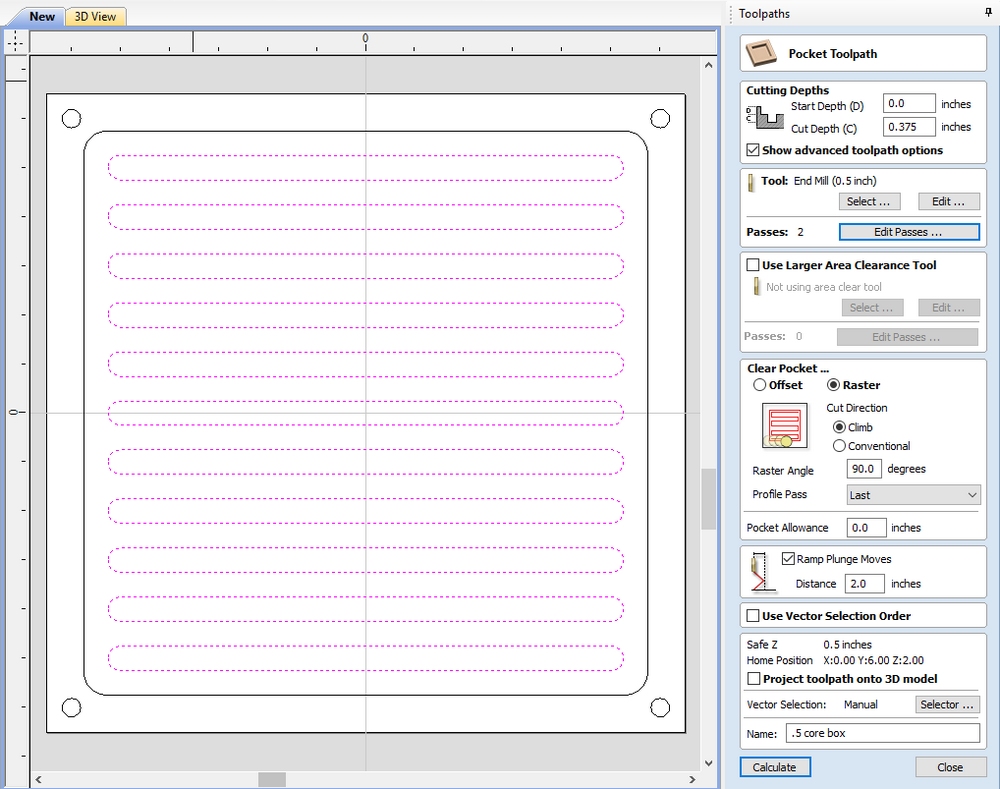
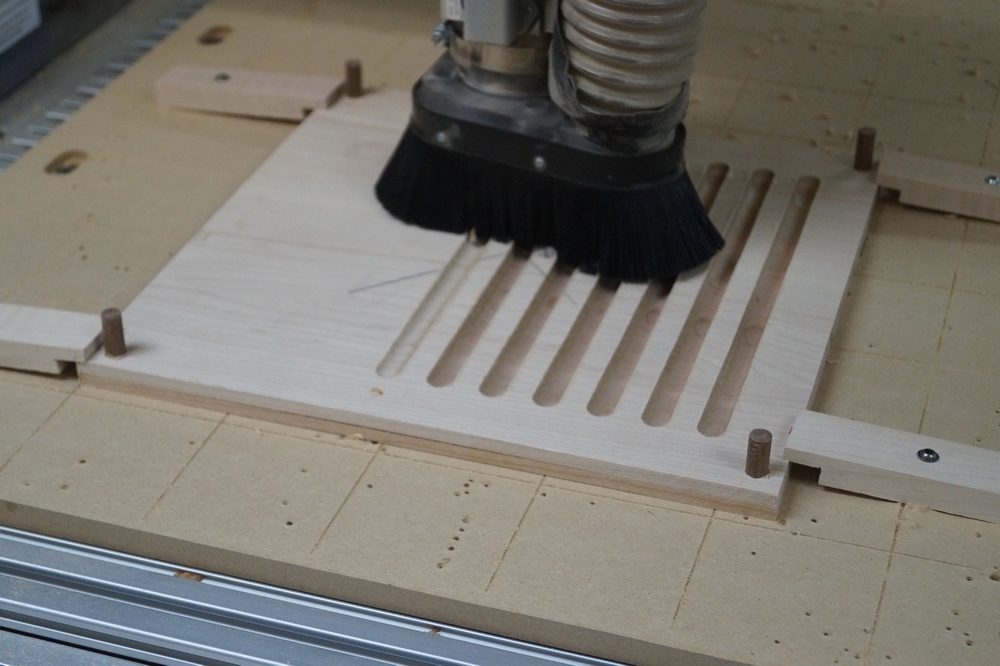
Create the toolpath for the slots. The cuts will be made with a 1/2″ core box bit (See Sources) using the Pocket Toolpath. Divide your material thickness in two, add .095”, and use the resulting number as the Cut Depth. This creates just the right amount of overlap between the cuts from each face. Be sure to Ramp Plunge Moves.
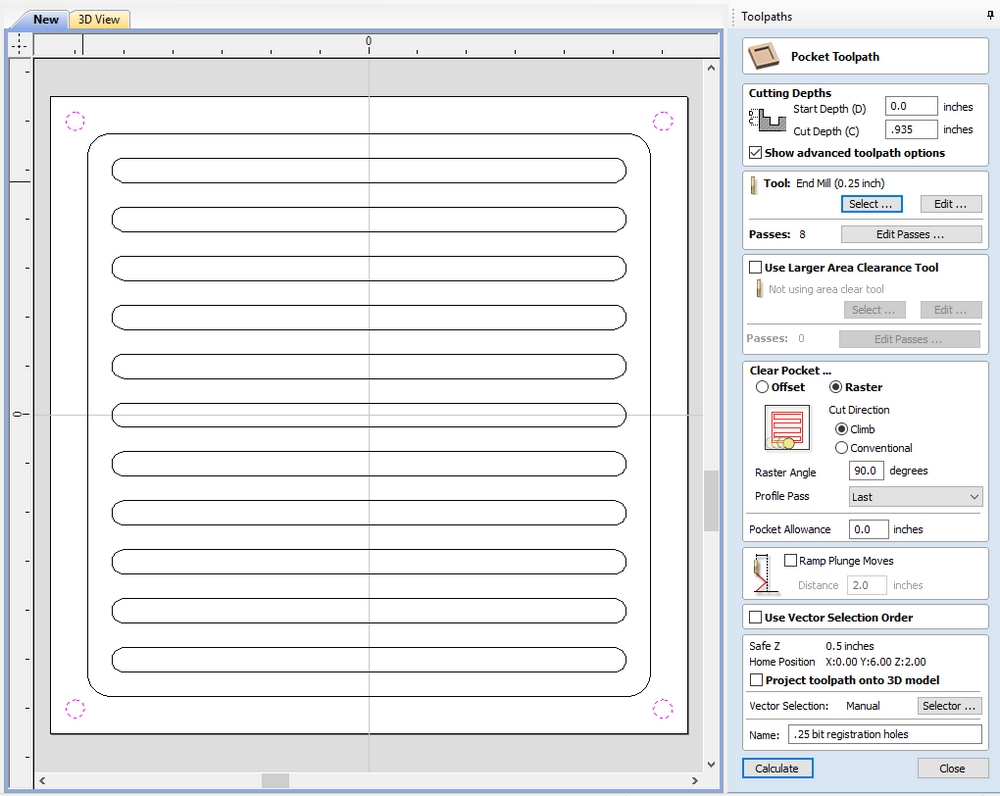
Make the registration holes using a 1/4″ bit and the Pocket Toolpath. Set the Cut Depth to 3/8” more than your material thickness. Double check to make sure this doesn’t exceed the thickness of your spoilboard.
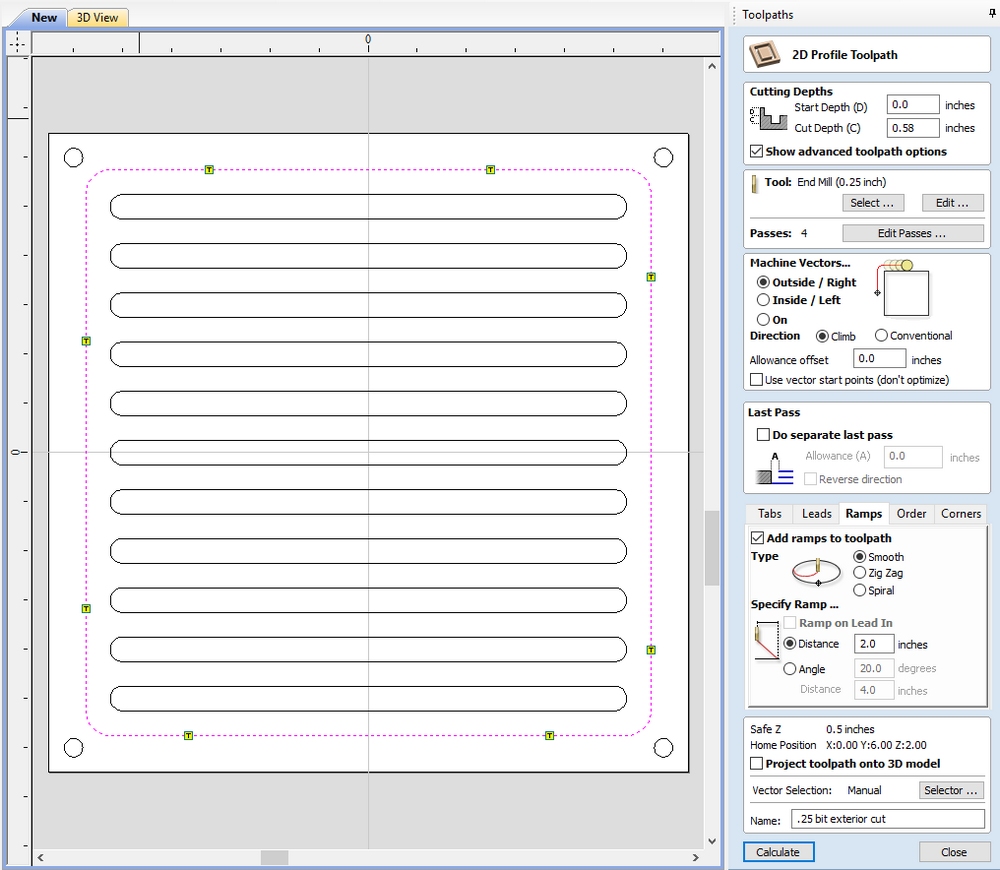
Cut the final shape using a 1/4″ bit and the 2D Profile Toolpath. Cut Depth should be .020” more than the thickness of your material. Cut Outside/Right, and add Ramps and Tabs. The tabs act as bridges, keeping the work secure while you’re making the profile cut.
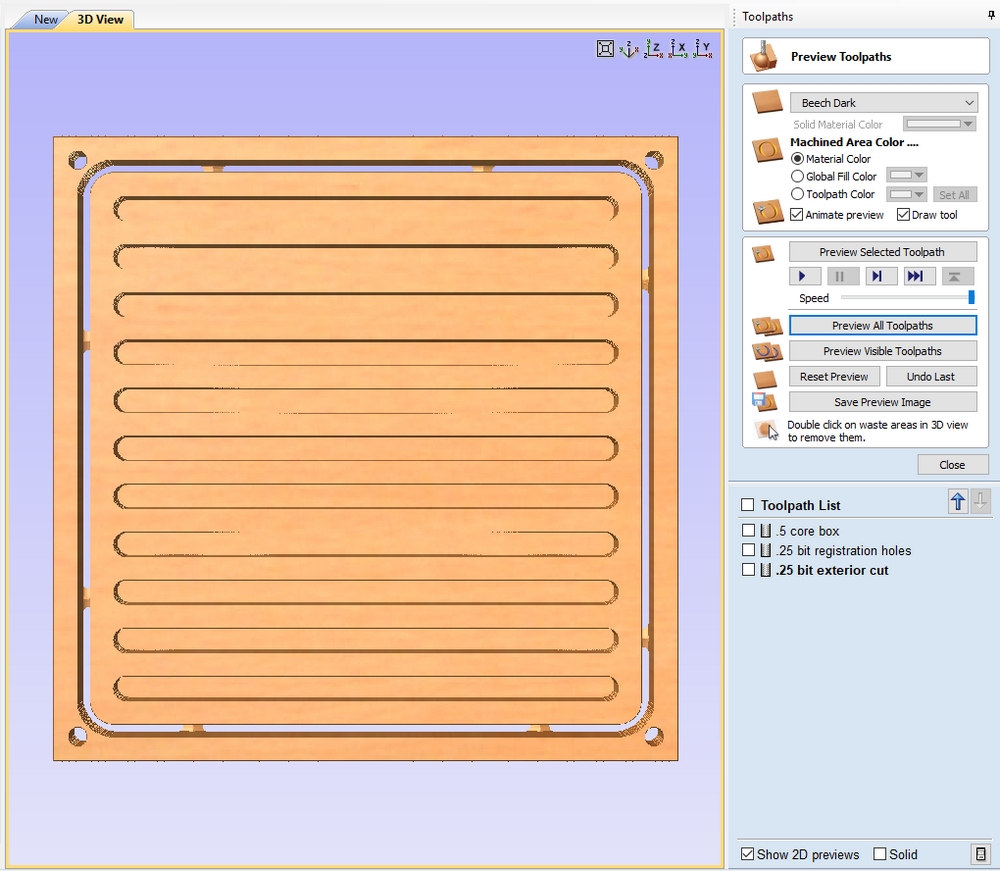
Preview the toolpaths. This is a great way to double check your work. It won’t look like a trivet at this point, because we’re only seeing cuts from one face. Save your toolpaths.
Cut the Project
We’re ready to do the CNC work!
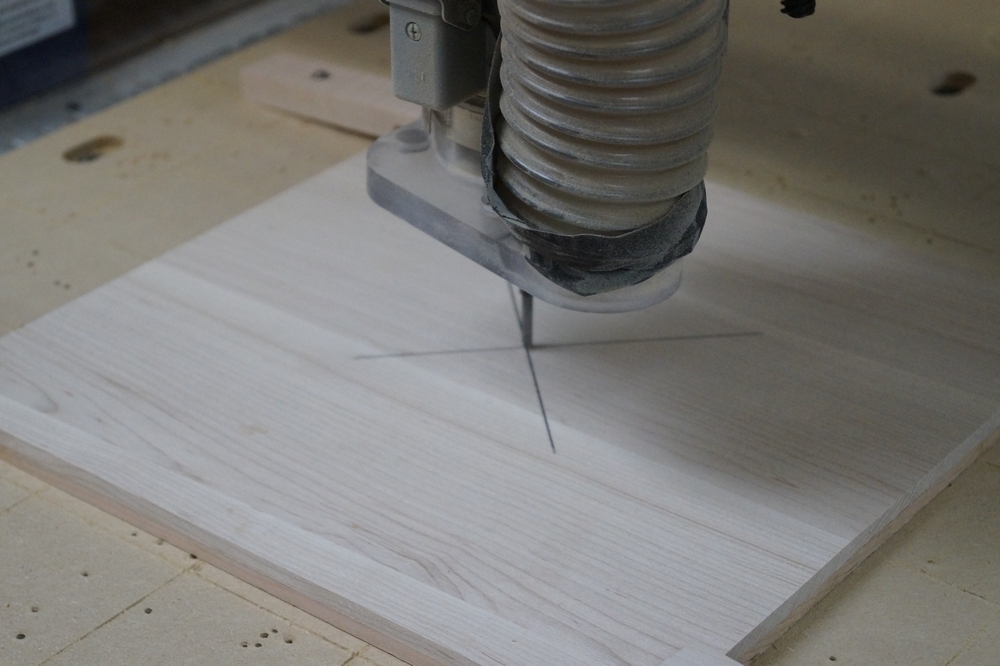
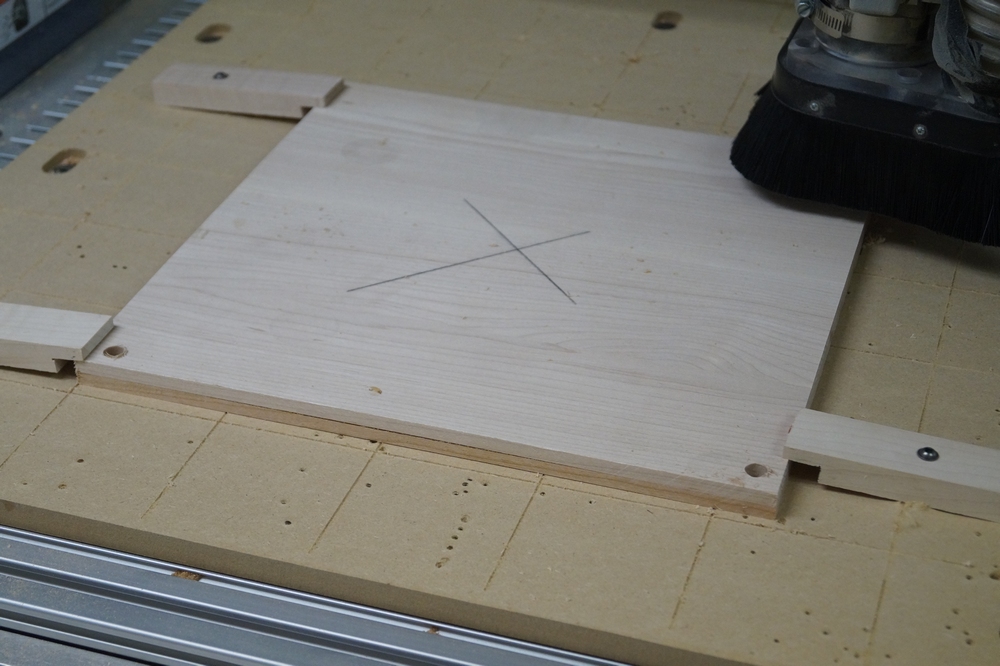
Mark the center of your blank, secure the blank to the spoilboard, install the 1/4″ bit, locate the router bit over the center point, and Zero the X and Y axes. You can also Zero the Z axis at this point. You’ll rezero the Z axis each time you change bits, but it’s important that you don’t change the XY zero from here out.
Run the registration hole toolpath. Use a vacuum or air compressor to remove dust from the holes, and insert the registration pins.
Swap out the 1/4″ bit for the core box bit. Rezero the Z, and run the toolpath for the slots. When the cuts are complete remove the hold downs and registration pins.
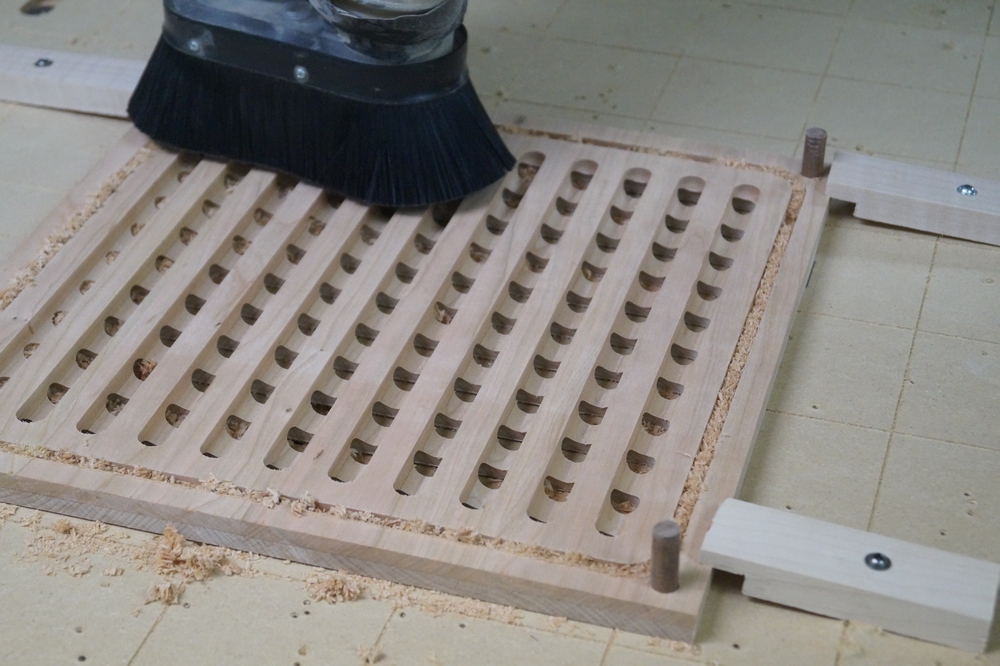
Flip the blank over and rotate it 90-degrees. Double check to make sure the slots you’ll be cutting on this pass will be perpendicular to the slots that are already complete. Put the registration pins in place and reinstall the hold downs.
Run the slot toolpath, swap the 1/4″ bit back in, and cut the exterior profile toolpath. Remove the trivet from the CNC, cut through the tabs, and sand the edges smooth.
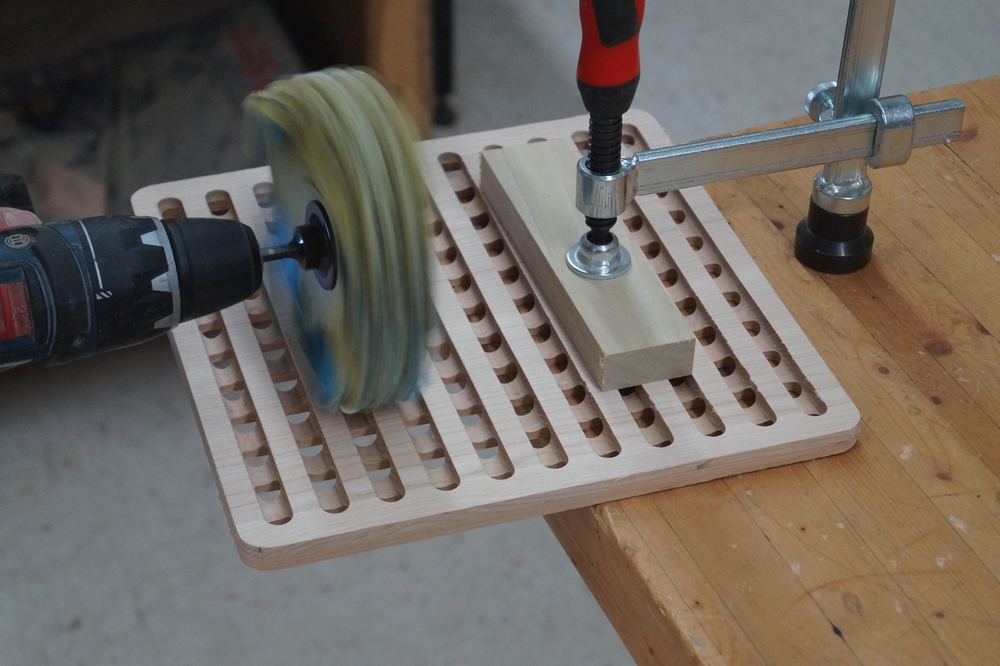
A sanding mop (See Sources) works great for smoothing the slots. I use this sander on CNC work all the time.
Round over the edges with a 1/4″ roundover bit.
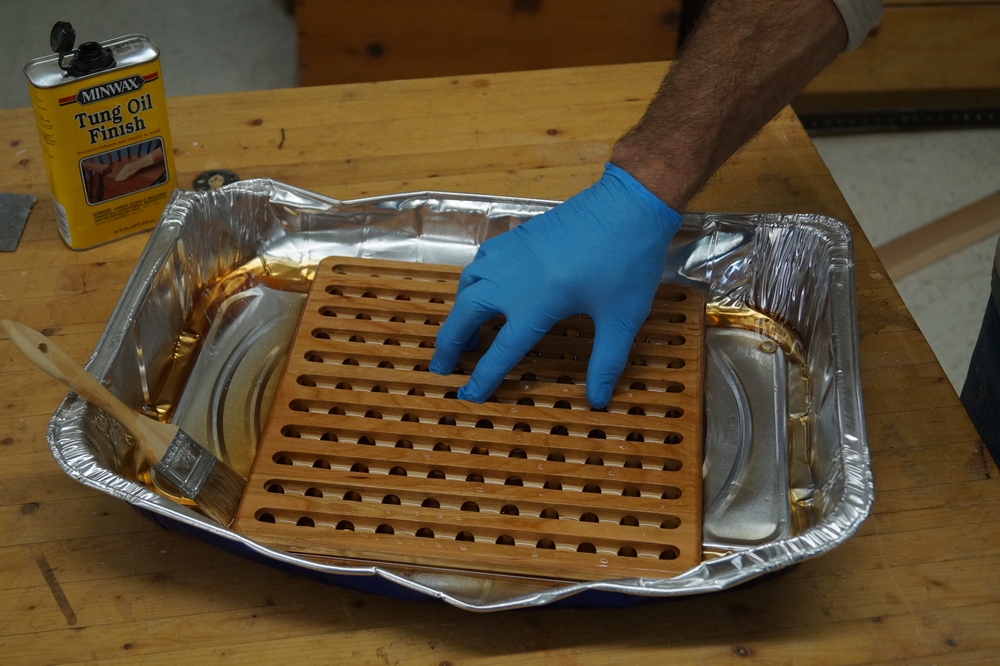
The easiest way to finish trivets is to dip them. Tung oil or Danish oil work great as a finish. Be sure to wipe off the excess, let the first coat dry, and then apply a second coat.
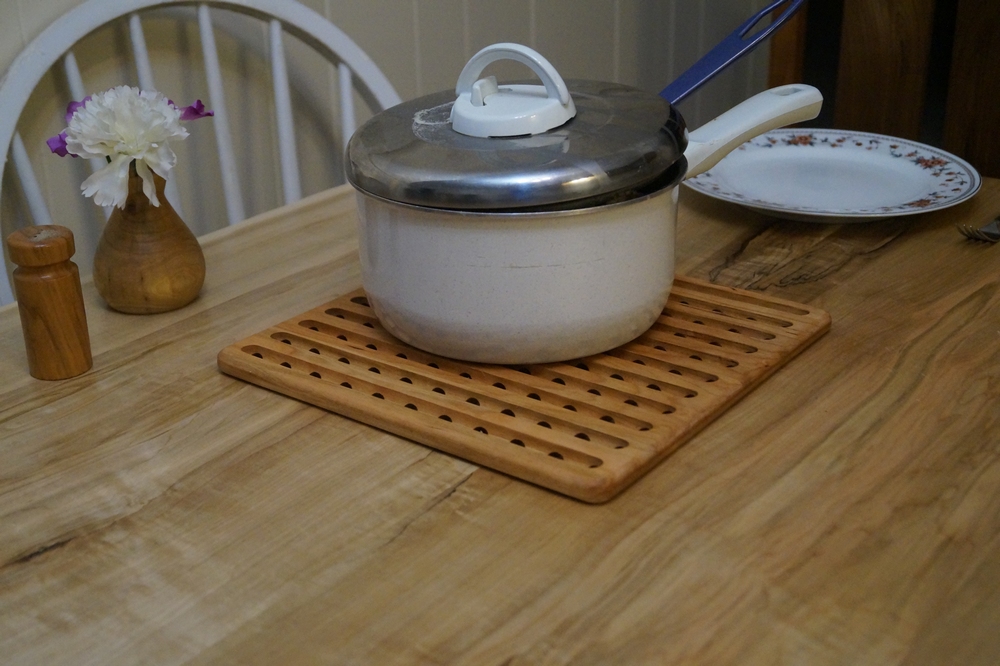
Enjoy your trivet! And save your table.
Sources
Whiteside 1/2” core box bit #1404
Whiteside 1/4″ upcut spiral but #RU4700
Klingspor Sanding Mop (assorted grits available)
Whiteside 1/4″ Roundover Bit
Wixey Digital Calipers

Nice. If you have a CNC. My comment from 2022 is below.
Great project!! Which Sanding Mop grit(s) did you use? Did you use the 4" or 6" diameter mop?
I have followed your step by step directions to the letter, but when I open the file in Candle and send it to the CNC machine, I receive an error message 1:T1M6<error :20. I have made revisions to the file according to what I see on the VCarve picture in the article, but I still get the error. I am using Candle to send the g code. The cutter begins to drill into the wood about 1/16" directly around the center point, which is not where it is supposed to cut, and then the error message appears.
Excellent description presenting a very detailed finished item... first class.. I am impressed.
I made the exact same about 25 years ago using the round nose router bit and the router table, except that the grooves ran right through end to end on both sides. 2 Each,2 different sizes, some scrap mahogany 22mm. The edges were also rounded over. Finish if I recall was Rustins Danish Oil. They are still in daily use by son and DIL.
When I run the setup for the slots I have ran it jus as you have it set up but all I get is dots at each end of the rows is there something I am missing?
George; I followed your toolpath however when I run the simulation it gives me a small indent at the end of each flute. It does not machine out the entire flute. I have triple checked my settings and they match yours. Any ideas?
I'm trying to set up your trivet project with VCarve Desktop and when I preview the tool path for the grooves cut with the .5 core box it shows to only be cutting the grooves on the right side of the vertical center line. Any ideas how to correct this.
What would be a recommendation for entry level CNC machine that could complete this project?
Thank you for sharing this design. I will be making trivets for my wife. This design I will make on my router table with the Incra fence.