- 2x
- 1.75x
- 1.5x
- 1.25x
- 1x, selected
- 0.75x
- 0.5x
- Chapters
- descriptions off, selected
- captions settings, opens captions settings dialog
- captions off, selected
This is a modal window.
Beginning of dialog window. Escape will cancel and close the window.
End of dialog window.
This is a modal window. This modal can be closed by pressing the Escape key or activating the close button.
Table Saw Essentials
$39.99
$10.00
At a Glance:
- In-depth Instruction; over 97 mins
- On-demand video access anytime
- Bonus downloadable PDF resources
- Access to class Q&A
Description
Description
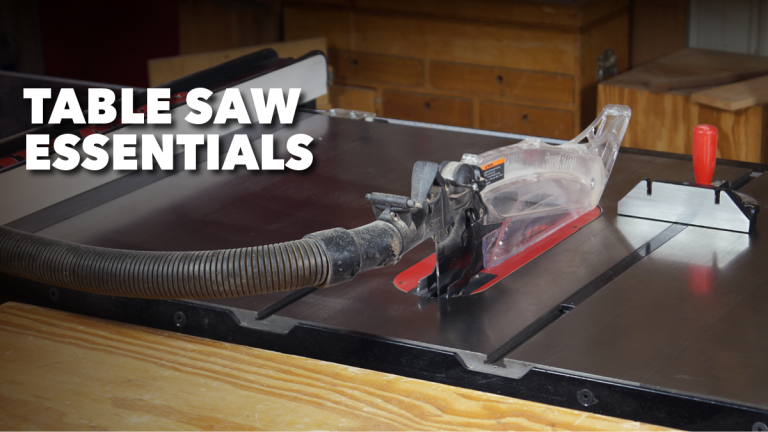
It’s hard to imagine a woodworking shop that doesn’t include a table saw. Whether you’re rough cutting stock to size, taking it to its final dimensions, or doing the joinery required for your woodworking project, a table saw has you covered. This instructional video class provides you with must-have information for setting up and safely using your table saw.
STARTING OUT
Your table saw won’t be much good to you if you don’t have it set up correctly. You’ve got to check the alignment of the blade to the miter gauge slot and the rip fence, and make sure the saw is cutting at 90-degrees. We’ll show you high- and low-tech methods, so you can choose the approach that works best for you.
It’s important to use the right tool for the job, and this is very true of table saw blades. Alternate top bevel, triple chip grind, flat top grind, hook angle, tooth count….what does it all mean? What differentiates a rip blade from a crosscut blade? You’ll learn exactly what you need to know to make certain you’re always putting the right blade on the saw.
SAFETY
Ripping, crosscutting, or cutting dadoes, you need to make sure you’re safe. This class provides you with safety rules for the table saw, and shows you where to stand, how to position your hands, and how to stay out of harm’s way.
TECHNIQUES
With the saw properly set up and safety techniques at your fingertips, you’re ready to get to work. We’ll teach you how to rip and crosscut, set up a stackable dado head, cut rabbets, and even how to cut non-ferrous metal; essential techniques for getting the most out of your saw.
In addition to the detailed video instruction you’ll receive, this online class provides you with some downloadable resources and helpful information to print and keep, including: A detailed Class Guide you can follow and use as a reminder for the key points of the class instruction; and a resources document that will help you find the products and elements you’ll see in the class.
NOTE: This Class video instruction is also available for purchase in DVD form. If you prefer to own a physical copy, you can purchase the Class DVD here.
Class Sessions
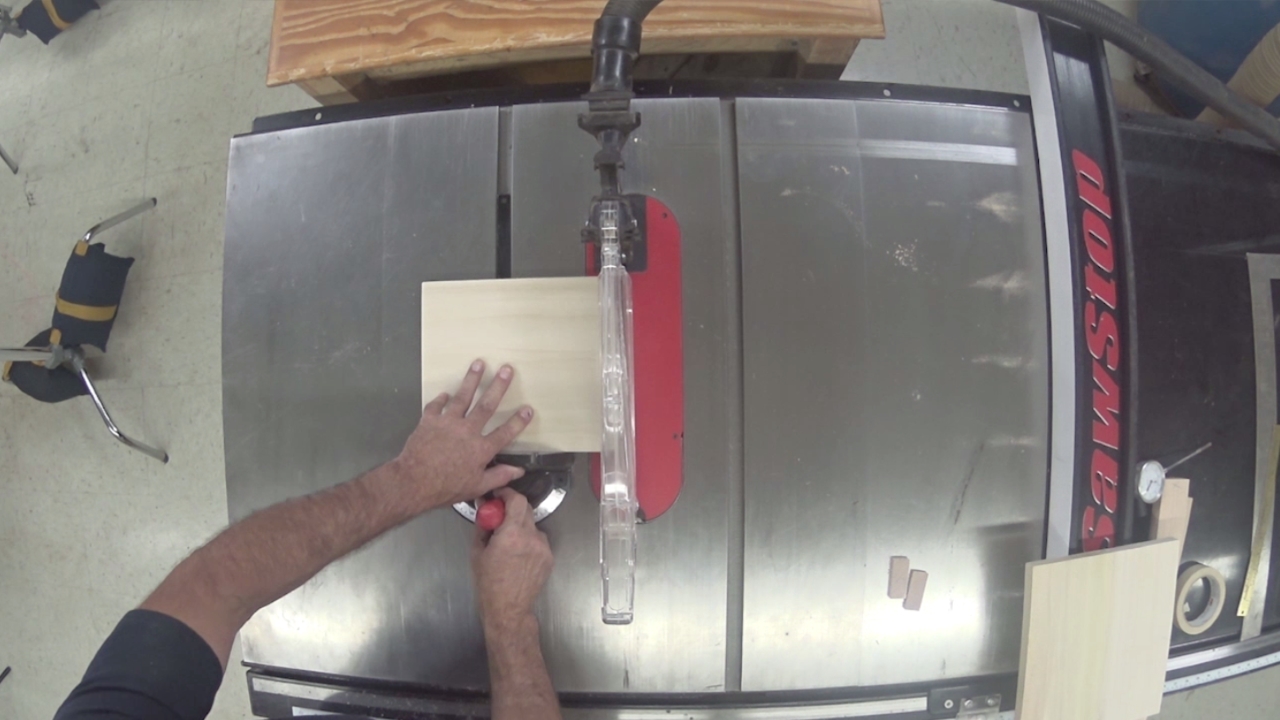
Before making any cuts, let’s make certain your table saw can do everything you ask it to do. We’ll look at:
• Parallelism between the blade and fence
• Getting perfectly square cuts
• Calibrating your rip fence and blade height
• Choosing the correct blade
• Ensuring your blades are sharp, clean, and ready to cut
• Taking care of your saw
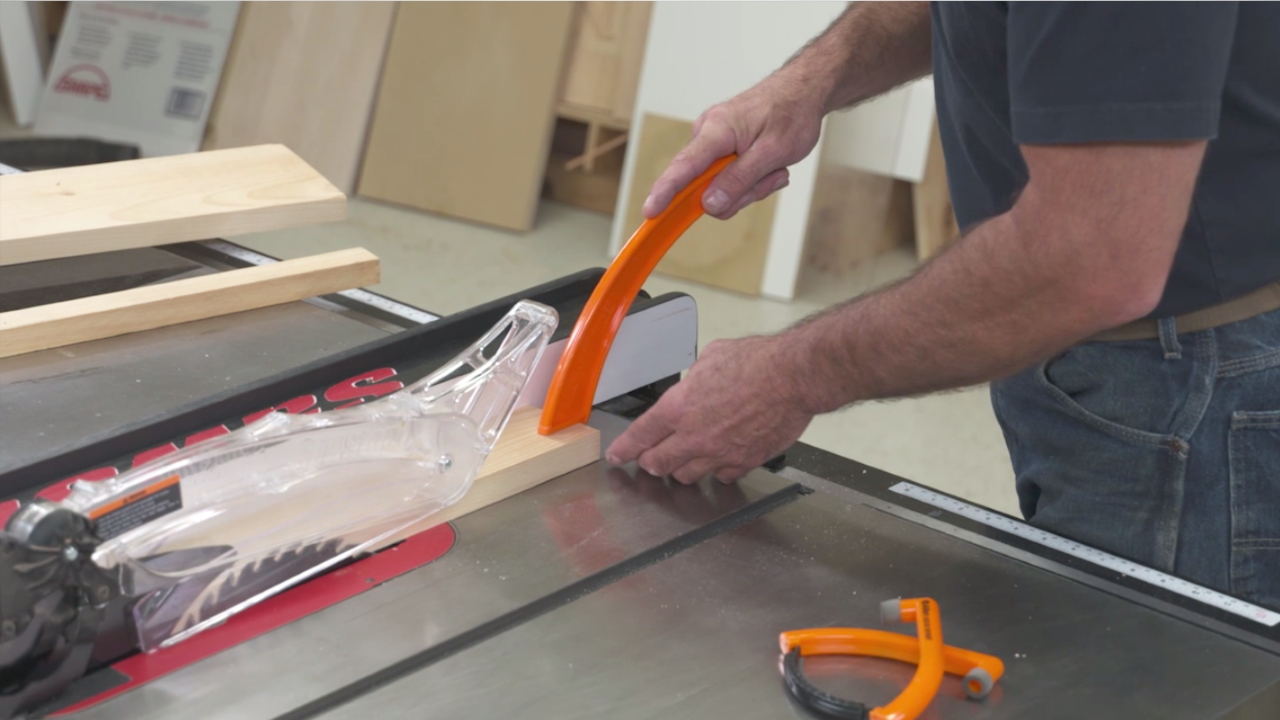
Starting with safety, we’ll take you through how to rip boards, including when to use a push stick and how to position your hands and body. Then we’ll move on to crosscutting techniques, including a great tip for easily crosscutting wide material.
Rabbets require a sacrificial fence, and resawing requires the use of a featherboard. This session shows you how to make your own sacrificial fence and how to use it, and how to safely position and use a featherboard.
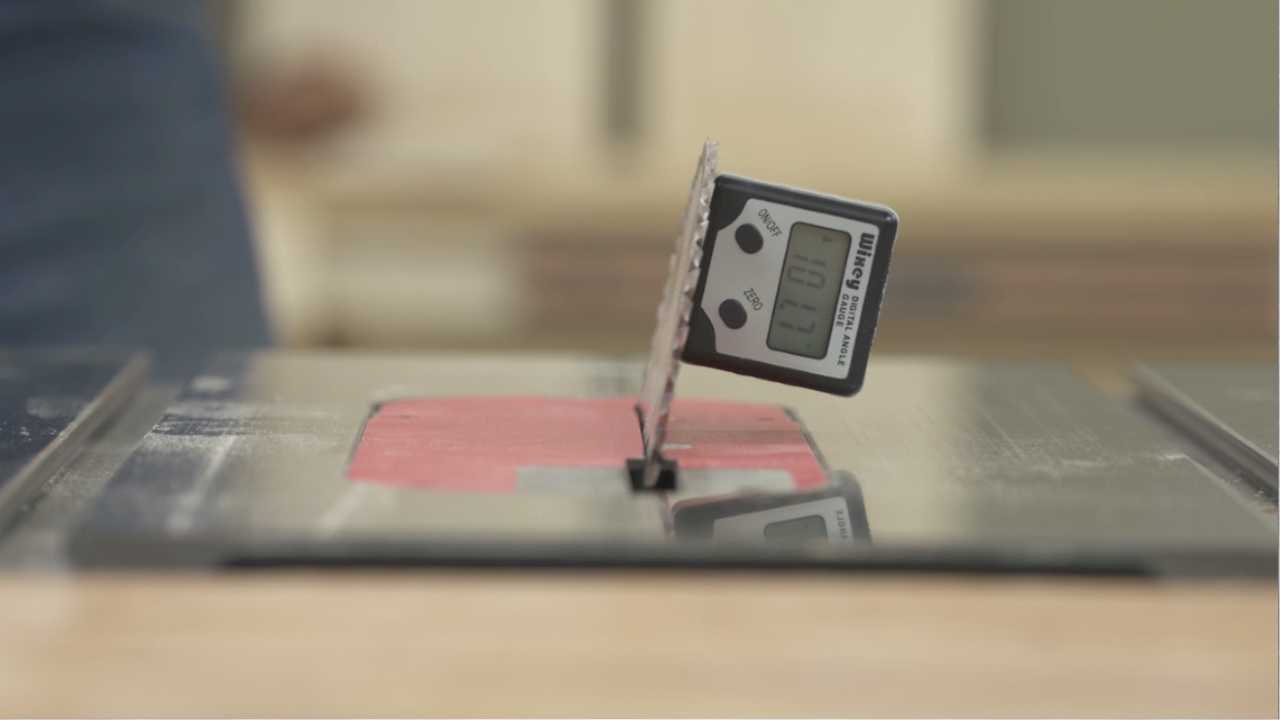
Many woodworking projects call for exceptionally thin pieces, such as edge banding and splines. We’ve got a great approach that allows you to cut these small parts safely, with your guard in place. We’ll also show you to set perfect angles on your saw blade and miter gauge.
You may not know this, but the table saw provides a great way to cut thin walled non-ferrous metals. This session teaches you about the perfect blade for this work, and how to safely make the cuts.
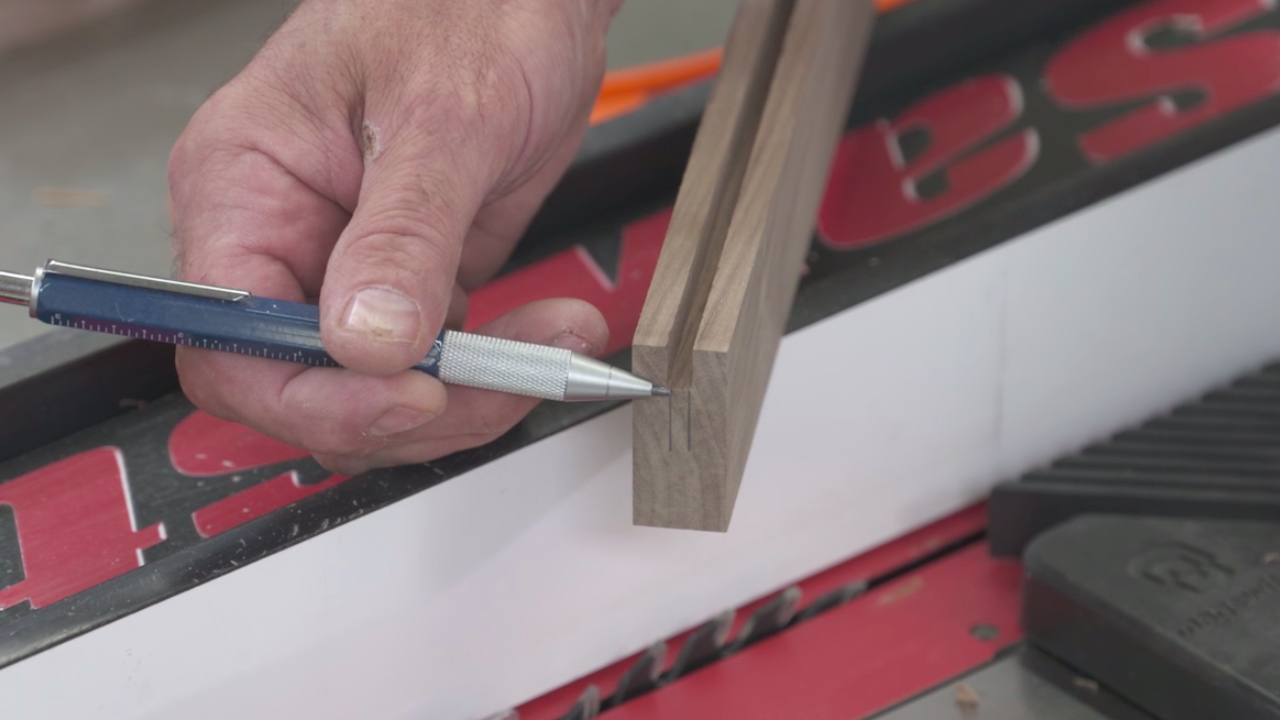
Stackable dado heads are a must-have if you plan on doing joinery on your table saw. This session shows you how to stack the dado head so you don’t chip a tooth, a great trick for setting the height of the dado head, and how to safely cut dadoes.
Making a wide cut doesn’t always mean using a dado head. With proper set up, you can use a standard rip blade to cut custom-sized grooves and rabbets.
A table saw is often the center piece of a shop. Refining and practicing the techniques you’ll learn in this Class will make you a better woodworker, and help you create more and better pieces.
Your Instructor
George Vondriska
George Vondriska is the Editor in Chief here at Woodworkers Guild of America and has been sharing his woodworking expertise since 1986. Apart from conducting classes at his renowned Vondriska Woodworks School, George's passion for teaching has taken him to woodworking shows nationwide and has led him to teach woodworking for prestigious organizations such as Peace Corps/Swaziland, Andersen Window, Northwest Airlines, and the Pentagon. With a wealth of published magazine articles under his belt, encompassing tool reviews and shop improvement projects, George's knowledge and skills continue to inspire woodworkers every day. To discover more about him and his school, visit georgevondriska.com.

Bonus Material
Printable Class Guide
Download and print this PDF Guide to complement your Class. It’ll be a good reminder for many Table Saw tips.
Class Resources PDF
See this list of tools, suppliers and reference information related to this Class.
Video: Intro to Table Saws
Download this short video to help overcome any hesitation in working with a Table Saw.
Video: Meet Your Instructor
Download this short video to meet your instructor George Vondriska.
Bonus Materials available for download after purchase.