Select from these router bit types for your next project.
 A router is one of the most versatile tools you can have in your shop, and there are MANY different router bits available. Here’s a guide to the seven bits I find most useful, and what I typically use them for.
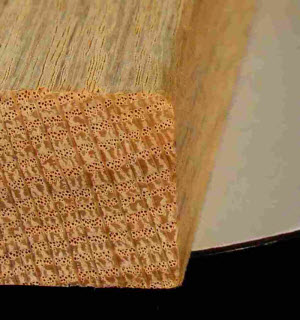
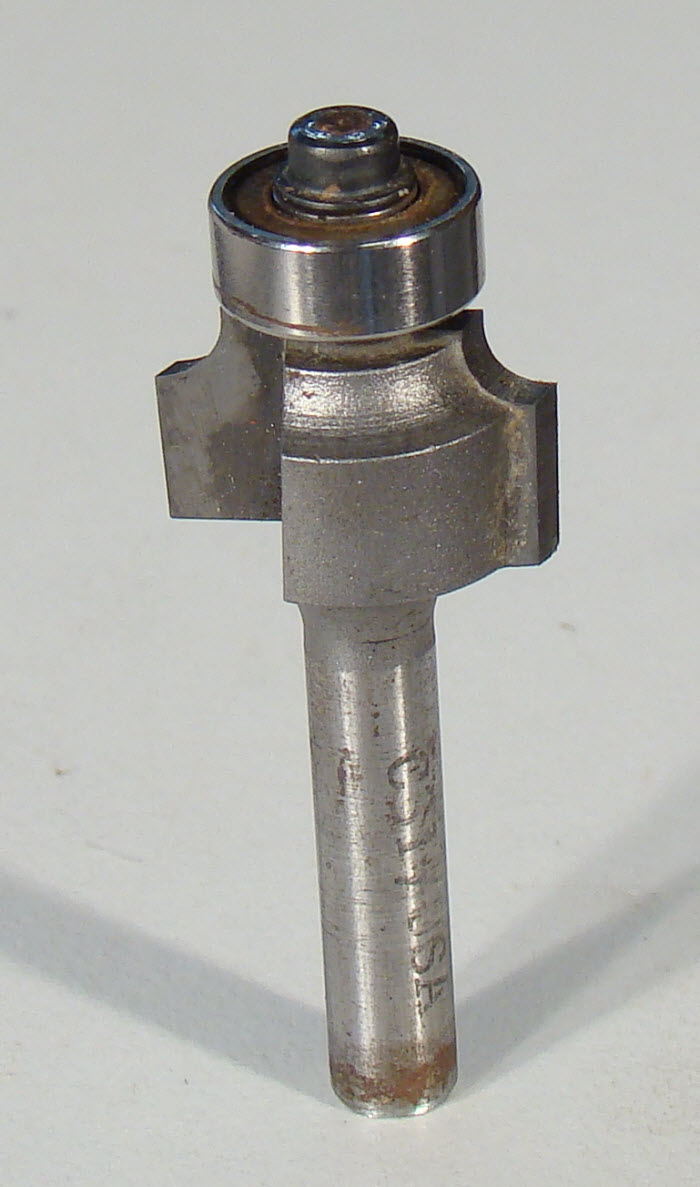 1/8″ Round Over Bit. I use this bit a lot to simply take the sharp corners off of projects. The amount of round over it provides is very subtle, looking almost like you gently hand-sanded the corners, but with a more consistent look than you’d get from hand sanding. If you make toys, this is a bit you’ve GOT to have to ease sharp corners for little hands.

 When possible I get my router bits with a 1/2″ shank. But I prefer this bit to have a 1/4″ shank because I commonly use it in my trim router, which is equipped with a 1/4″ collet, only.
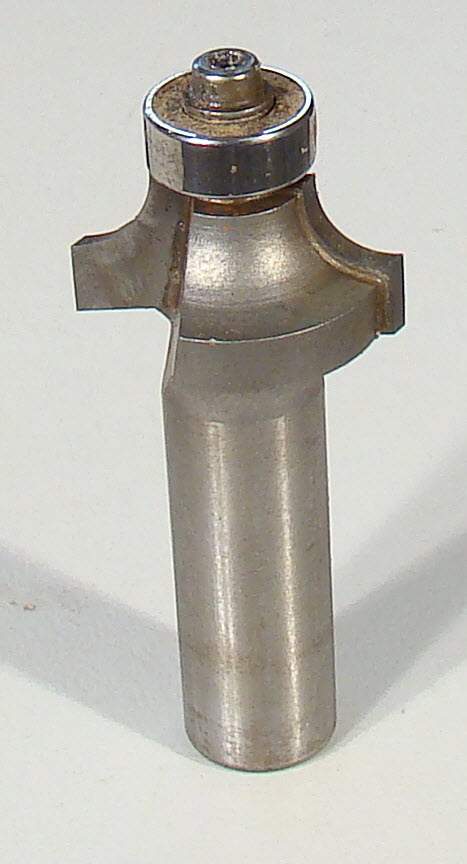 1/4″ Round Over Bit. This bit, naturally, removes more material than its cousin, the 1/8″ round over.
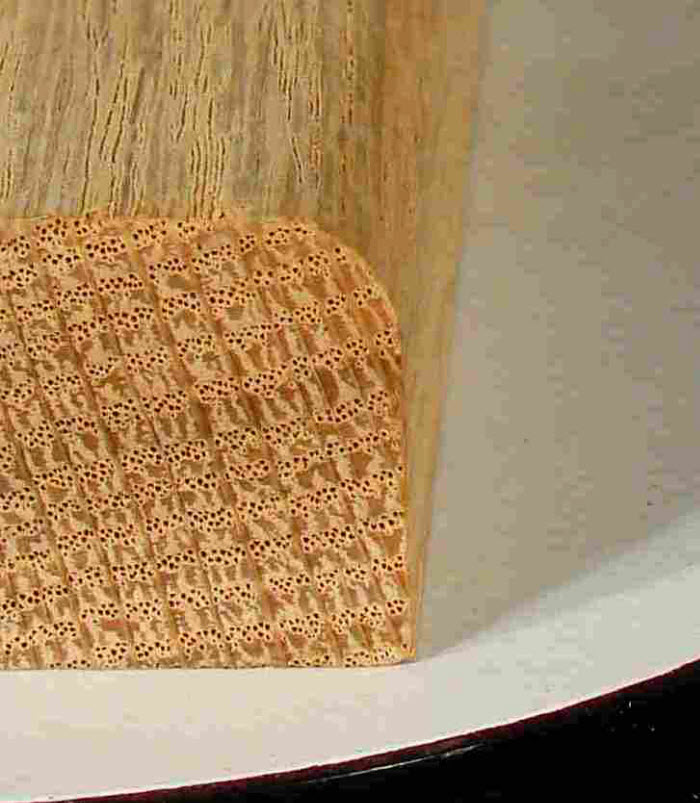 This is the most common profile I apply to edges. With careful setting of the bit’s depth you get a perfect round over.
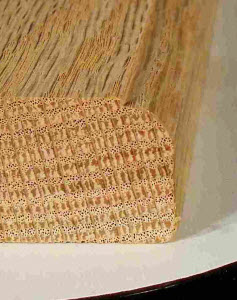 Set the bit a little deeper and you create a shoulder, also an attractive edge profile.
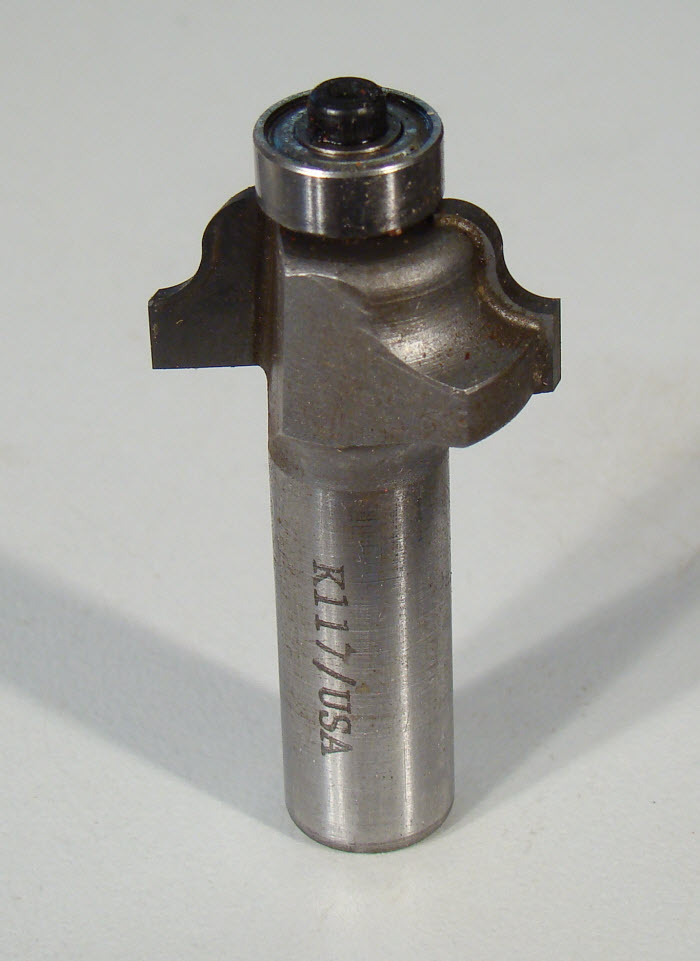 5/32″ Roman Ogee Bit. Now we’re getting into some cool looking profiling.
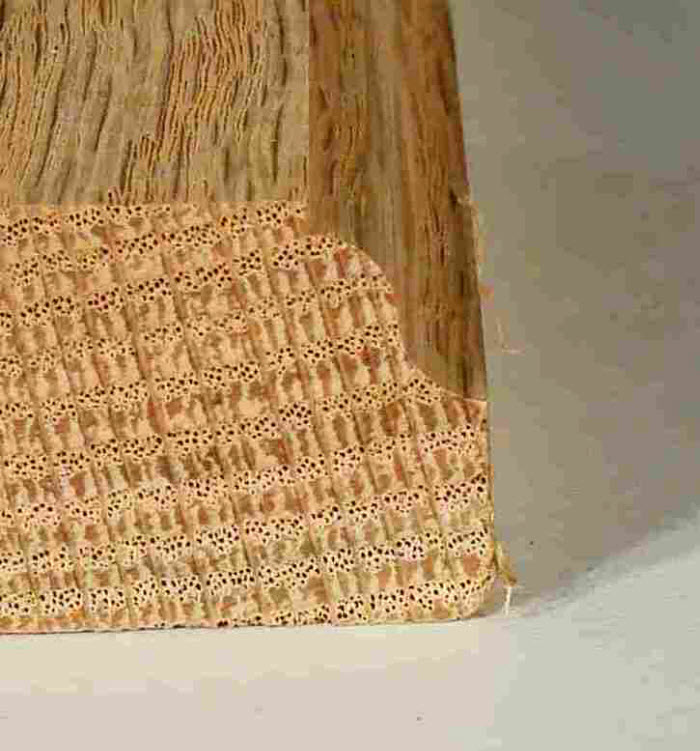 At its full depth you get an S-curve. Set a little shallower and you get a small cove. The full S-curve is a great profile for a table edge.
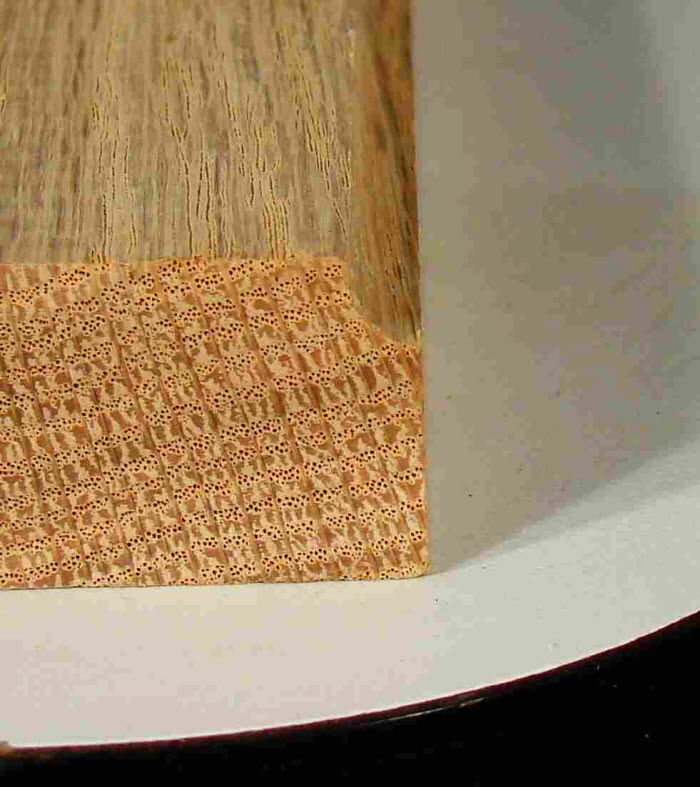 There are a million great looking edge profiles out there, but this one is very commonly used.
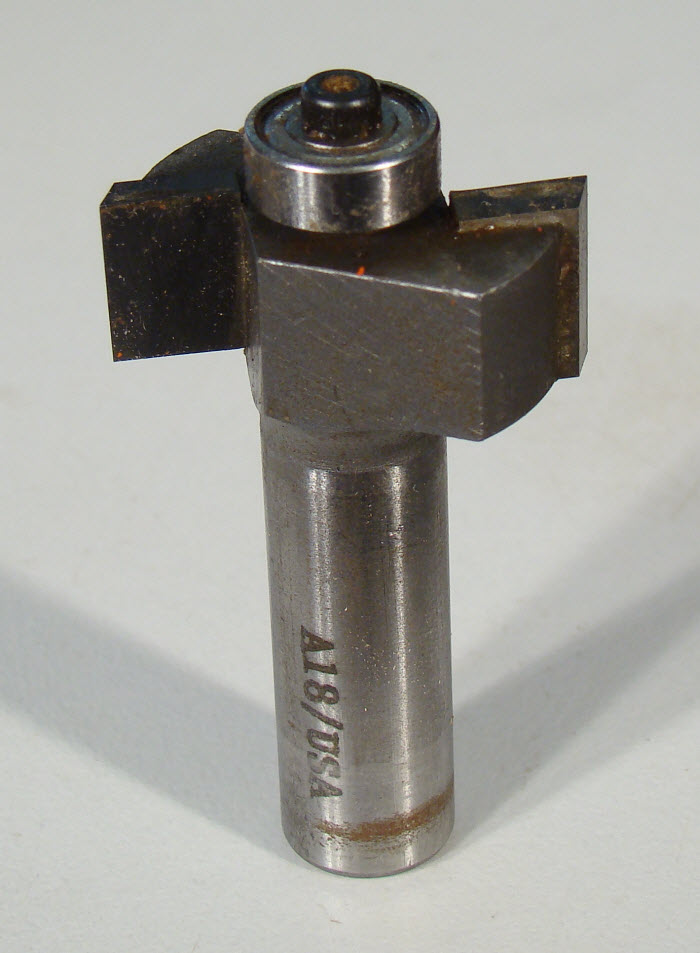 Although I do plenty of rabbets on the table saw, you can’t beat the speed of chucking up a rabbet bit and doing this operation on the router table, or with a hand held router.
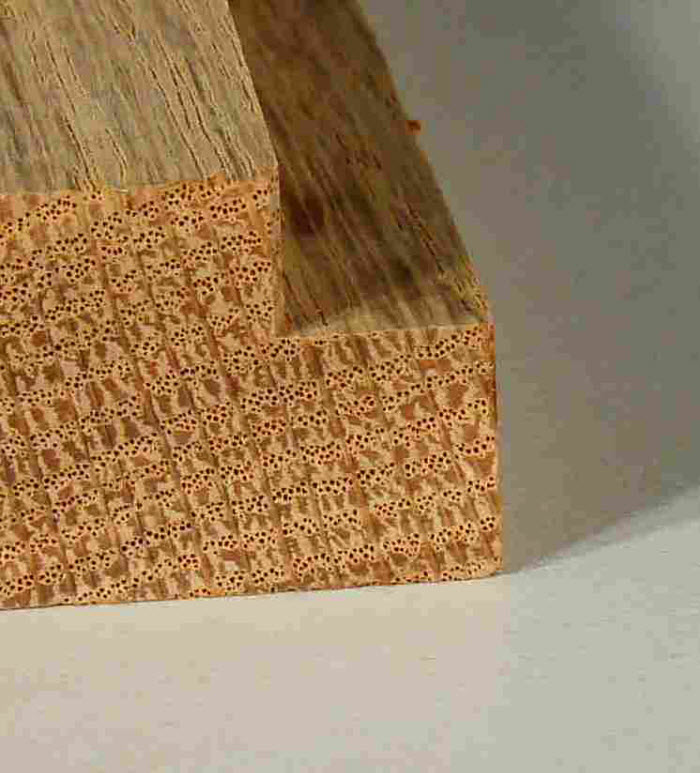 On large cases, which are too big to handle on the table saw, this bit provides the easiest way to cut rabbets for the cabinet back.
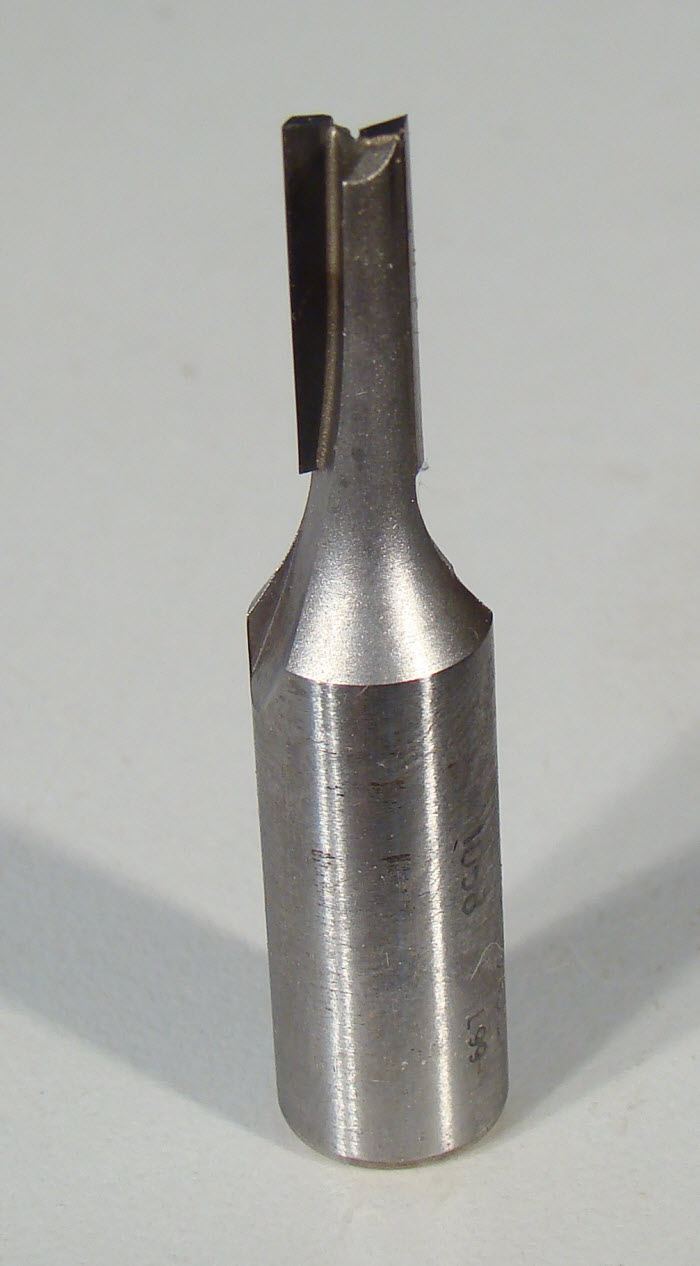 1/4″ Straight Bit. Set this bit up in a plunge router and you can make mortises.
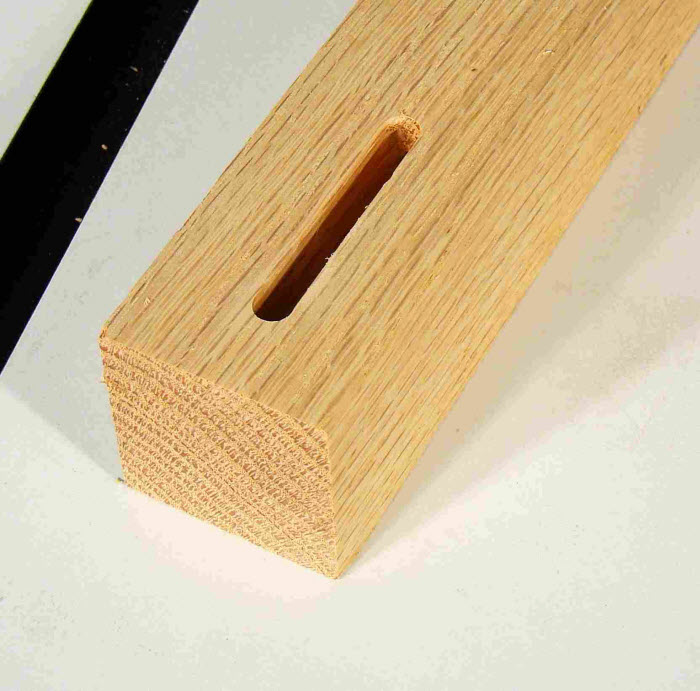 Use it on the router table to make grooves for drawer or box bottoms, or to make grooves in rails and stiles for a raised panel.
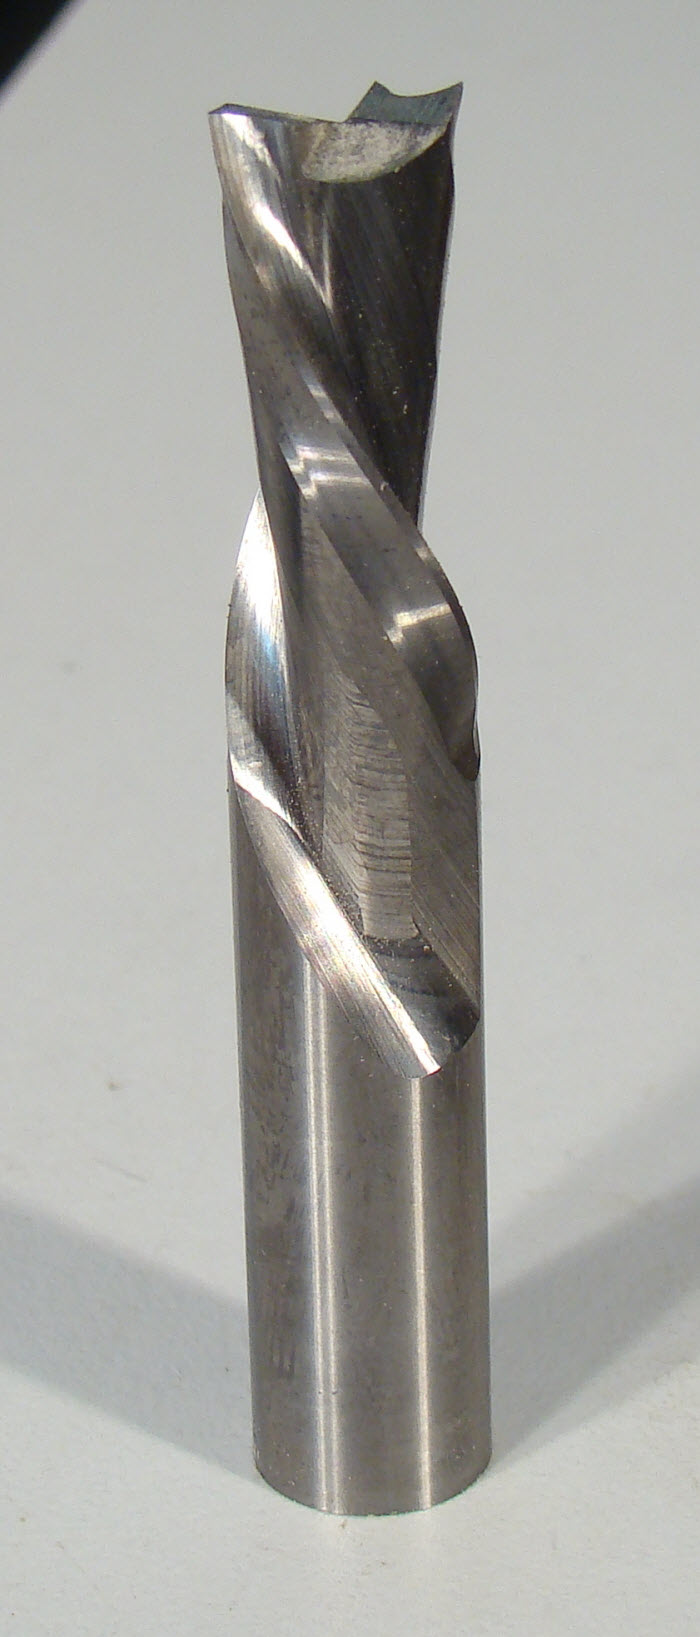 1/2″ Down Cut Spiral. My number one use for this bit is turning my router table into a jointer. It allows me to joint man-made materials, something you shouldn’t do on a conventional jointer unless you have carbide cutters. The spiral provides an excellent surface finish on the edge. I also use it to cut grooves and dadoes in plywood. Since it’s a down cut spiral it’s much less likely to chip veneer.
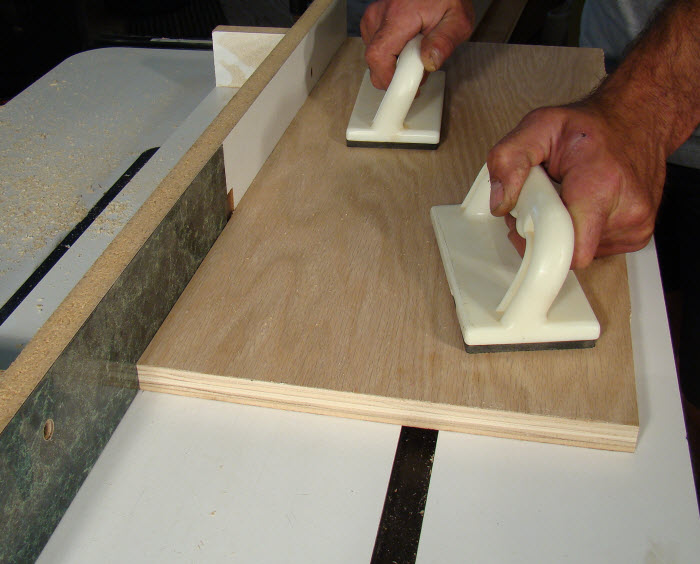 For more on using your router table as a jointer see this article.
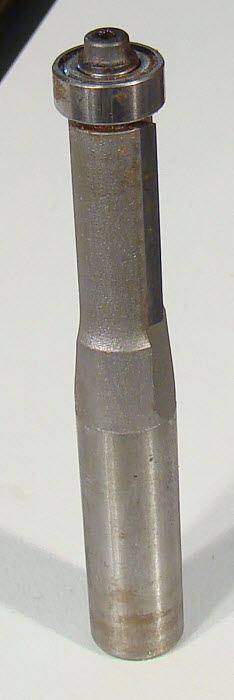 1/2″ Flush Trim bit. On a flush trim bit the bearing and cutter diameter are exactly the same. So the bearing can ride on, or trace, one surface, and the cutter will remove anything that projects past that surface. I use it when I need to produce identical parts, like this Adirondack chair arm.
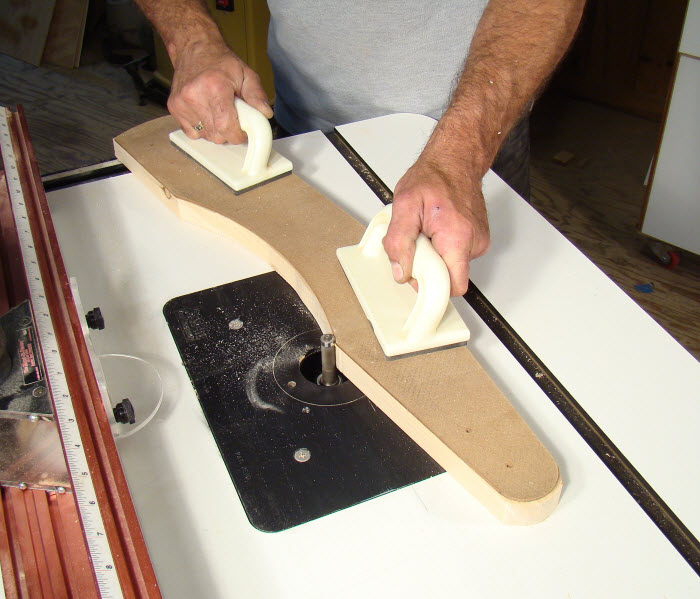 The bearing is riding on the pattern and the cutter is removing the 1/16″ or so that’s sticking out beyond the pattern. I also use it on face frames. Leave the face frame slightly larger than the case and, with the bit in a hand held router, trim the frame back so it’s perfect.
You may have thought my shop was a two-bit operation, but you can see it’s at least a seven-bit shop. That’s my list. Now I want to see yours. Let me know what your most-used bits are.
Photos By Author
Sources:
1/8″ Round Over Bit #2000C
1/4″ Round Over Bit#2006
5/32″ Roman Ogee Bit #2202
1/4″ Straight Bit #1058
1/2″ Down Cut Spiral Bit #RD5125
3/8″ Rabbet Bit #1901
1/2″ Flush Trim Bit #2405
Whiteside Router Bits www.whitesiderouterbits.com
(800) 225-3982
Related Videos:
Trimming Edge Banding on the Router Table

Just getting into woodworking
Hey George. I don't recognise your down cut sprial but use all the others. Also have round-nose bits in a range of sizes for cutting tracks to roll toy cars or marbles, which my grandkids love. Chamfer bit is another common one and I bought a more specialised bit - combination round nose and cove with a step between - used it to make a picture frame.
I lost my 4 routers in a house fire in March. I can use all the help I can get when I buy my new ones. Gene
George, add a dish carving bit (doubles to machine hidden drawer pulls on the router table) and a chamfer bit and you have my list. I too, like 1/2" shanks -- less vibration.
I'm currently installing baseboard on a drywall and ceramic tile. Since there's a lot of grout making the angle between the wall and the floor not a clean 90 degrees, I find a chamfering bit indispensable.
Wow! I just want to say thank you. I have wanted an easy to follow tutorial. This presentation fit the bill perfectly.
very important tool in my shop
I am enjoying watching your presention's.Keep up your great work.
Looking forward to my copy of "How to Buy a Router".
Your Comment here...iam.carpenter