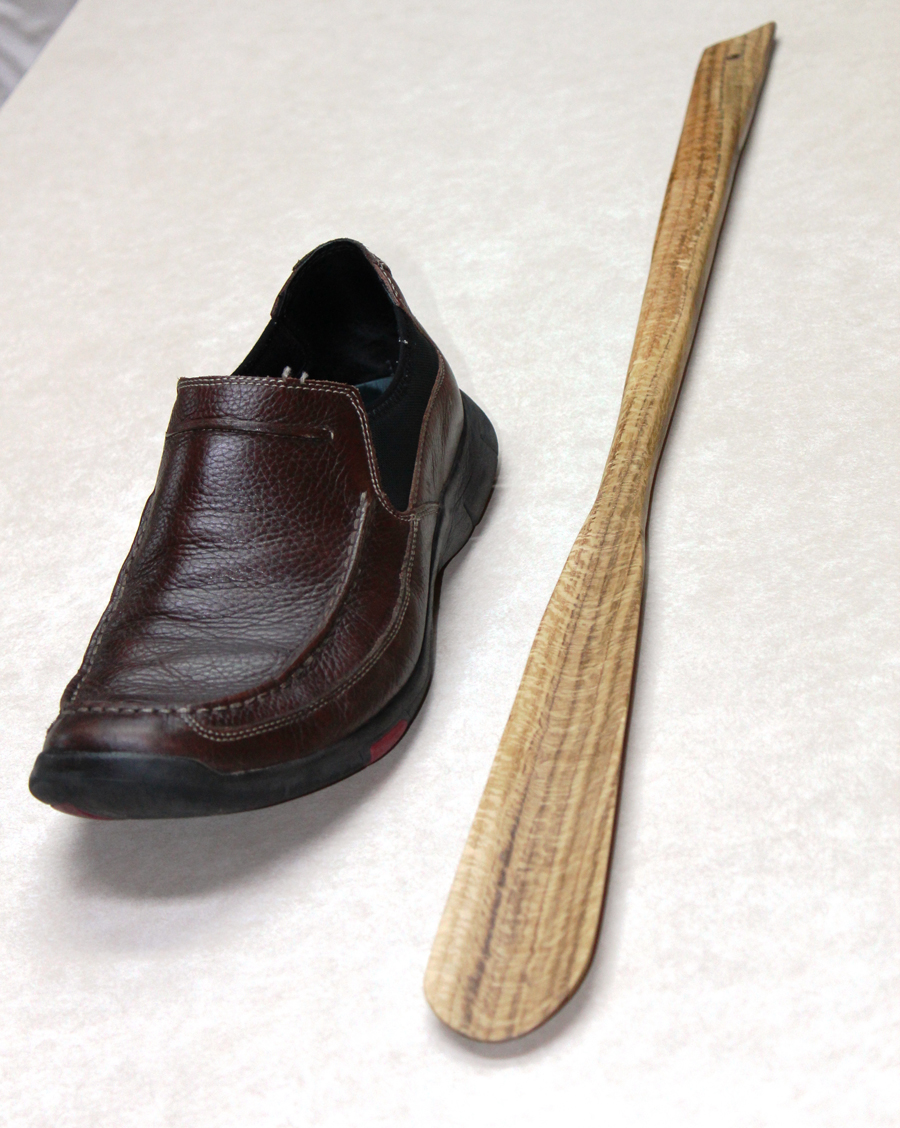
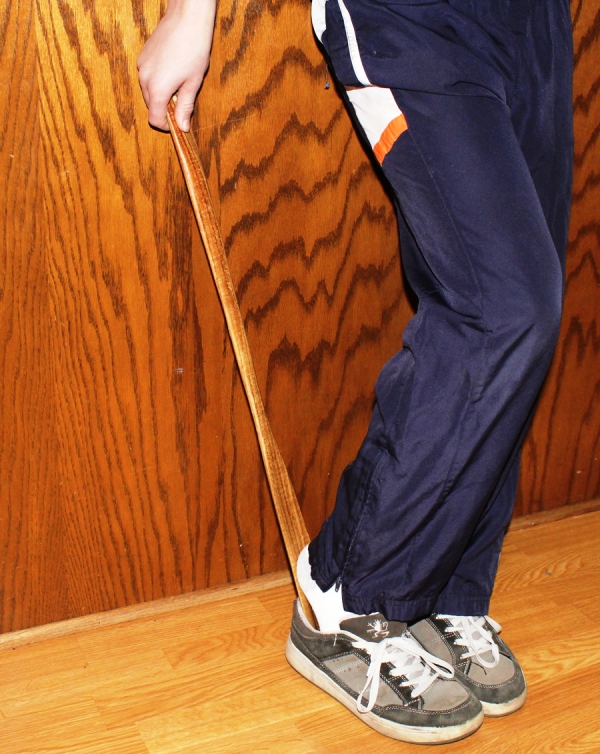
 With a family history of back problems, I am always on the lookout for items that can help to minimize wear and tear on my lumbar. A couple years back a friend told me about the long handled shoe horns that commonly hang next to the doors of hotel rooms in India, and I was intrigued so my father and I experimented on different ways to build them. We ultimately settled on the simple approach described here using a belt sander and a band saw. My father now sells these in his woodworking business and he gets rave reviews from customers as they enjoy this simple luxury. The process of making these is somewhat of a sculpting affair, rather than a matter of mathematic precision, which makes it a fun project. And believe me I am no sculptor so if I can make them, you can as well!

Pick a block of hardwood.
This is a great project for scrap wood because you only need one small board. I generally make them about 20” long, but the one I have crafted here is about 30” long simply because that was the size scrap that I had handy and it was a nice piece of quarter sawn white oak that I had been saving for a special project. Choose a relatively hard species because the tip will get pretty thin and a softer species will be prone to cracking. I have made these out of maple, walnut, cherry and oak and these all work great. When I make them I just eyeball everything, but to get you in the ballpark you will want to start with a block of wood that is a minimum of 15” long by 3” wide by ¾” thick.
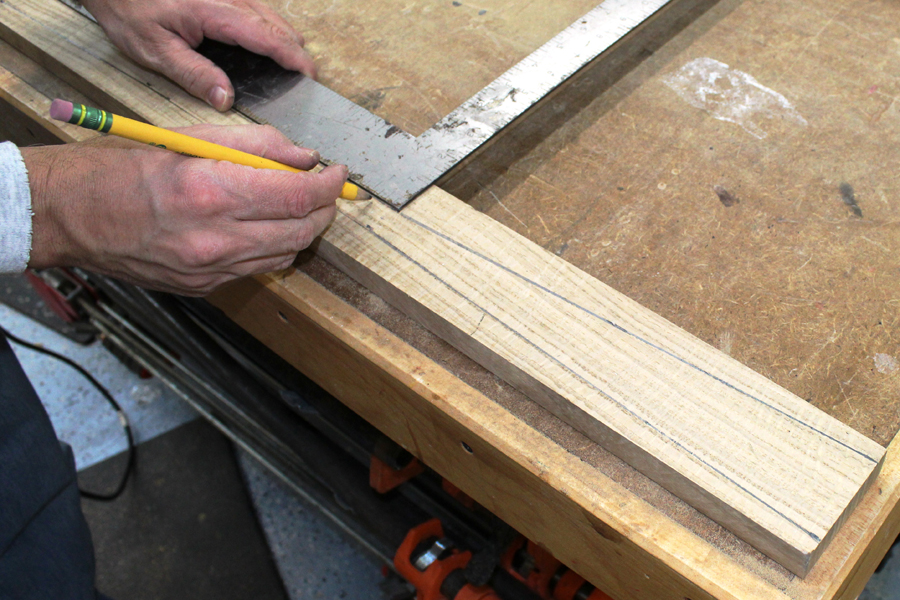
Sketch a shape.
The flute that will be inserted into the shoe should be at least 6-8” long to allow it to gently taper to a thin tip that can be easily inserted into the shoe. I typically make this at least 10” or so. Other than that, the shape itself is not critical as long as you make the sides as symmetric as possible.
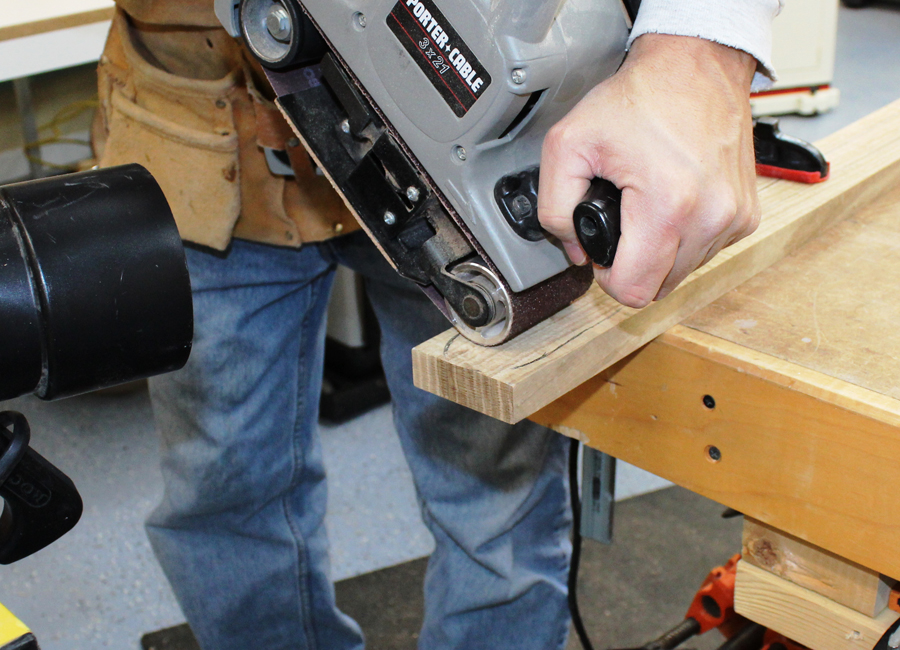
Sand out a flute.
Using a coarse grit (36-60 grit or so works well) on a belt sander rough out the flute. With 36 grit paper I can perform this task in only a couple minutes. Work slowly using the nose of the belt sander, moving it gradually across the length and gently rocking it back and forth to make a smooth flute. Taper it to a thickness of approximately 1/8” at the tip of the shoe horn. You will refine it further later, so don’t try to go too thin in this step. Once the desired thickness is reached, sand with progressively finer grits until most of the deep sanding grooves are gone. Take it to about 120-150 grit in this step.
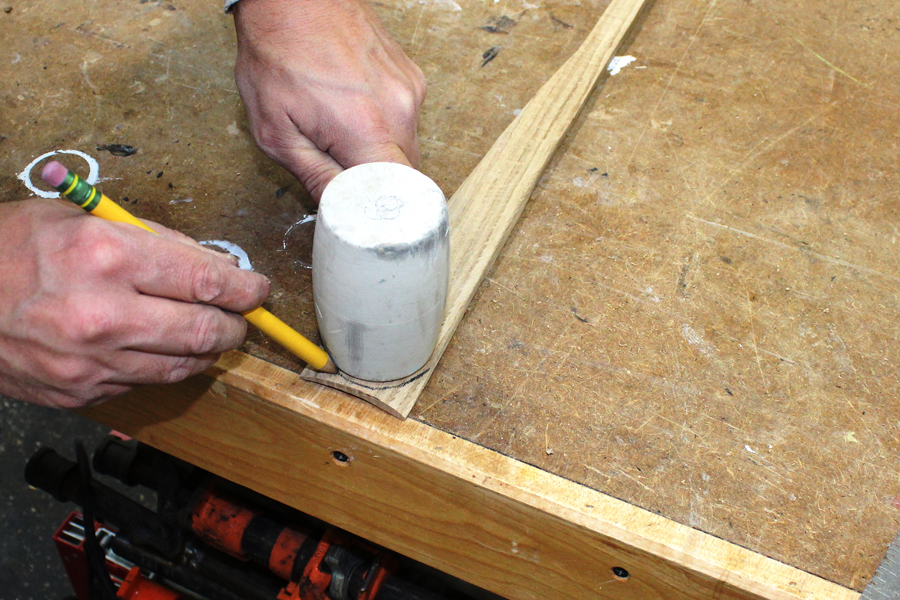
Draw a rounded tip.
Use a round object to trace a half circle on the tip of the shoe horn, which makes it easier to slip into the shoe.
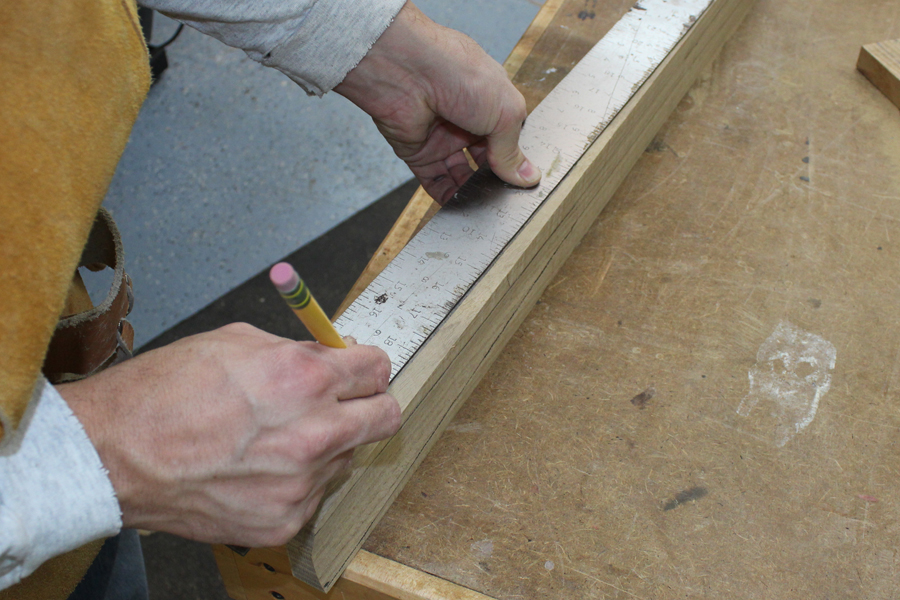
Draw the side profile.
Draw lines that taper toward the tip of the shoe horn, and then taper the handle toward the back, making it easier to control when using it because it keeps the handle tipped slightly away from the body.
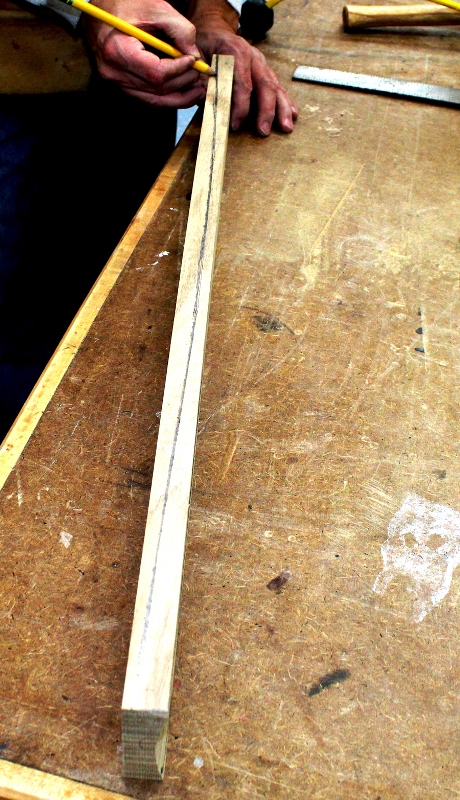
Smooth transitions on line.
If you used a straight edge to draw a curved profile like I did, smooth the transitions by hand.
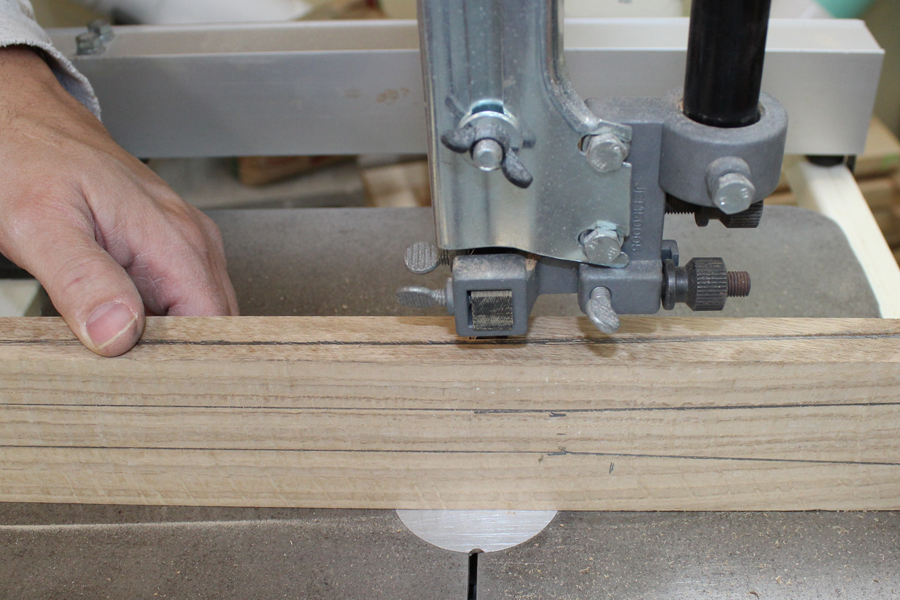
Cut the side profile first.
Leave about 1/16” of material outside the line so that you can sand to the line later.
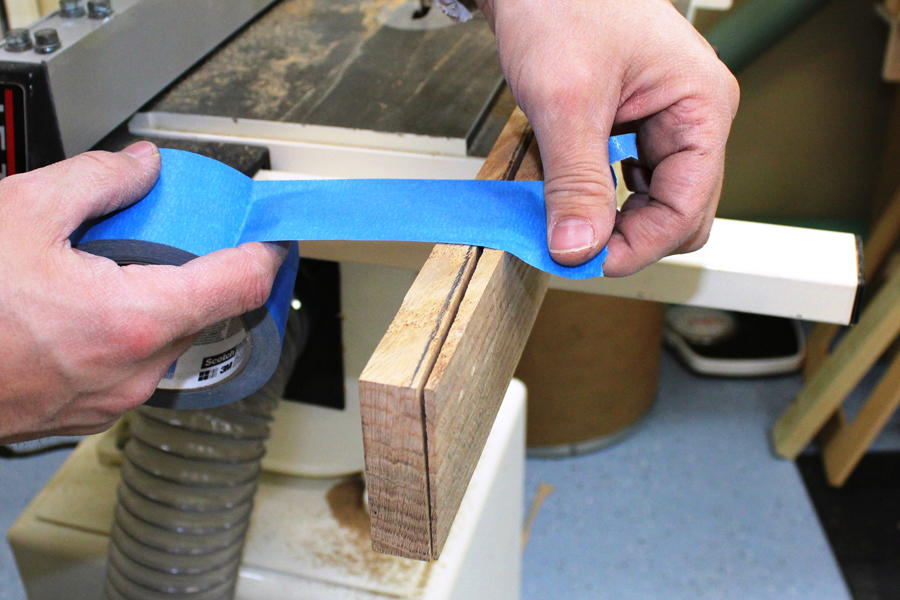
Put it back together temporarily.
Tape the off-cut piece back onto the shoe horn to provide a stable surface for cutting the top profile.
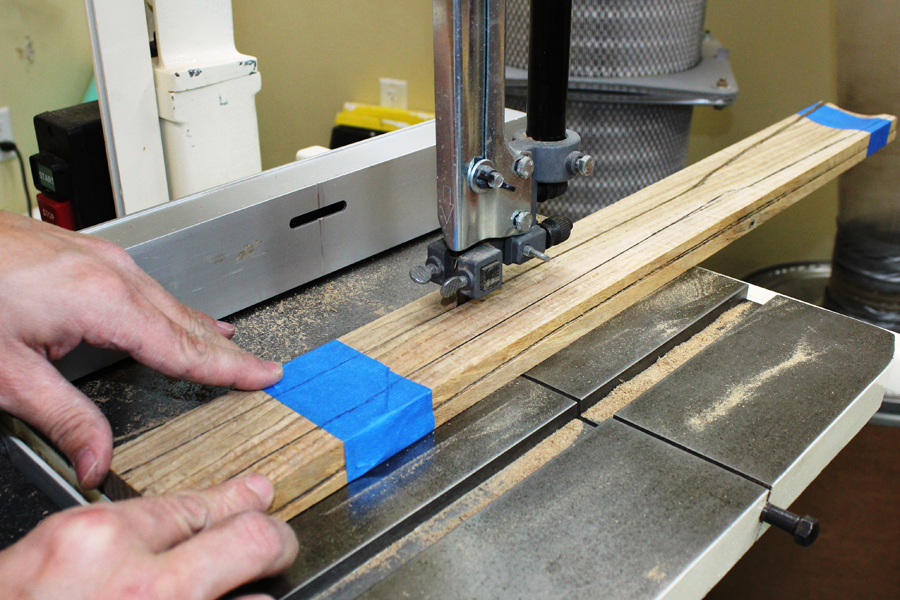
Cut the top profile on a band saw.
Cut around the perimeter, again leaving a small amount of materials outside the line.
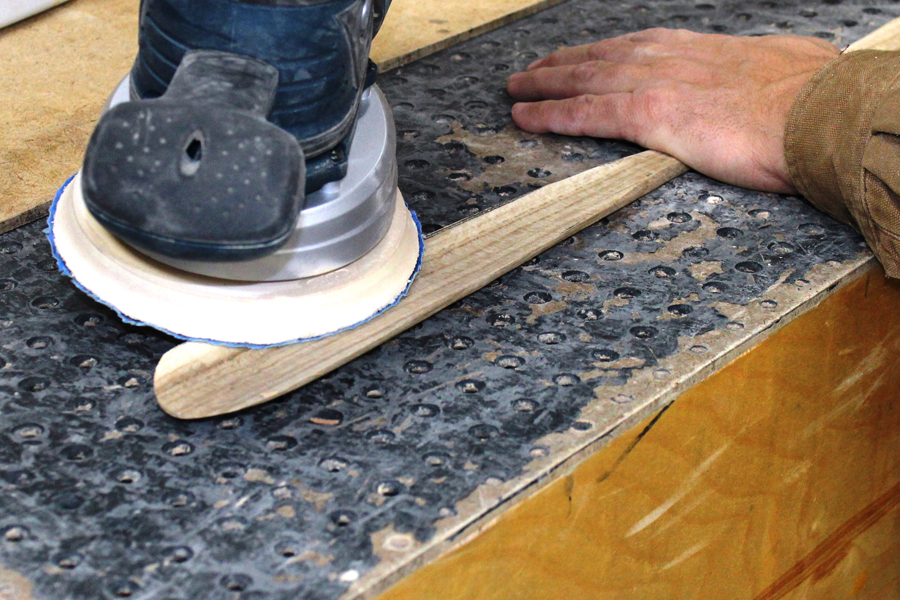
Sand the rest of the project.
Use sand paper to taper the tip to a gentle point and smooth the rounded surface that was cut on the band saw. I sand everything with a random orbital sander through 150 grit, and then hand sand through 400 which is probably overkill but it only takes an extra minute or so and I like the results.
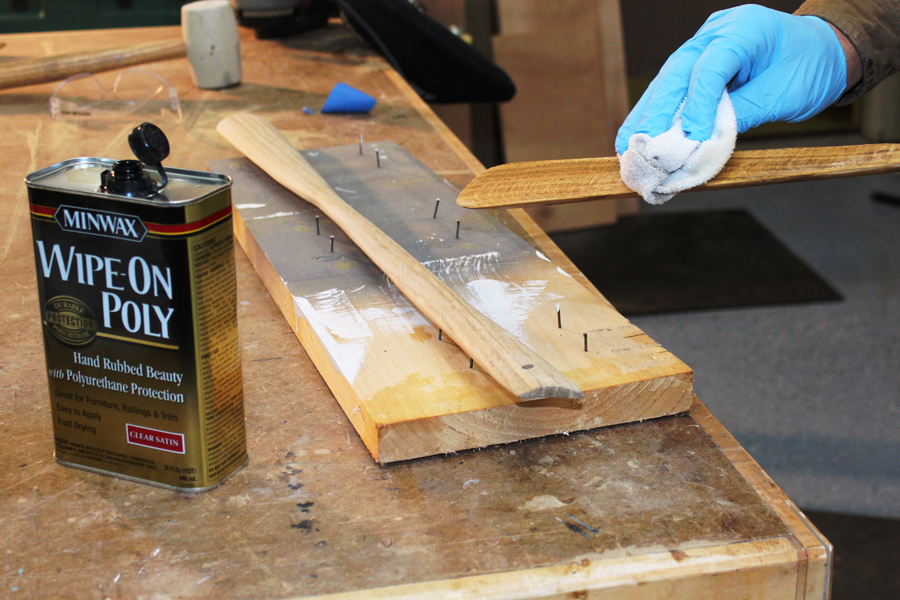
Apply finish.
I like to use a good abrasive resistant surface finish like polyurethane on these, as they will take a lot of abuse over the years.

Nice method. I will try it. Thanks
i like that and will try both soon. thank you.
Works great.
This is a great idea for my 1st project since becoming a member, plus it will be an enormous help after my knee replacement in a couple months. I will use Western Australian jarrah for the timber.
Great for my very overweight friends & elderly relatives.
I get asked at my shows to make these…glad I found the article. Now there's no excuse not to make one or two or three…:)
Great idea, good for the elderly particularly in Care Facilities
That is such a great idea!