
Powermatic Tenon Jig: Product Review
George VondriskaThe Powermatic TJ Tenoning Jig has a unique feature; you can use the cutting tool you cut the mortise with to set up the jig and dial in the resulting tenon. Seems like a great idea. Does it work? Let’s find out.
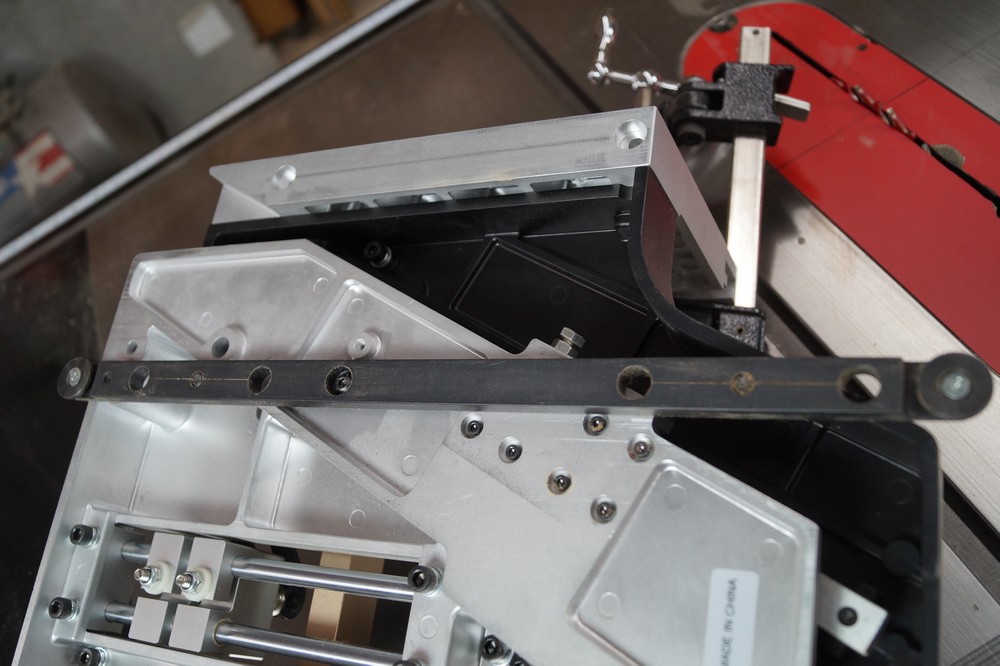
The guide bar is designed for 3/8” x 3/4″ slots. The fit can be fine-tuned, and access to do the fine tuning is done from above. I love that. Adjusting from above means the tenon jig can be in place on your saw and you can finesse the bar without removing, adjusting, testing, removing, adjusting, testing… You get the picture. The guide bar also allows adjustment (again, from above) to ensure the jig is parallel to the saw blade.
The guide bar can go in one of two positions; one if it’s 5” or more from the blade to the miter slot. The other if it’s less than 5” from the blade to the slot. That means the jig should work on full size and benchtop table saws.
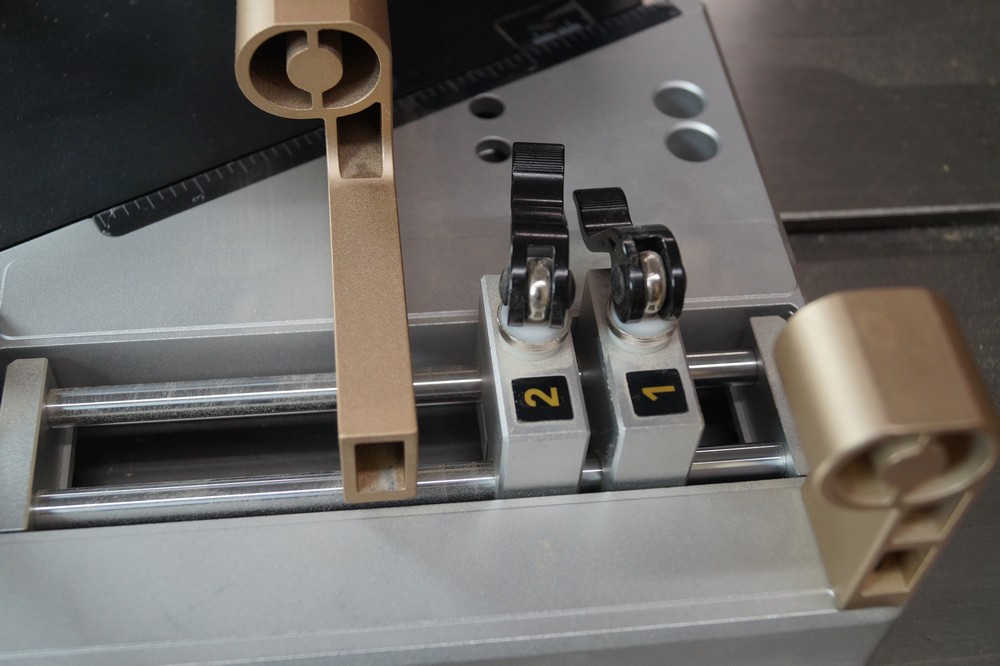
This is the unique feature of the Powermatic Tenon Jig. Sandwich the cutting tool between blocks #1 and 2, and the material the tenon will be cut into between block 2 and the fence, and you should be good to go on tenon size. The video above demonstrates this process. I was amazed by how well this feature worked. The first cut I made using this set up produced a perfectly fitting tenon. This is a great feature.
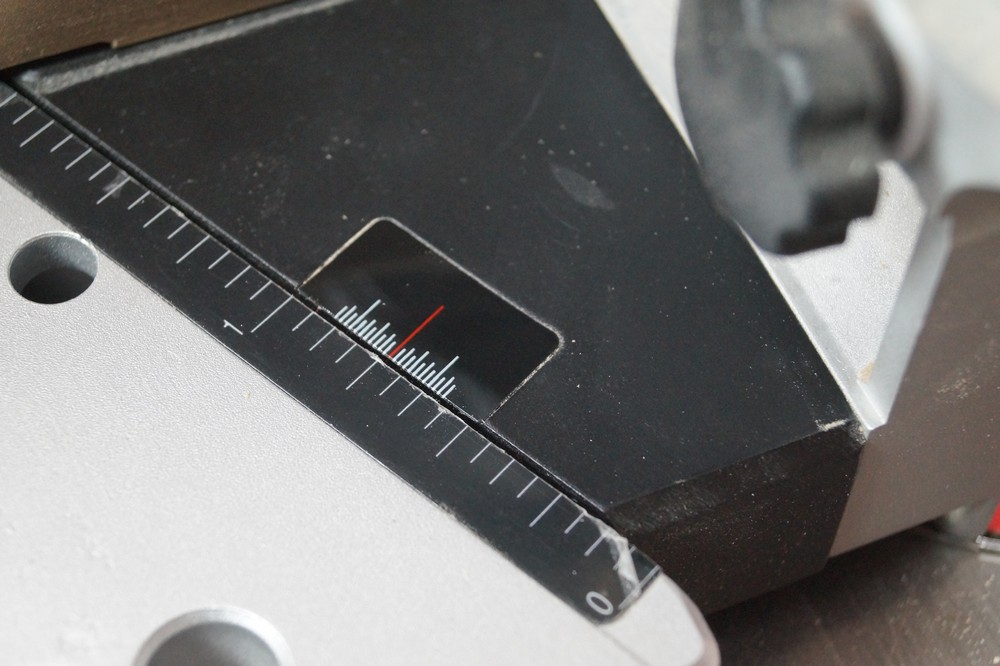
Fine tuning the size of the tenon is easy, and can be done using the micro adjust knob. This makes it very easy to finesse the tenon size. One full revolution of the micro adjust knob moves the fence about 1/64”, making it easy to dial in a perfectly fitted tenon.
The Vernier scale makes it very easy to track the changes you’re making using the micro adjust knob.
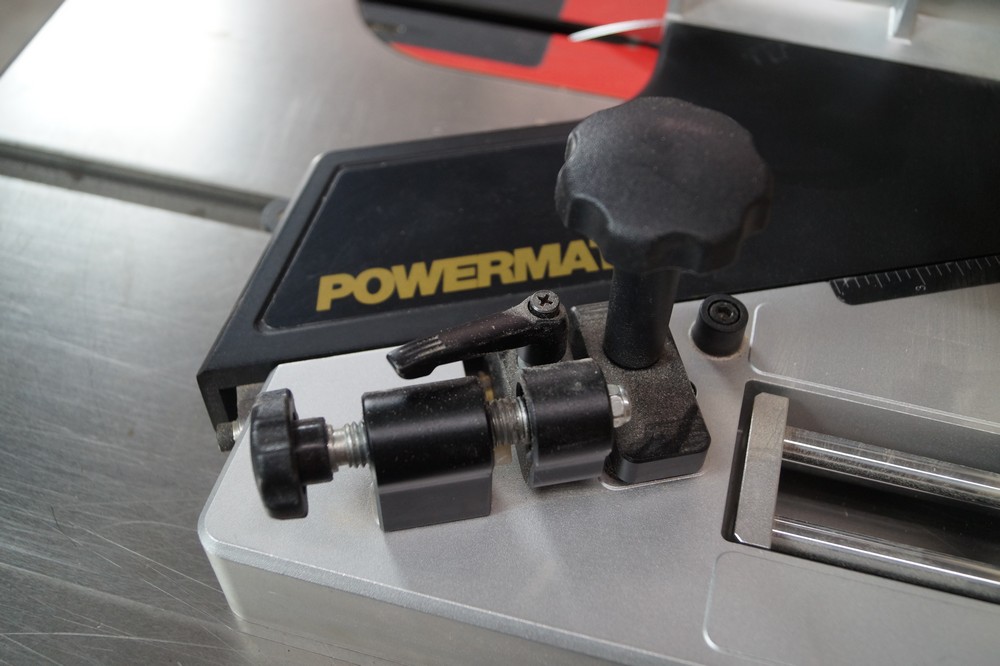
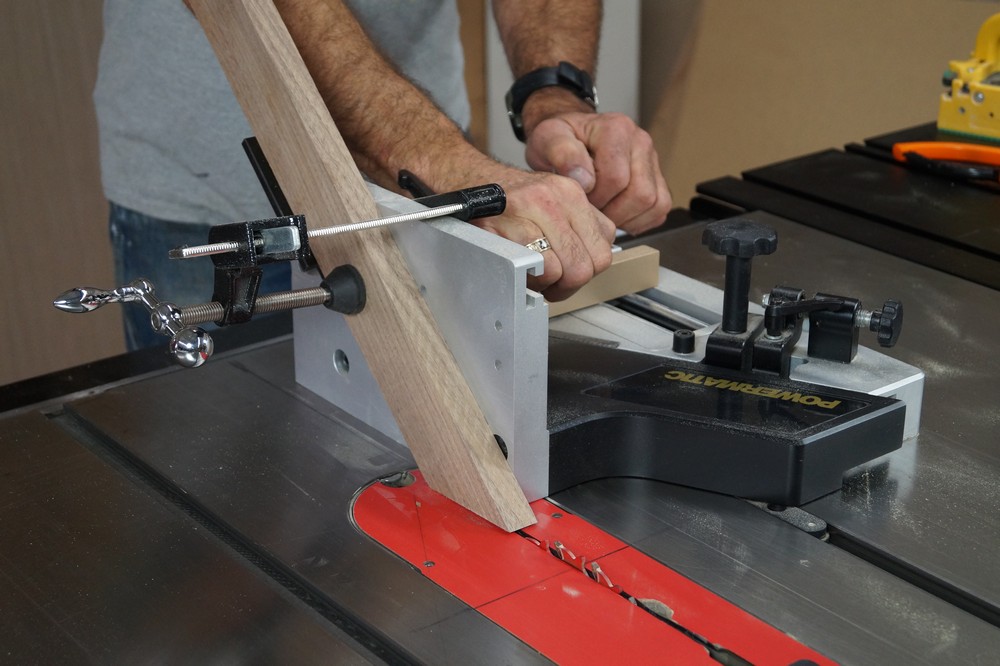
The work stop (vertical fence) can be adjusted up to 45-degrees for angled tenons. The clamp is easy to manipulate for different sizes of material, and does a great job of securing parts to the jig.
Final analysis
This is a very well thought out tenon jig. I’m amazed by how well the tenon preset function works. This really simplifies getting a good fit between the tenon and mortise. Add to that the ease of micro adjusting the jig, and I found there was zero frustration in achieving the exact fit I needed. If table saw tenons are on your to-do list, I’d strongly recommend this tenon jig.
Source
Powermatic PM-TJ tenon jig
$330.00
www.powermatic.com
Let's have a look at this Powermatic Tenoning jig. It's pretty cool. Very specifically, the feature I want to look at is the ability to use these two blocks, sandwich a mortise chisel or a router bit in there, then the material we're gonna cut the tenon in goes here. We can use that to set the jig to produce the right size tenon on this end. It's a really cool feature.
Let's look at it a little more in-depth. For the first step, follow what's outlined in the owner's manual. The face of the jig itself will get zeroed against the saw blade. Then, the way that we take advantage of this, is by inserting your hollow chisel mortiser chisel between the two blocks, squeeze, plant block number two in place. When we remove this chisel, there should be just a little bit of pressure there, a little bit of tension.
The material that you're working with goes in between block number two and this fence and then we can lock that in place. And that should be what it takes to give us a perfect tenon on the other side of the jig. Now, let's say you're working with router bits instead of with hollow chisel mortisers. We can do that. We've got a router bit here.
It's just a little bit more difficult because what I need to do is find top dead center of those flutes when I clamp this block in place. But if you're doing mortises with a router table or a plunge router instead of with a hollow chisel mortiser, we can still take advantage of this. The setup is just a little bit more difficult. I'm going to repeat my setup with a hollow chisel mortiser and we'll see what kind of cut we get. Now on this side of the jig, what's clamped in place was simply cut, flip, cut.
Let's have a look here and see how this went. I cut the cheeks off so that we can put this in. This mortise was made by the hollow chisel I just had here. And this, that's what I'm looking for. Just enough friction that the parts stay together when I pick them up like that.
Now looking at the jig, if you need to do a microadjust, it's very easy to do. We can loosen that knob and then use this to make small adjustments in the position of the jig, so that we can microadjust the size of that tenon as needed. So there's an overview of how that specific mortise chisel attachment, mortise chisel set up or router bit set up works on the Powermatic Tenoning jig.


Looks neat, I like the precision, is this still for sale? I haven’t been able to find it anywhere.
To me, it is not that easy to view the cut, most people are right handed, so it's not for me. thanks
$? Looks like a well designed tool and i'd rather use gauge block(s) for setup. I much prefer the table saw, fence and dado for this as this will remove the cheeks as well; a separate step with powermatic. rk