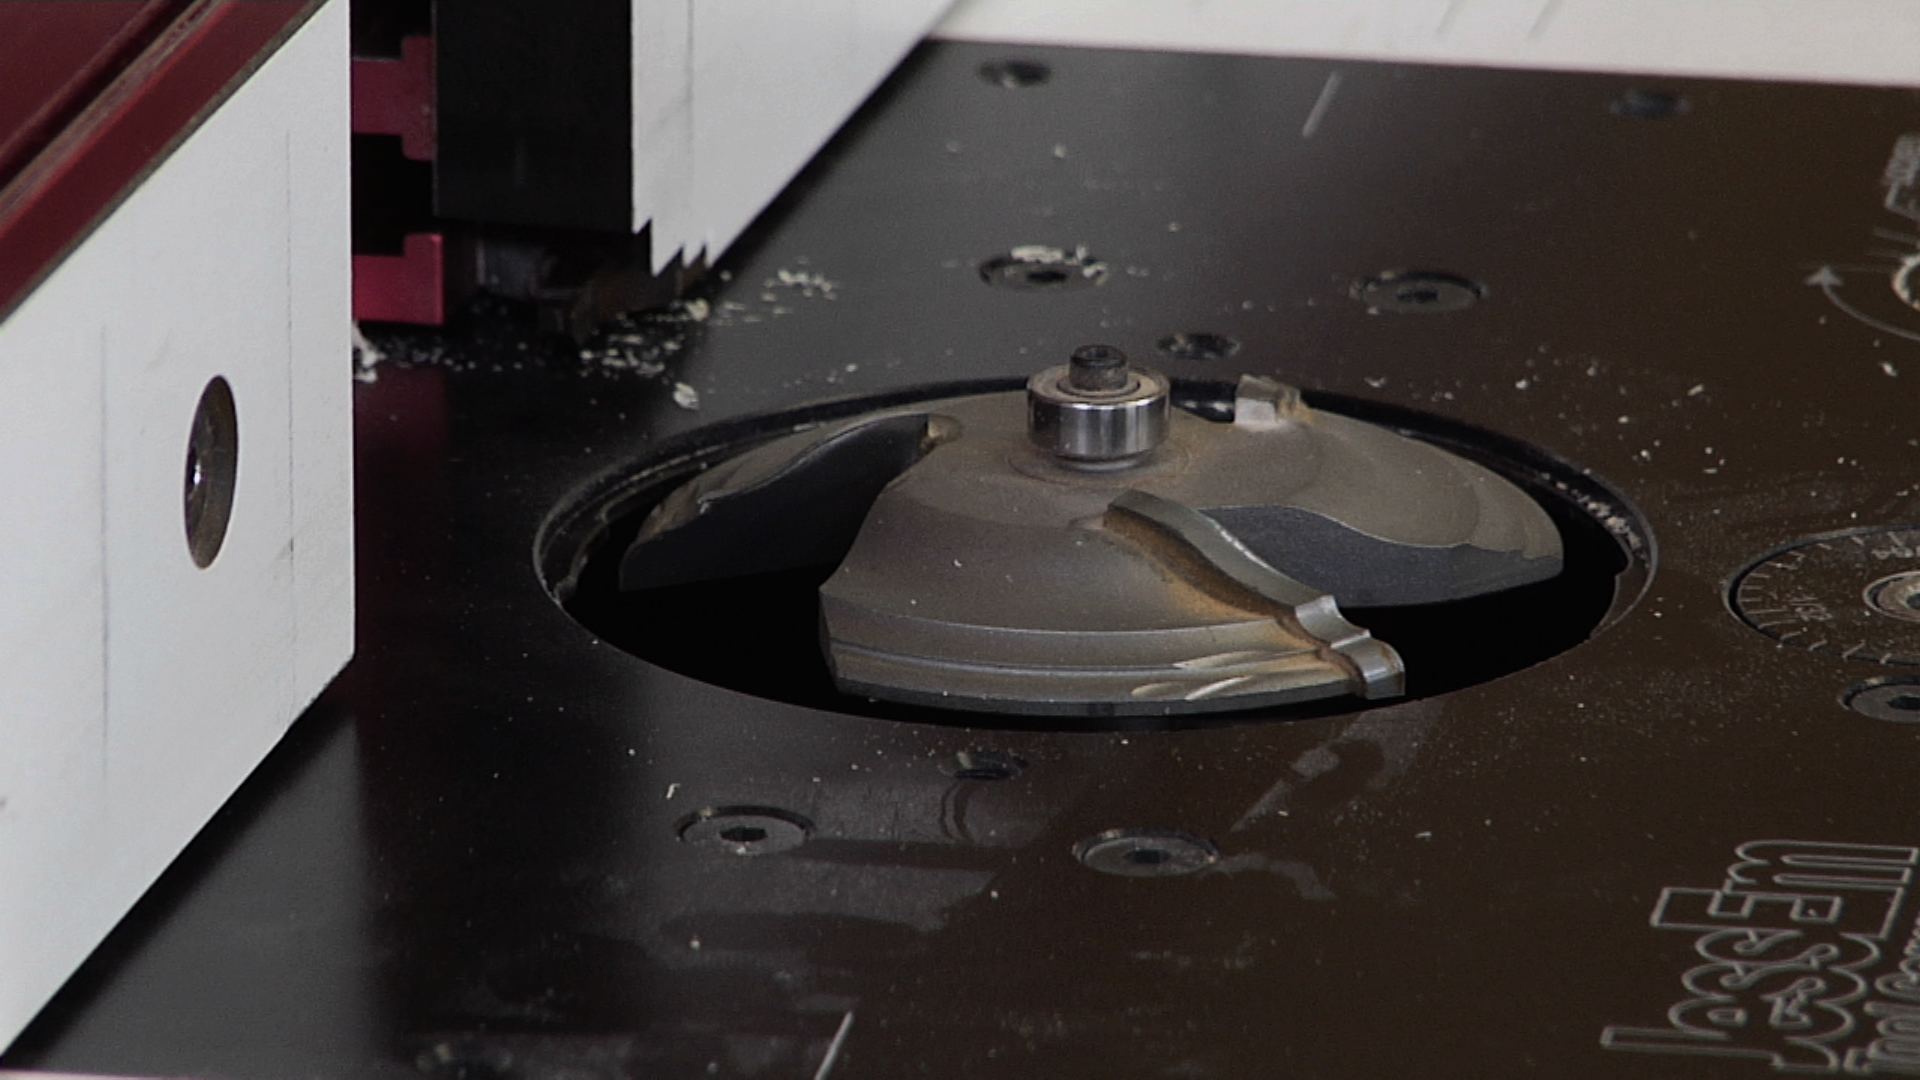
Using Horizontal Raised Panel Router Bits
$6.98
Purchase video and add to your personal library with on-demand video access.
- Enjoy on-demand video access to this content anytime, anywhere for the one-time cost below.
- You won’t lose access, with or without an active current Membership
Description
Description
The first step in creating a raised panel door requires a choice of bit style. At a high level, panel raising bits come in three styles: vertical, horizontal, and horizontal with back cutter. Each of these has advantages and disadvantages, and we will cover each in its own video. Here, George teaches how to effectively use horizontal raised panel router bits. This style of bit provides a better surface finish compared to vertical panel raisers, but also requires a more powerful router that is capable of spinning at a slower RPM.
Three key topical areas are discussed:
Safety
Horizontal raised panel router bits present a massive cutter that is capable of causing significant damage if used improperly. Take heed to the safety concepts that George covers so that you can perform your panel raising operations in a safe fashion.
Quality
As with many woodworking operations, there are few ways to perform a task that produce high quality results, and countless ways to produce poor ones. Here you will learn how to set your speed, make a proper sequence of cuts, establish feed direction, set your depth of cut, and control other aspects of the process that will ensure success.
Fitting Door Panels to Frames
A final step in making raised panel doors is to ensure a perfect fit into your door frames. George demonstrates multiple approaches to this important step.