George Vondriska

Mortises with a Forstner Bit

George Vondriska
Video Player is loading.
Current Time 0:00
Duration 0:00
Loaded: 0%
Stream Type LIVE
Remaining Time 0:00
 
1x
  • Chapters
  • descriptions off, selected
  • captions off, selected
    Duration:   2  mins

    Description

    “If you own a mortiser or plunge router, you’ve got a great way to make mortises. If you don’t own either of those tools, or only need to make a mortise or two and don’t want to take the time set those tools up, a Forstner bit on a drill press is a great way to go.

    Why a Forstner?

    Forsnter bits allow you to drill overlapping holes, making them a great tool choice for this application. Most drill bits won’t do overlapping holes.

    A fence is a must-have

    You’ve gotta have a fence on your drill press for this operation. If you don’t have a good table and fence on your drill press, check out this great shop-made version.

    Sequence of events

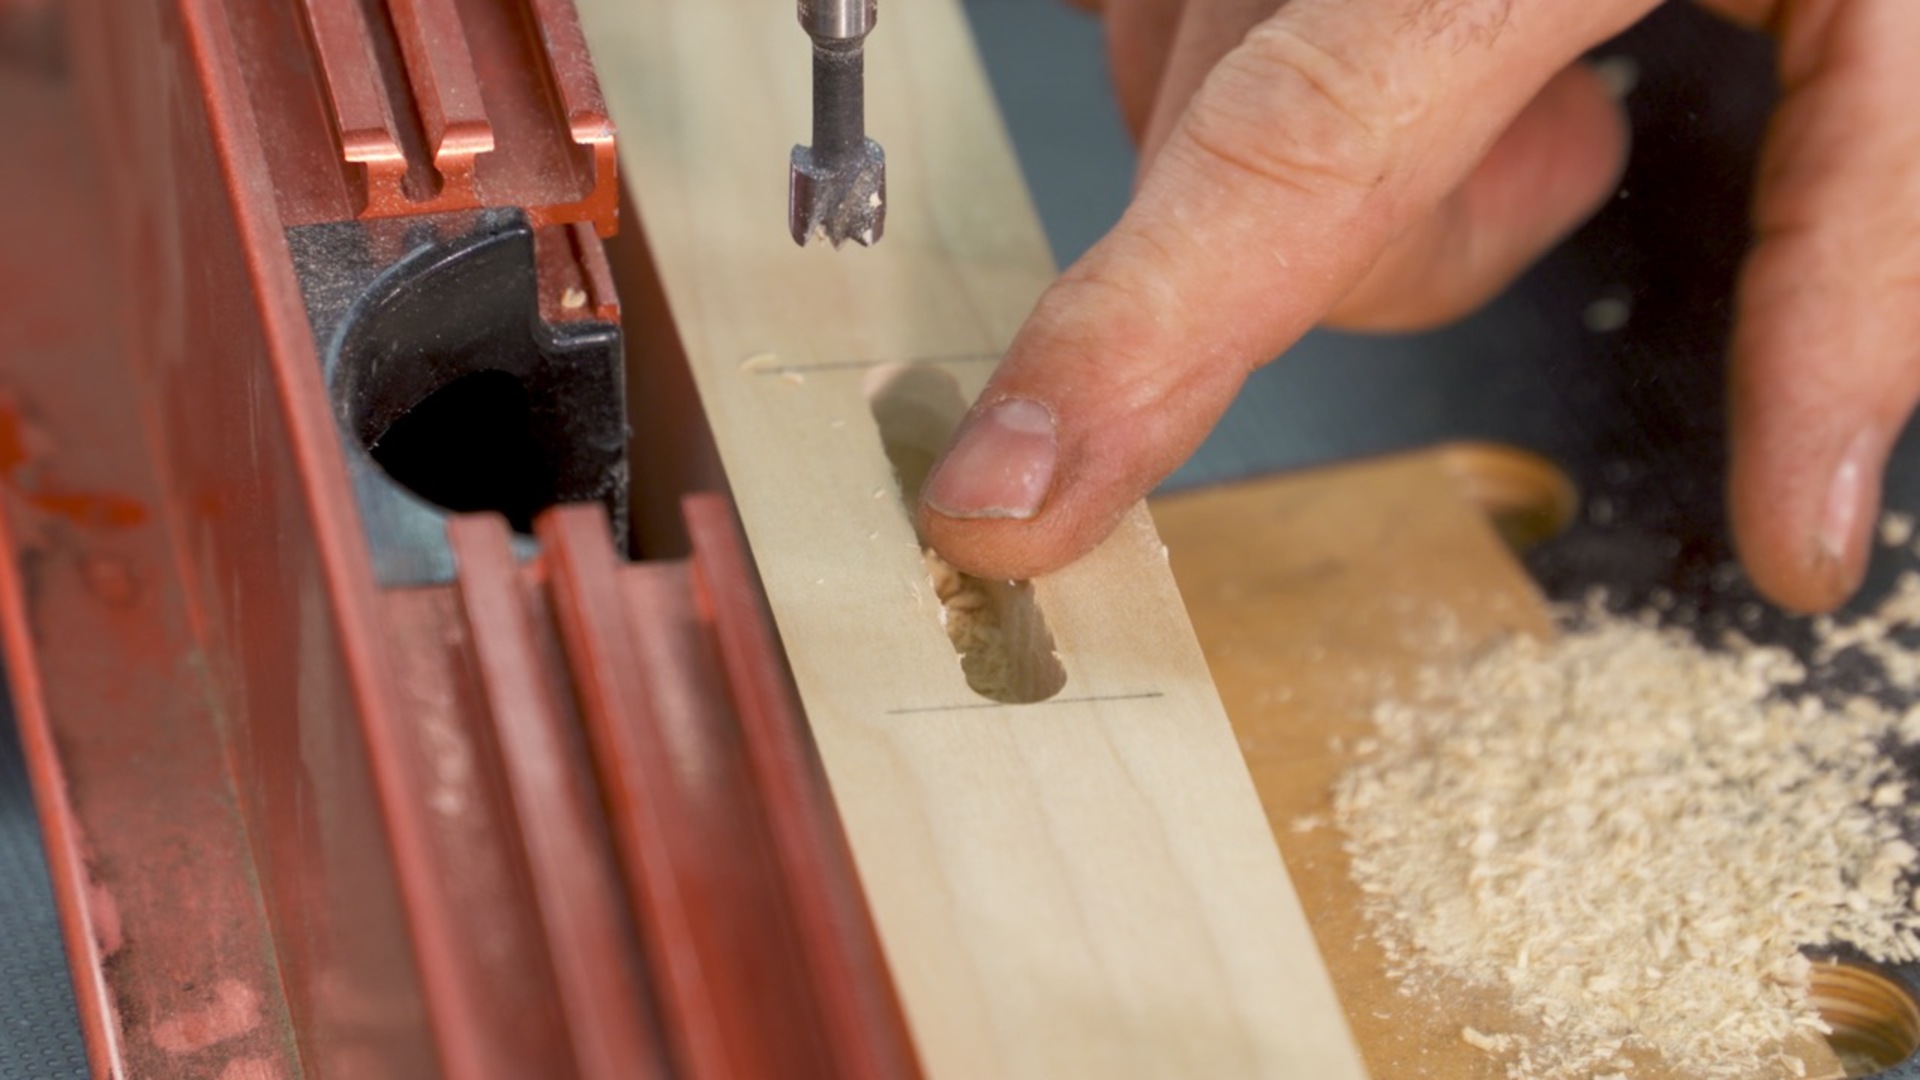
    Start by laying out the mortise and choosing what size bit you’ll use. ¼” Forstner bit for ¼” mortises. Set the fence location and drill two holes, one at the top of the mortise and one at the bottom. Then you can start taking out the waste in between those two holes. Hold your material tight against the fence and punch a series of holes, allowing them to overlap more and more with each punch.

    The Forstner bit removes A LOT of the waste, but you’ll see small high spots left behind. Your last step is using a sharp chisel to pare down the high spots, and then you’re ready to cut a matching tenon.

    Share tips, start a discussion or ask other students a question. If you have a question for the instructor, please click here.

    Make a comment:
    characters remaining

    One Response to “Mortises with a Forstner Bit”

    1. William Ballinger

      Great Video, thank you sir!

    If you need to make Morice is a really, really easy way to do. It is with a forner bit on a drill press. One of the benefits to forner bits is you can drill overlapping holes which many other bits don't let you do. So step one, define them at length of your mortis, set your depth. Then what I like to do is define the mortis.

    Start at one end, go to the other end and then start taking away the stuff in between. So when I do this, watch, what I'm gonna do is get the center point of the forester just past the circumference of that existing about there. It's critical that you use a fence for this. Now, the whole thing looks kind of like a weird snowman, but you can come back with the forester bit. I'm pushing this against the fence, take out those high spots, just a little bit of work on that with the bench chisel to take out the remaining high spots.

    And you got a great Morice

    Get exclusive premium content! Sign up for a membership now!